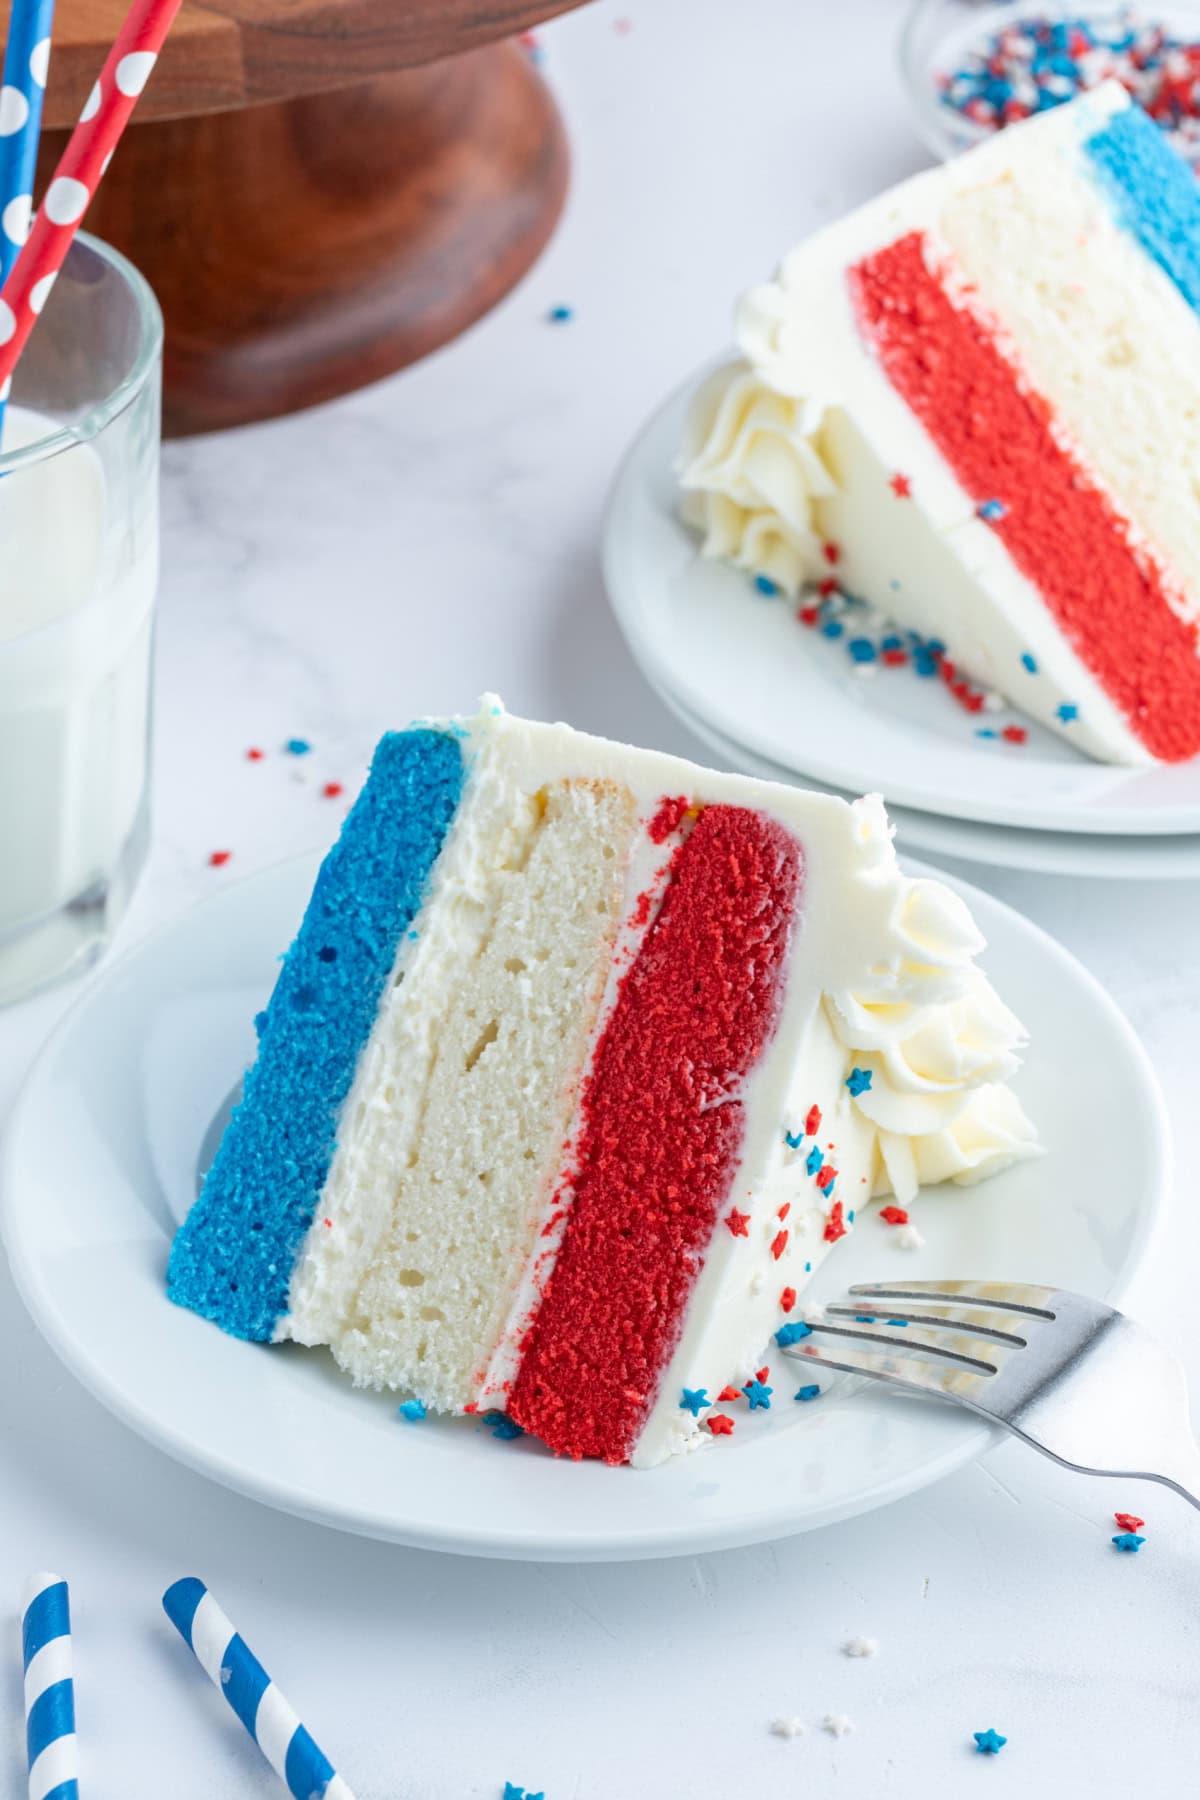
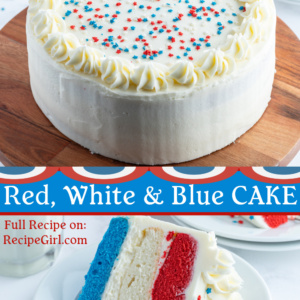
This Red White and Blue Cake recipe is perfect for summer holidays, such as a 4th of July or Memorial Day weekend or any patriotic celebration.
Red, White and Blue Layer Cake
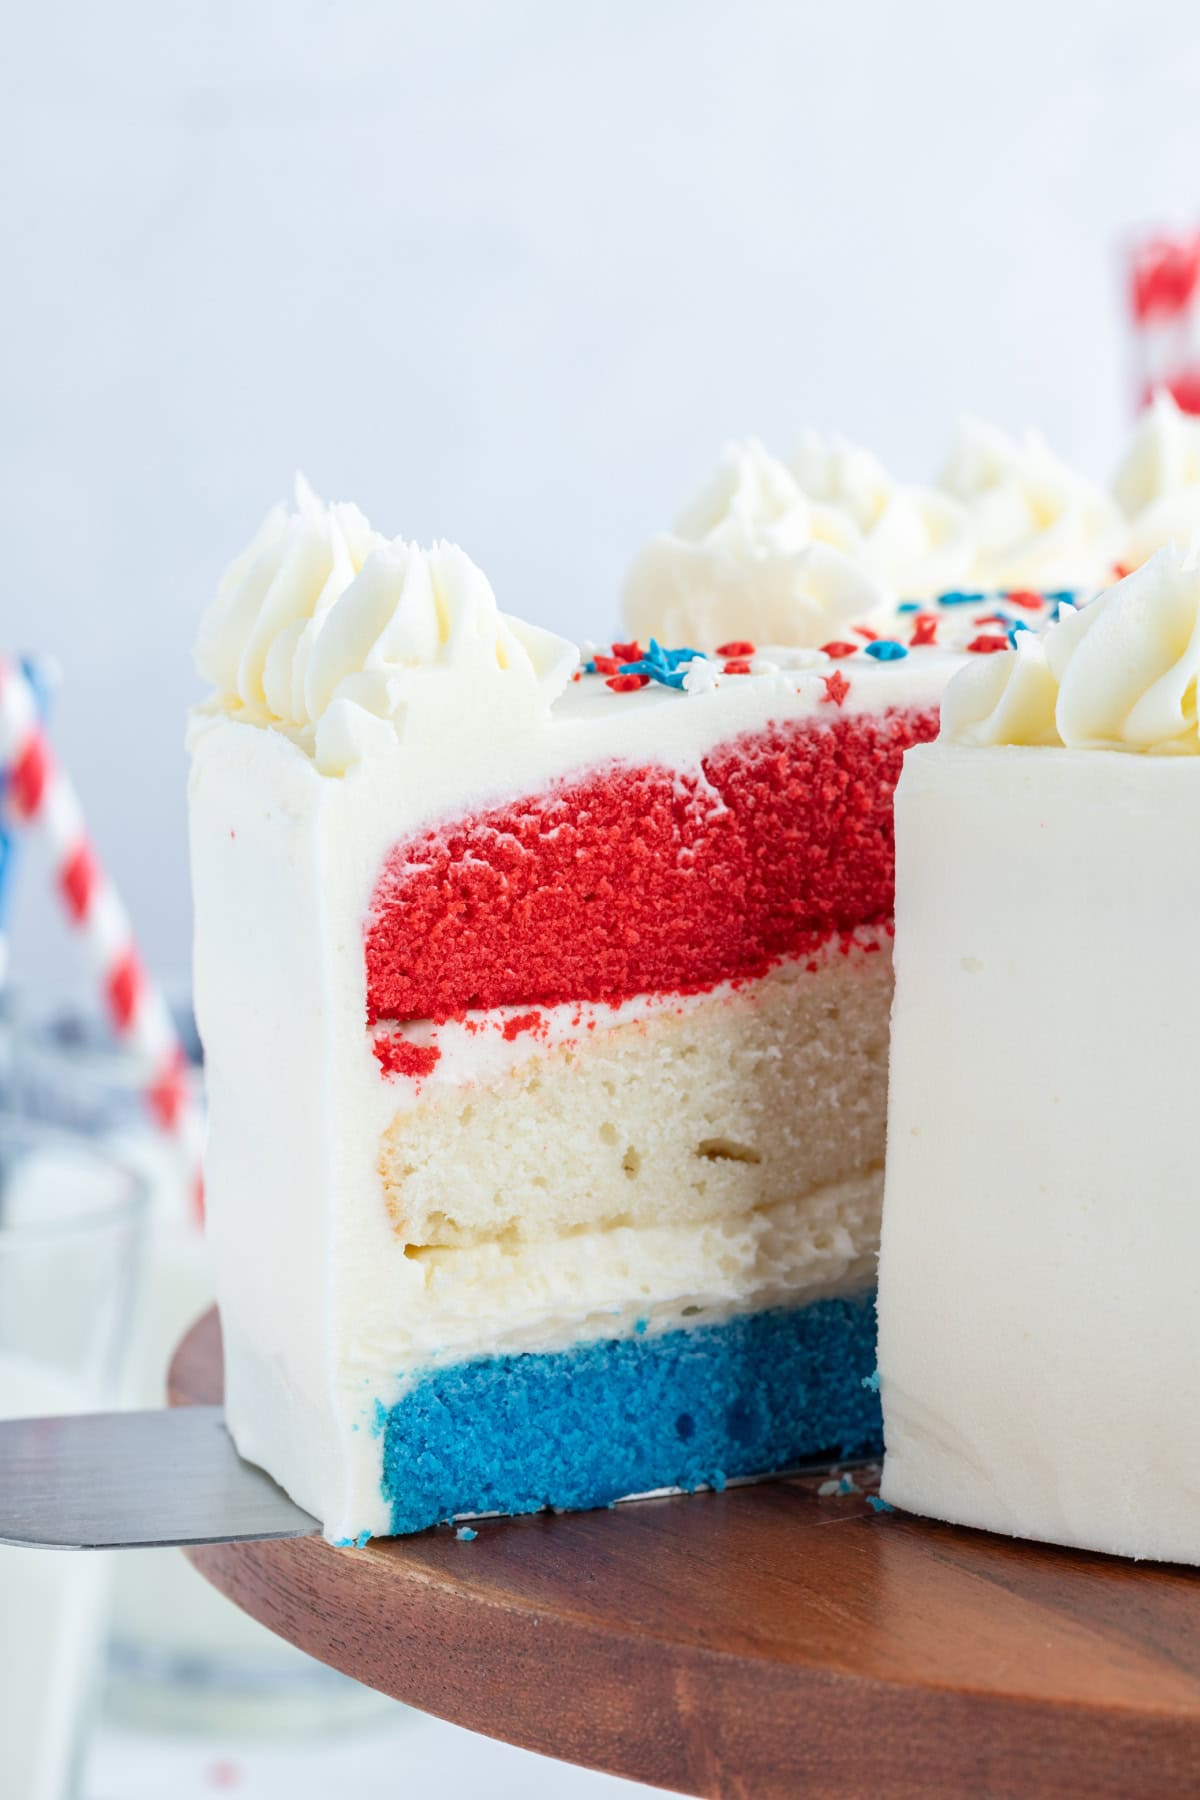
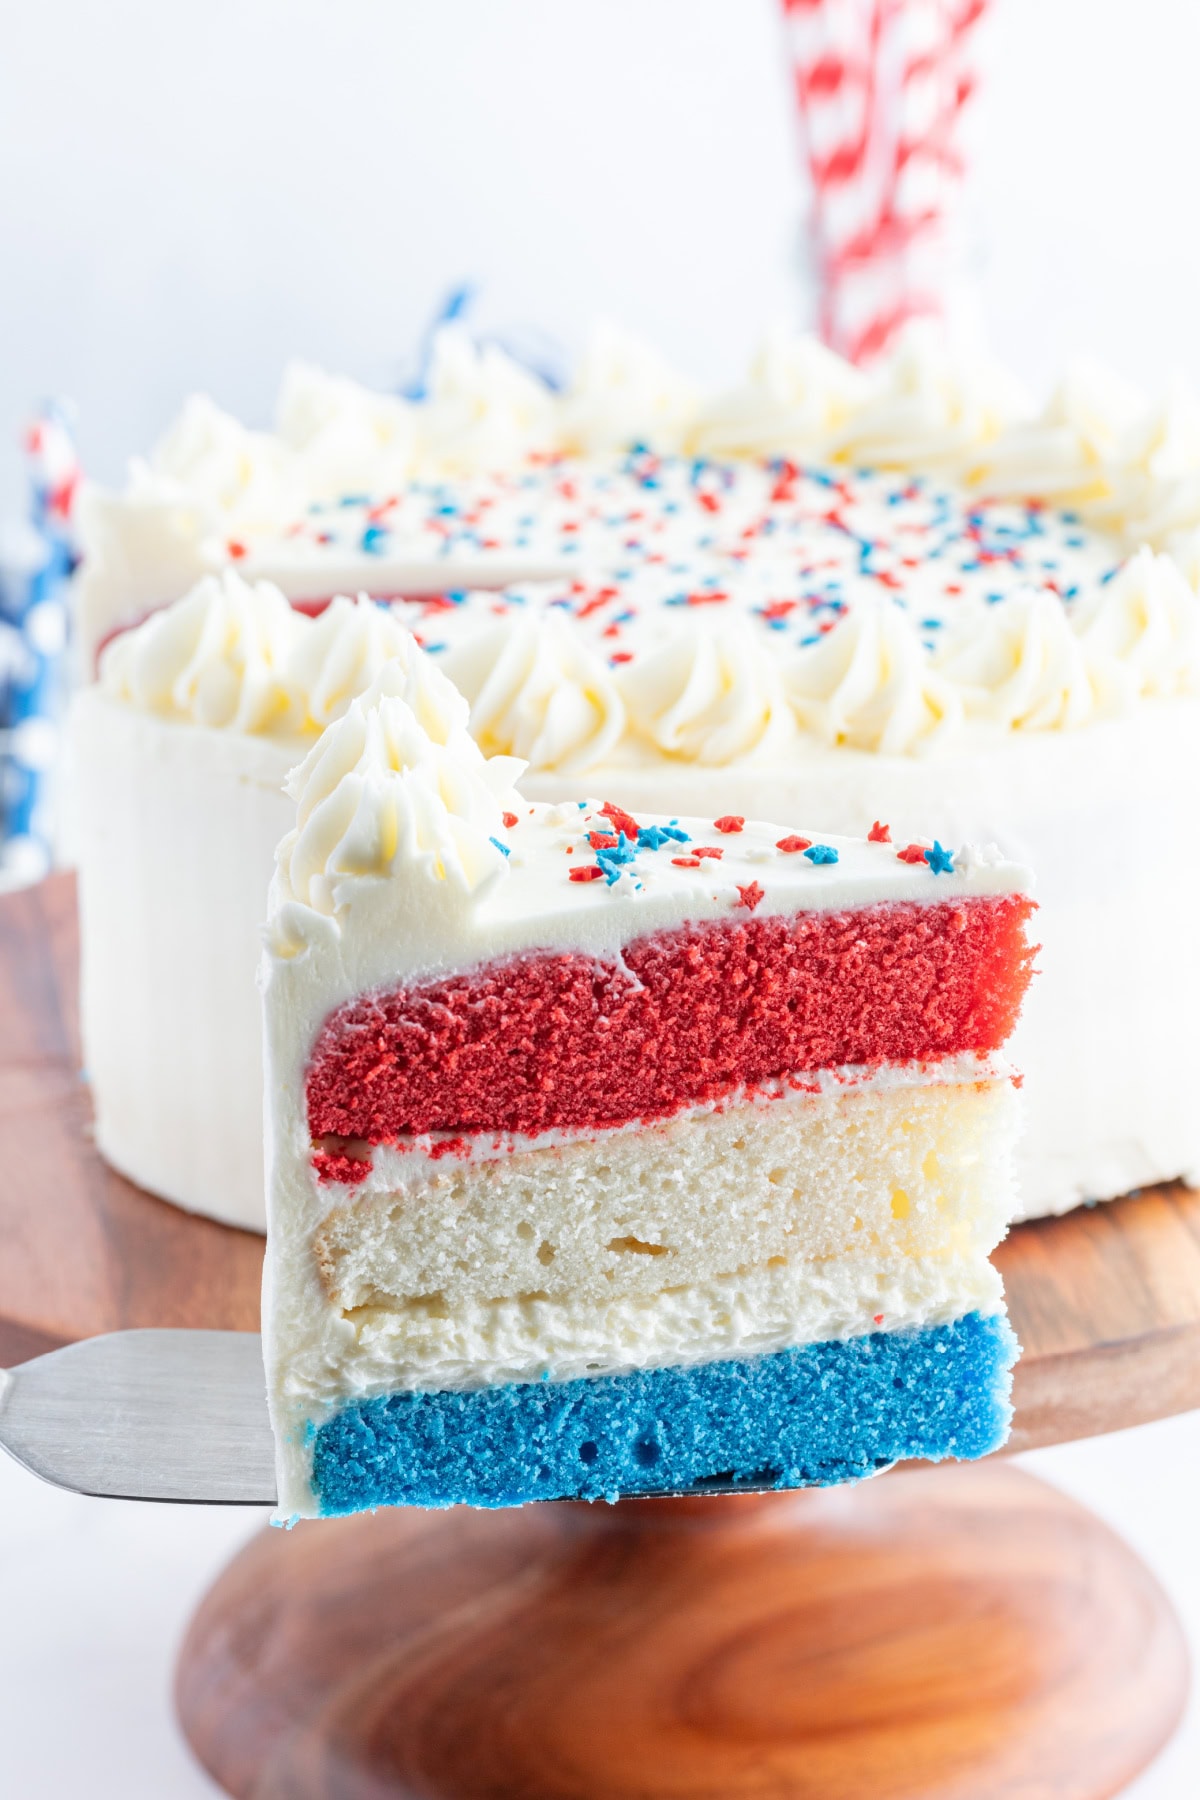
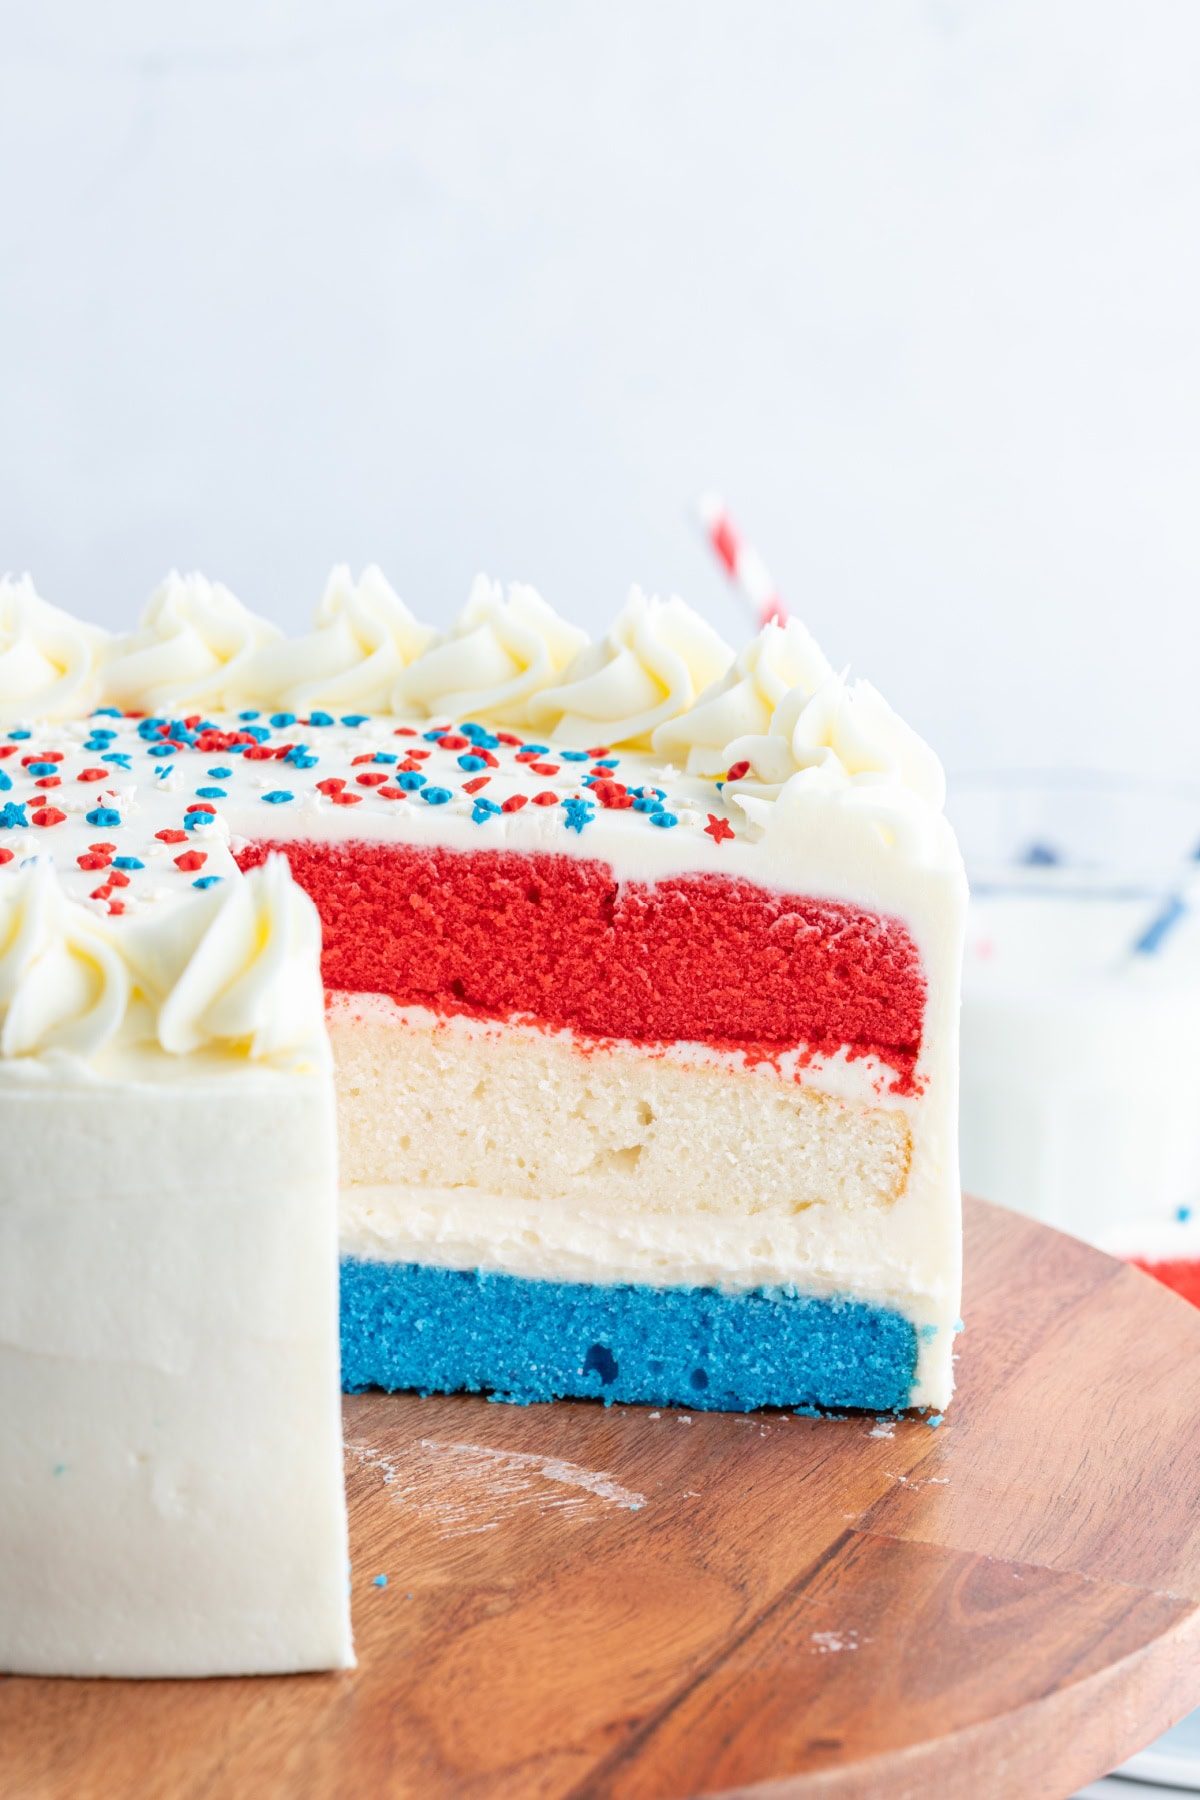
This is such a fun cake to make and serve because of the surprise of the colored layers. Everyone thinks it’s just a basic layer cake. Maybe it’s chocolate cake. Or maybe it’s yellow cake. But the crowd is really delighted when you cut into the cake to see the red, white and blue layers inside. And if you like the patriotic theme, you will probably enjoy my flag cake recipe too!
🛒 Ingredients Needed:
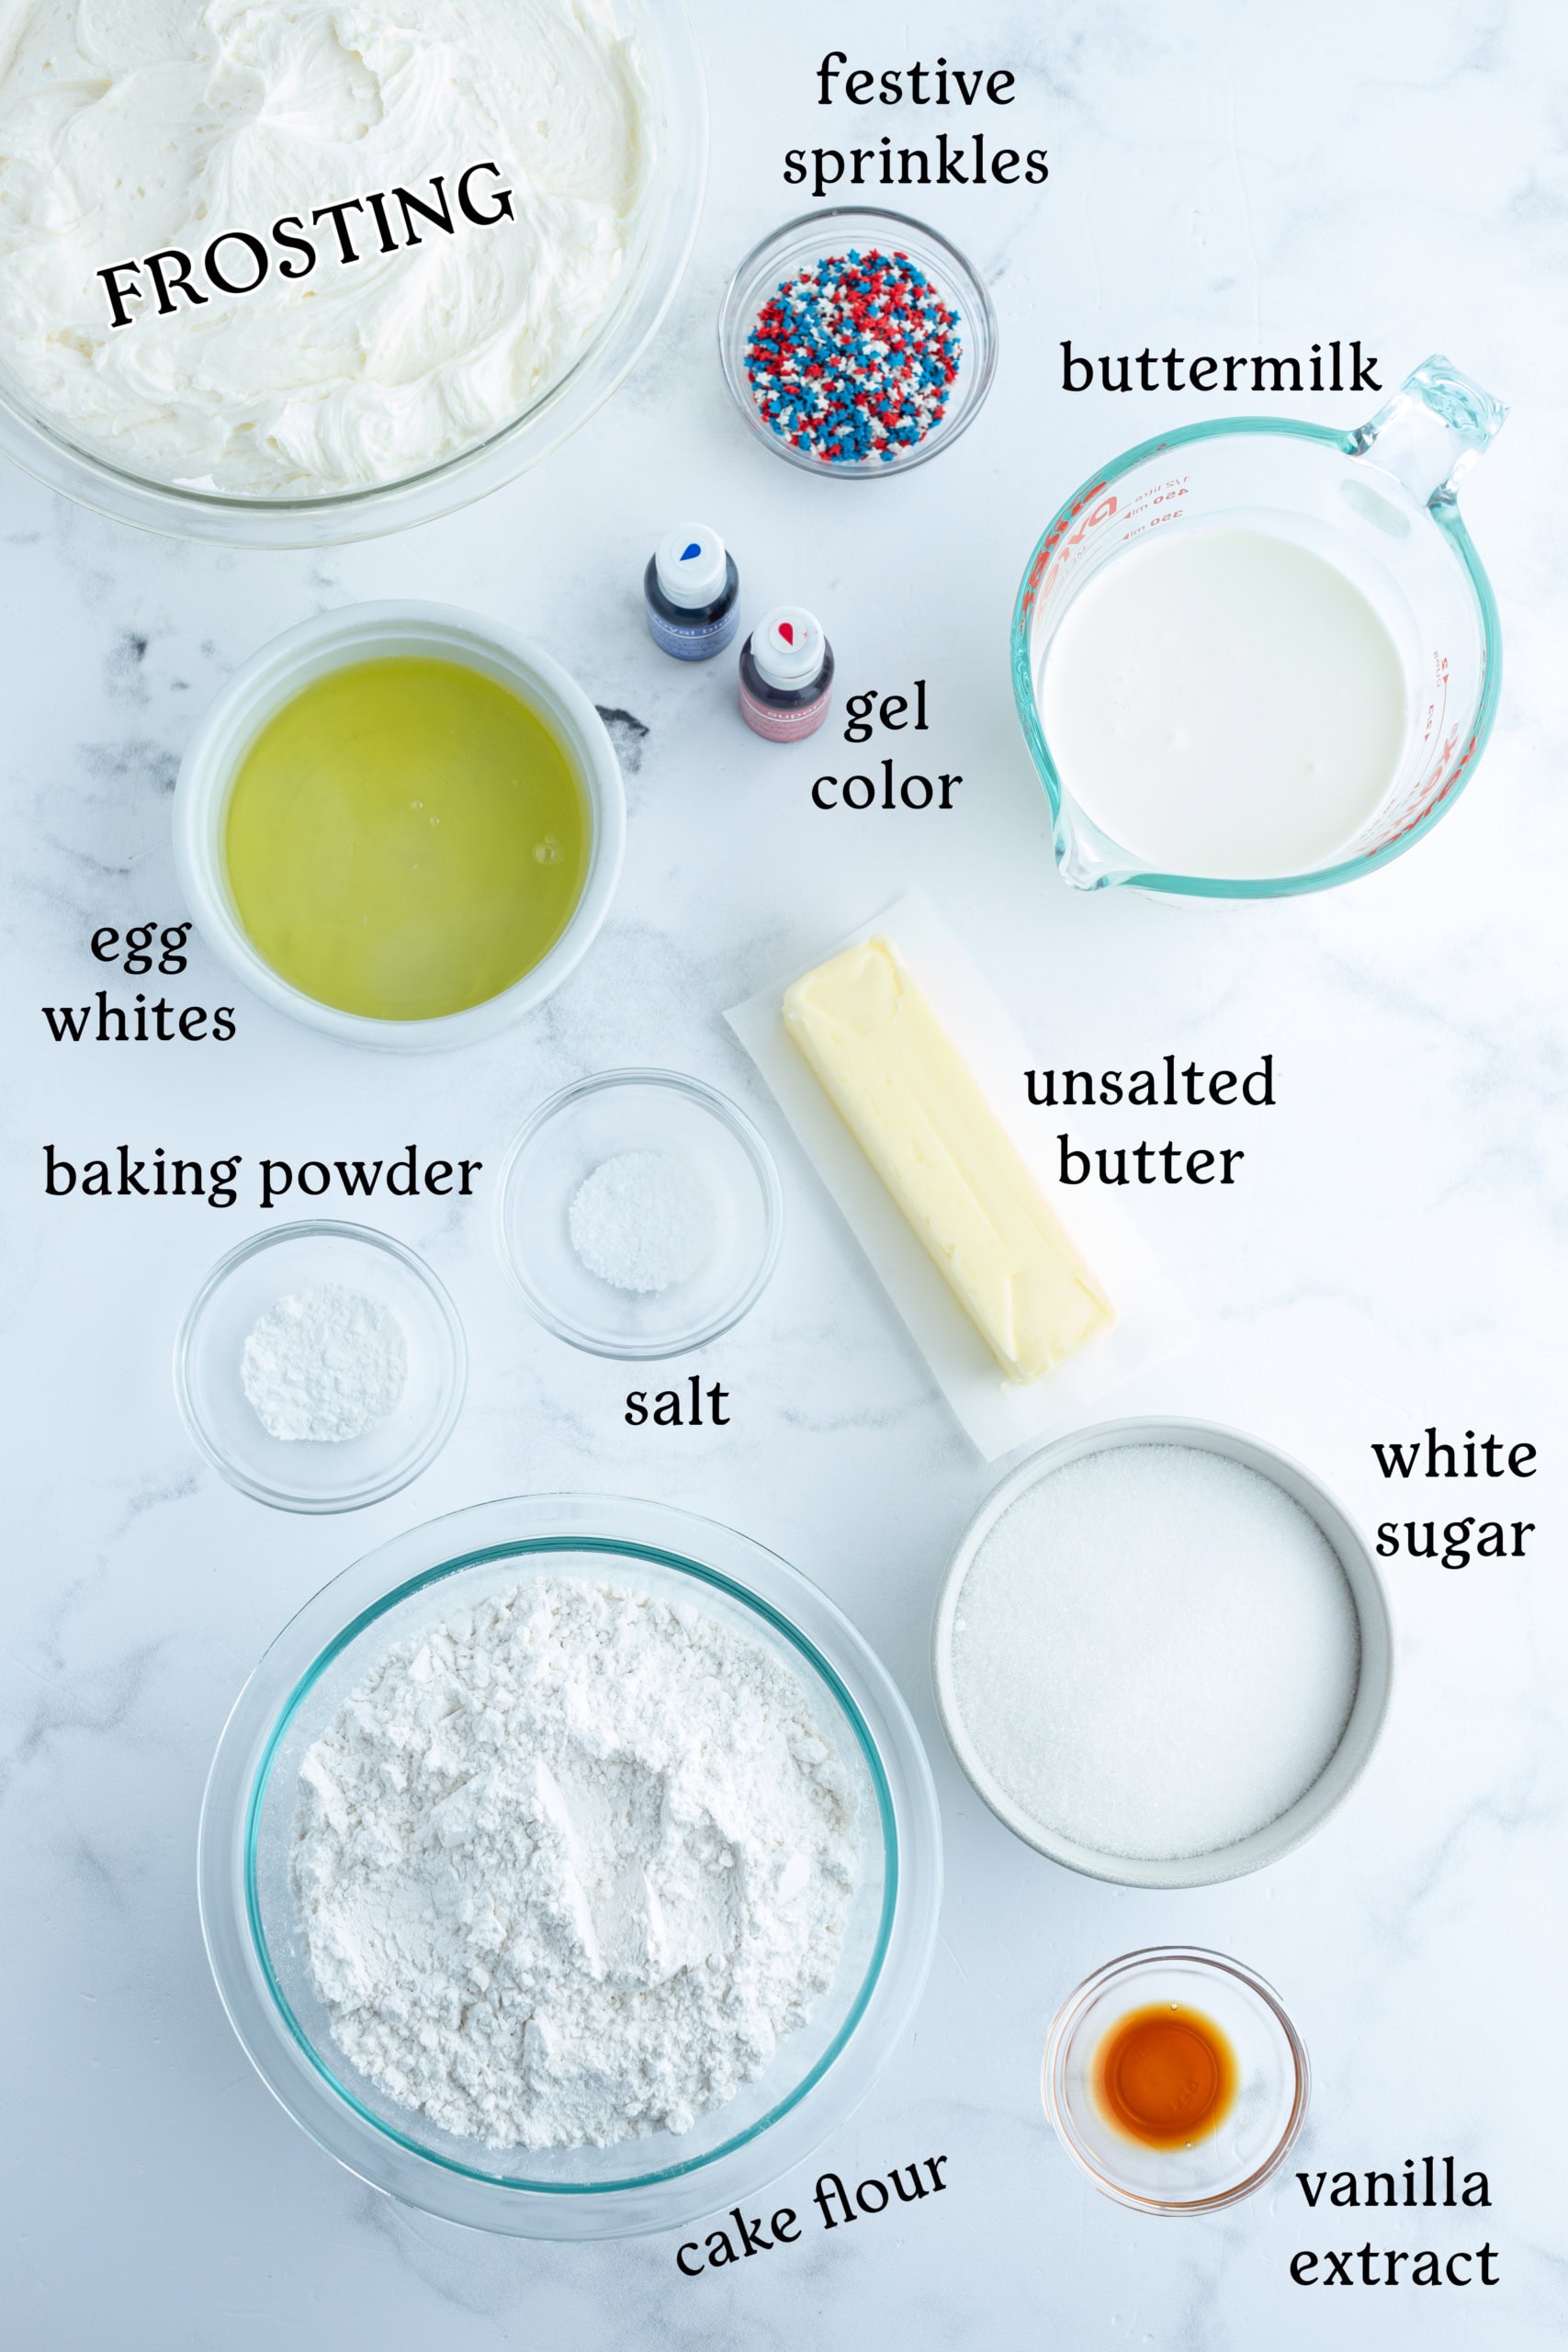
- cake flour
- baking powder and salt
- buttermilk
- egg whites
- granulated white sugar
- unsalted butter
- vanilla extract
- red and blue gel paste
- frosting recipe of your choice!
✏️ How to make a Red White and Blue Cake:
*The complete, printable recipe with all ingredients and instructions is at the end of this post.
- Center two racks in the oven and preheat the oven to 350°F. Spray three 8 or 9 inch round cake pans with nonstick spray. Add a spoonful of flour to each, shake it around and tap out the excess. (You can also use the baking spray that already has flour in it).
- Sift together the flour, baking powder and salt in a medium bowl. In another bowl, whisk together the buttermilk and egg whites.
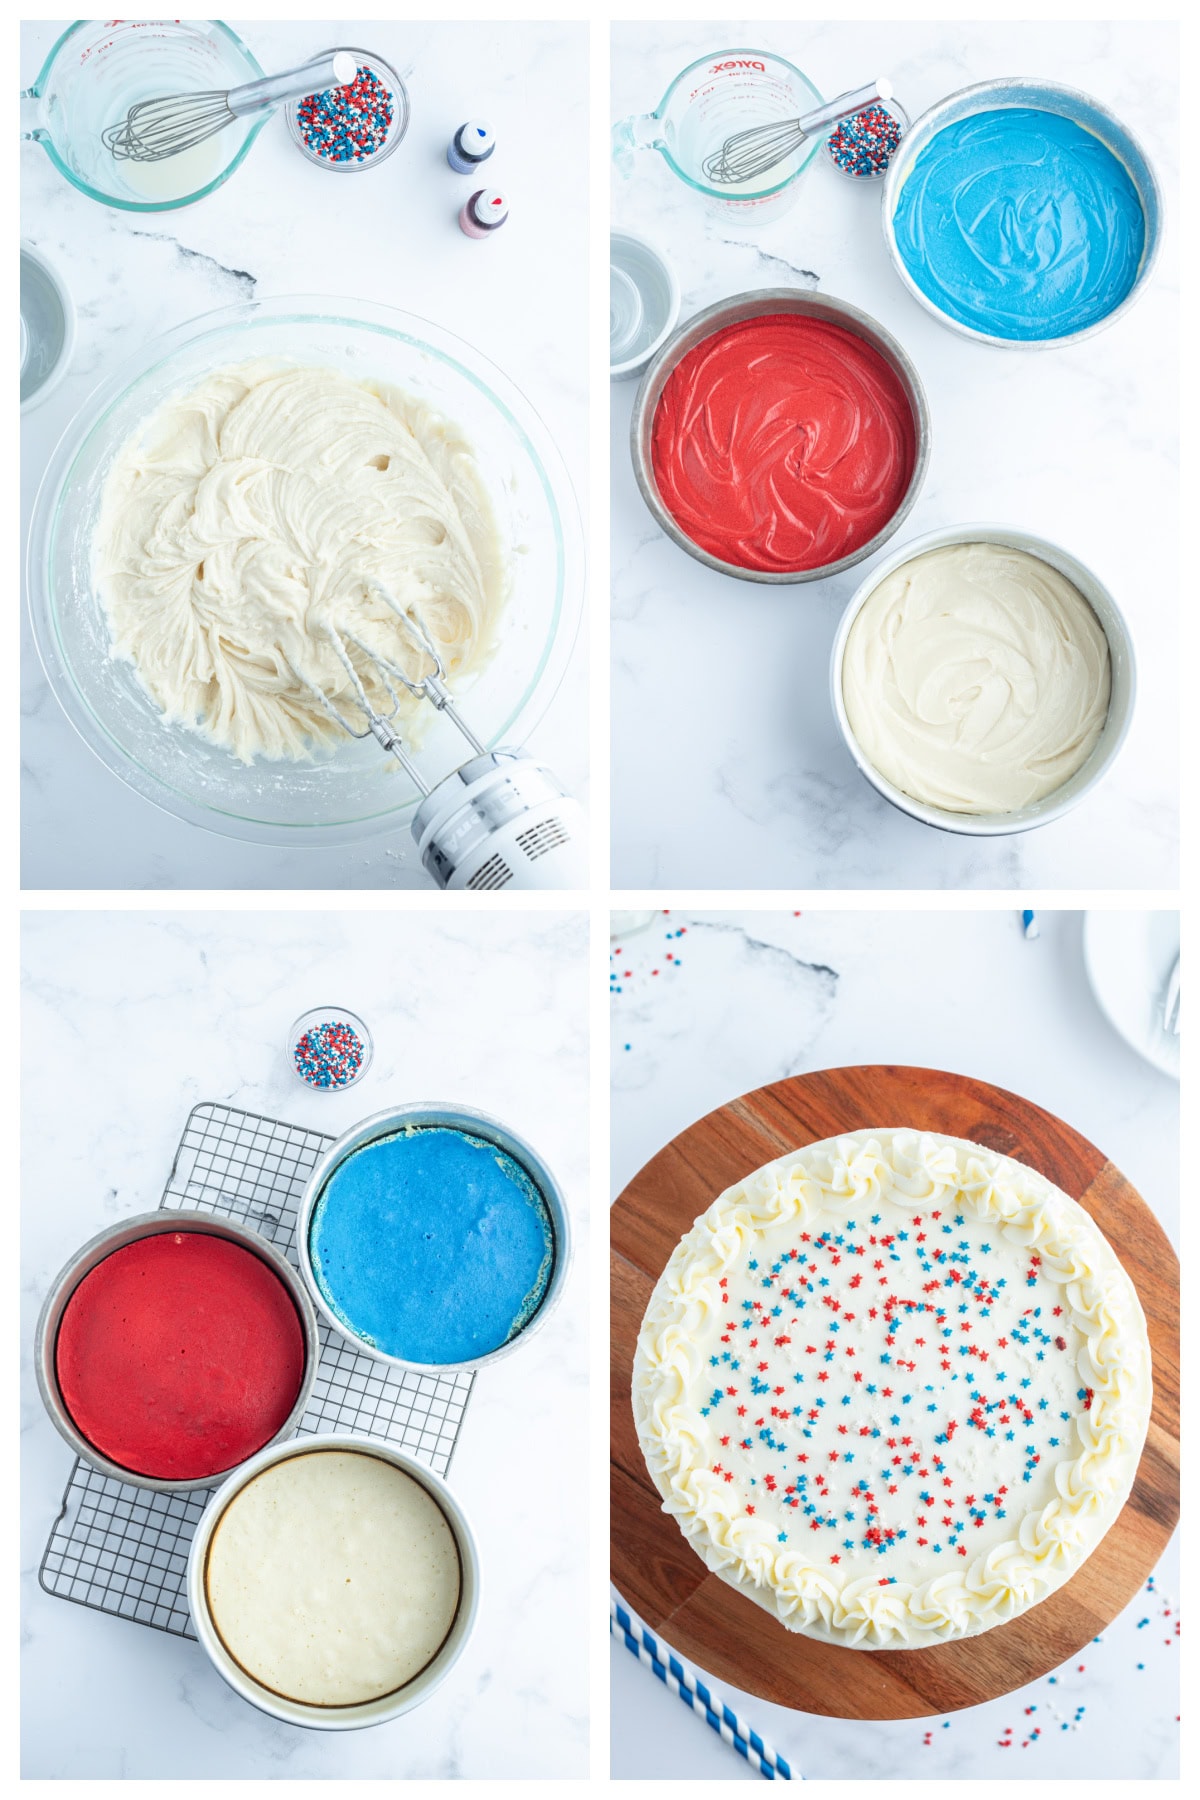
- In a large bowl, use an electric mixer to blend together the butter and sugar; beat at medium speed for a full 3 minutes, until the mixture is very light. Beat in the extract, then add one third of the flour mixture, still beating on medium speed. Beat in half of the buttermilk-egg mixture, then beat in half of the remaining dry ingredients until incorporated. Add the rest of the buttermilk and eggs, then add the last of the dry ingredients. Finally, give the batter a good 2 minute beating to ensure that it is thoroughly mixed and well aerated.
- Divide the batter evenly between three glass bowls. Color two of the bowls of batter, one dark red and one dark blue. Just add the color a little at a time until you reach the hue you’d like. Scoop each of the batters into their own prepared pan.
- Bake for 20 to 25 minutes for 8 inch rounds (15 to 20 for 9 inch), or until the cakes have risen and are springy to the touch. A toothpick inserted into the centers should come out clean. Transfer cakes to cooling racks and cool for about 5 minutes, then run a knife around the sides of the cakes. Invert and cool to room temperature right side up on wire racks.
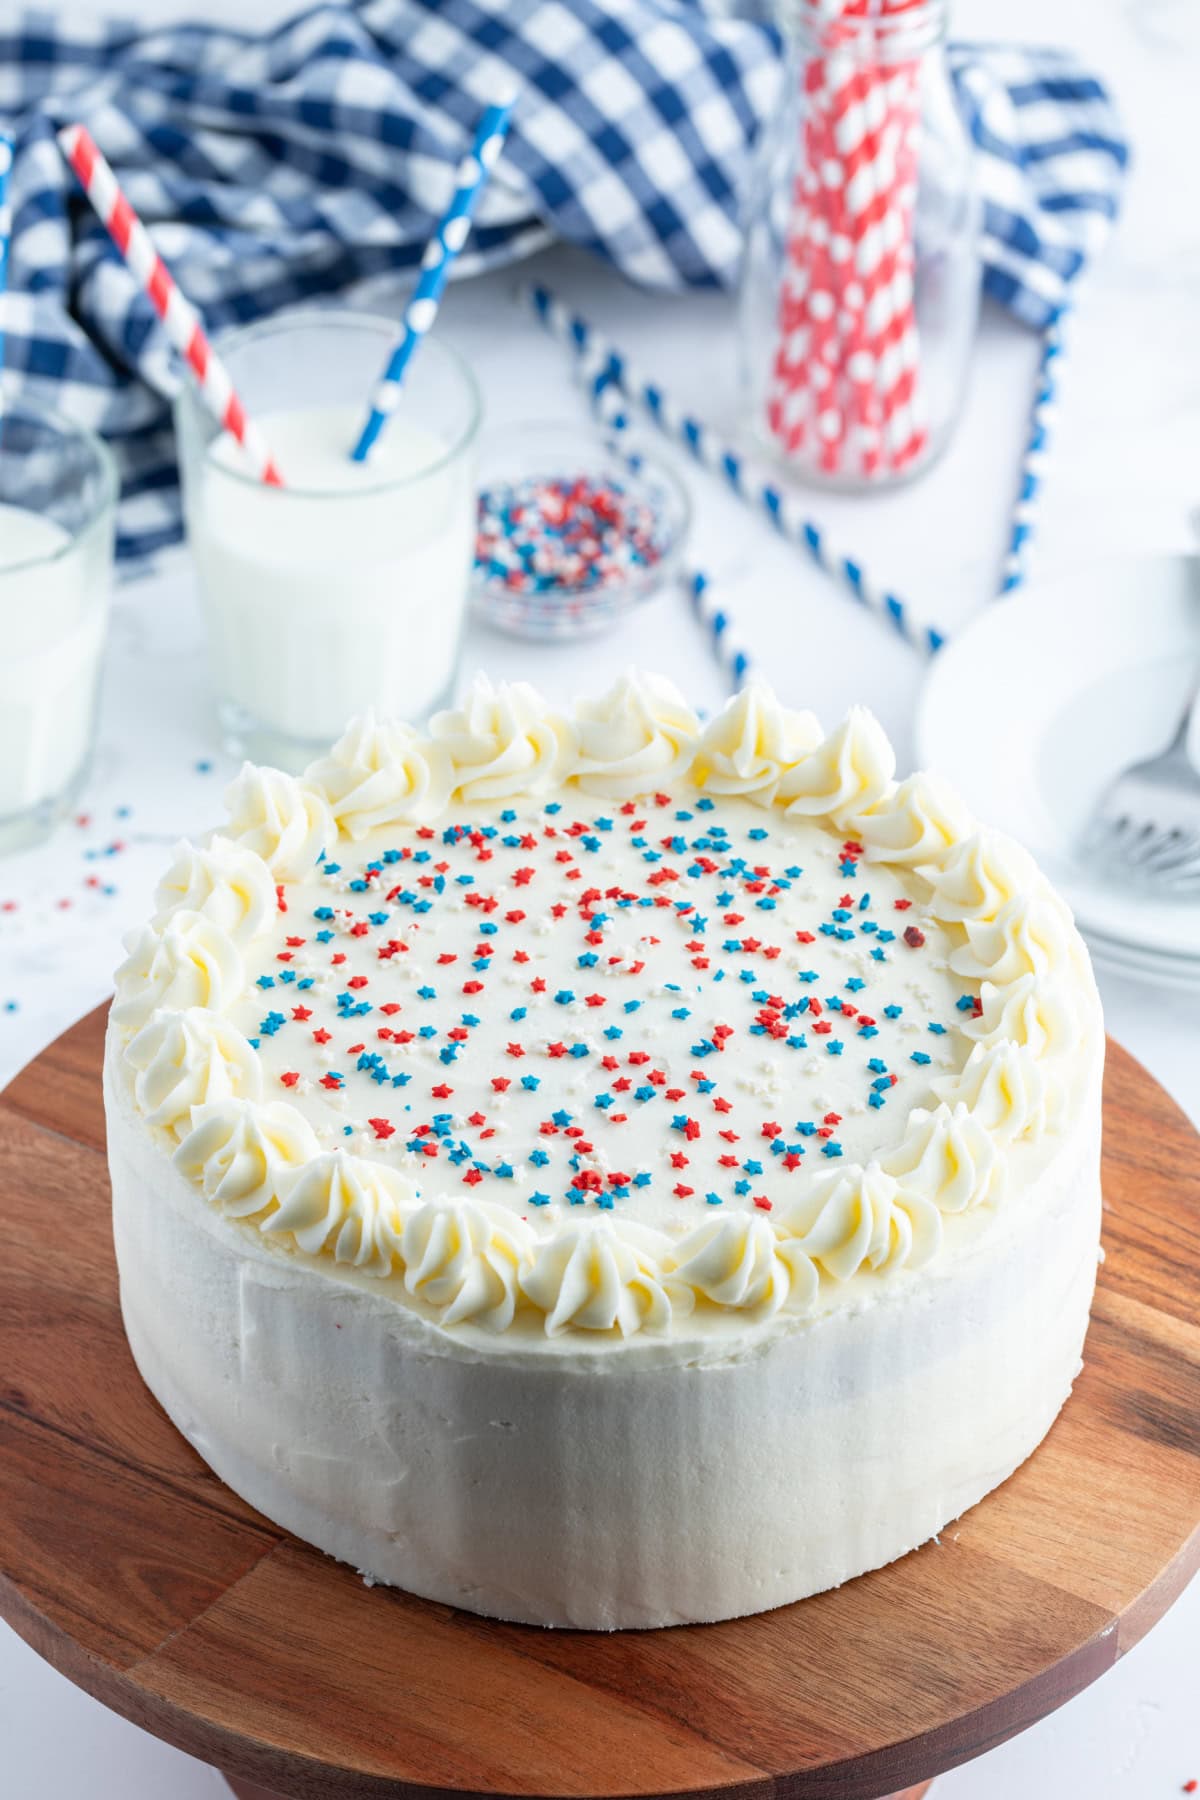
- When cooled, frost the cake as you would a 3 layer cake, frosting each layer before adding the next, and then covering the whole cake with frosting.
➡️ Tips and Substitutions:
- Don’t use liquid food coloring to dye the cake batter. You’ll end up adding too much liquid to the mixture and it won’t turn out great. Gel paste coloring can be found at baking supply stores or craft stores. It’s concentrated, and it will give you the deep red and blue hues you’re looking for in this cake.
- Use different colors to make another tri-color cake. Think of making a tri-color cake using your favorite sport’s team colors or for a color-themed party!
- I like to use one of two frosting recipes for a cake like this: Pipeable Cream Cheese Frosting or Wedding Cake Buttercream.
✔️ How to store a layer cake:
Once the frosting is set, cover the entire cake loosely with plastic wrap or a cake keeper. Make sure the covering does not touch the frosting directly to avoid messing up the design.
Store the frosted cake in the refrigerator. Most frosted cakes can be stored in the fridge for 2 to 3 days. If the frosting contains dairy products (like buttercream or cream cheese frosting), refrigeration is necessary to prevent spoilage.
❤️ What I Love About This Recipe:
- It’s super festive and fun!
- The cake happens to have a vanilla flavor in every layer. And it’s delicious!
- I love that you can modify it for all kind of celebrations and desired colors.
Favorite Cake Recipes:
Red, White and Blue Cake
Ingredients
- 2½ cups cake flour
- 1 tablespoon baking powder
- ½ teaspoon salt
- 1¼ cups buttermilk
- 4 large egg whites
- 1½ cups granulated white sugar
- ½ cup (1 stick) unsalted butter
- 1 teaspoon vanilla extract
- red and blue gel paste coloring
Instructions
- Center two racks in the oven and preheat the oven to 350°F. Spray three 8 or 9 inch round cake pans with nonstick spray. Add a spoonful of flour to each, shake it around and tap out the excess. (You can also use the baking spray that already has flour in it).
- Sift together the flour, baking powder and salt in a medium bowl. In another bowl, whisk together the buttermilk and egg whites.
- In a large bowl, use an electric mixer to blend together the butter and sugar; beat at medium speed for a full 3 minutes, until the mixture is very light. Beat in the extract, then add one third of the flour mixture, still beating on medium speed. Beat in half of the buttermilk-egg mixture, then beat in half of the remaining dry ingredients until incorporated. Add the rest of the buttermilk and eggs, then add the last of the dry ingredients. Finally, give the batter a good 2 minute beating to ensure that it is thoroughly mixed and well aerated.
- Divide the batter evenly between three glass bowls. Color two of the bowls of batter, one dark red and one dark blue. Just add the color a little at a time until you reach the hue you'd like. Scoop each of the batters into their own prepared pan.
- Bake for 20 to 25 minutes for 8 inch rounds (15 to 20 for 9 inch), or until the cakes have risen and are springy to the touch. A toothpick inserted into the centers should come out clean. Transfer cakes to cooling racks and cool for about 5 minutes, then run a knife around the sides of the cakes. Invert and cool to room temperature right side up on wire racks.
- When cooled, frost the cake as you would a 3 layer cake, frosting each layer before adding the next, and then covering the whole cake with frosting. For frosting recommendations see the recipe notes below.
Notes
- Don’t use liquid food coloring to dye the cake batter. You’ll end up adding too much liquid to the mixture and it won’t turn out great. Gel paste coloring can be found at baking supply stores or craft stores. It’s concentrated, and it will give you the deep red and blue hues you’re looking for in this cake.
- I like to use one of two frosting recipes for a cake like this: Pipeable Cream Cheese Frosting or Wedding Cake Buttercream.
- Nutritional information shared is for the cake only (no frosting).
Nutrition
Nutrition information is automatically calculated, so should only be used as an approximation.


As well you should be very proud! (of him and that gorgeous cake!)
Love the cake!! Happy Birthday to Recipe Boy! I am so excited to follow his blog!
What a cake! So fun, Happy Birthday to recipe boy, he is just a little cutie pie, can’t wait to follow his success!
Yay for Birthday Boy. Looks like he survived without his mum on the big day 🙂 Awesome cake, too!
That’s absolutely precious that he wants to start blogging. It’s so many talents and learning all rolled into one idea!
My heart melted a little bit reading this post… I love that your son has started his own food blog. I’m off to peruse recipeBOY right now :).
Nice red white and blue cake for the birthday boy! And his blog looks wonderful…I hope he is very successful with it.
Your sun is so adorable! I love that he wants to be like you:-) Fantastic looking cake!
I saw you from afar at BlogHer this weekend, but I didn’t get a chance to come over and say hi! Love your blog, and I’ve printed a bunch of your recipes to try! I LOVE that your son wants to be a food blogger!! And I love this cake- very cool for a summery birthday.
What a great gift (love his blog!) and an adorable cake! I like the idea of asking your child questions every year and documenting them–what a great way too look back 🙂