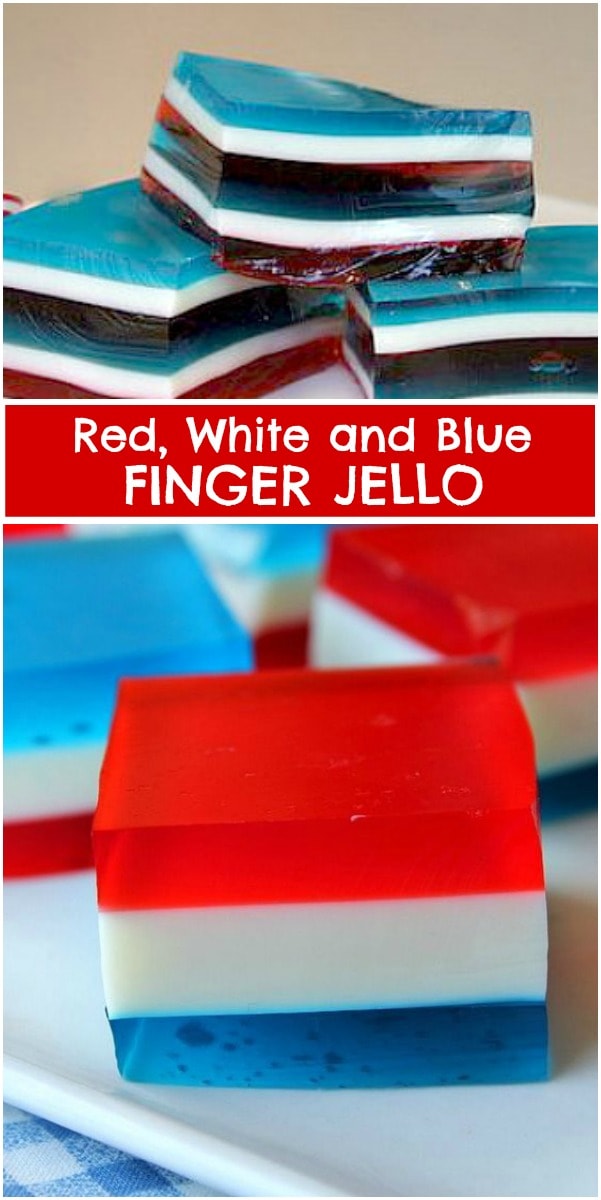
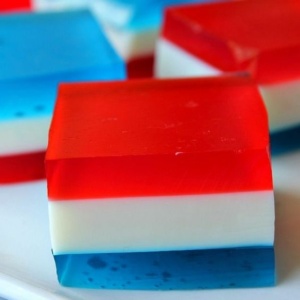
Red White and Blue Finger Jello is a treat that is festive for any patriotic holiday. Layers of red, white and blue jello make up this handheld goodie!
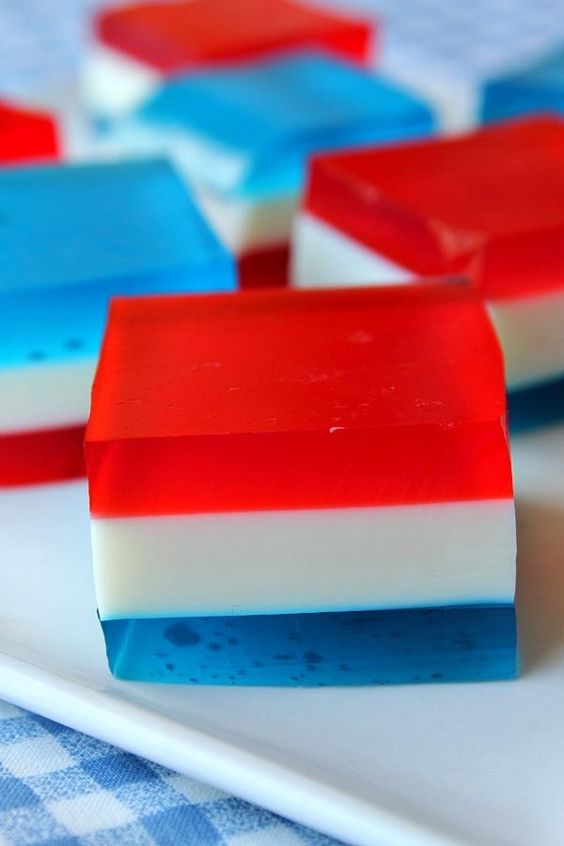
Kid favorite, straight ahead! Kids seem to love these little hand-held treats, and I have to admit… I think they’re good too! Remember those popular little treats called Knox Blox (back in the day?) These are similar, though not quite as firm. Kids always love munching on my Sea Glass Jello too!
I made these for the first time for a 4th of July party many years ago. The purpose was to have a sweet treat for the kids, but they were super popular with the adults too. Everyone loves finger jello. It’s just fun to eat!
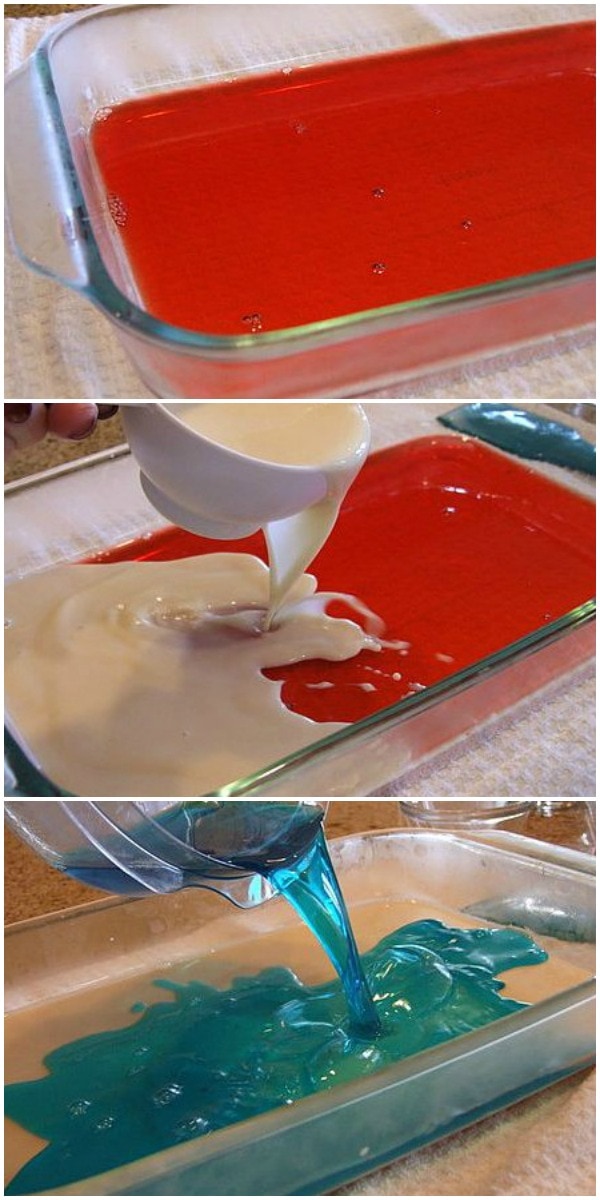
How to make Red White and Blue Finger Jello:
Follow the recipe instructions below for making the red jello layer (strawberry, cherry or raspberry). Pour it into a 9×13 pyrex pan and refrigerate for at least 15 minutes to firm up the 1st layer. It’s important that you test out your fridge to make sure that the shelf you’ll be using is FLAT and level. If it’s tilted in any way, you’ll get a tilted-looking pattern for your Jell-O!
The white/milky layer comes next. The white layer isn’t actually a jello layer at all, but rather a “milk” layer created by mixing sweetened condensed milk with gelatin and water. If you’re lucky enough to find Pina Colada Jell-O(which they do carry sometimes), then you can use that in place of the milk Jello layer if you’d like. The milky layer though is rather sweet, and turns out to be a yummy layer to add to the fruity flavors. It’s poured onto the firmed up red layer, and then it’s back to the fridge for 30 minutes.
While that layer is setting, you can prepare the blue layer (blueberry will work). The blue layer of jello is poured onto the firmed up white layer, and then it’s refrigerated for at least 30 more minutes.
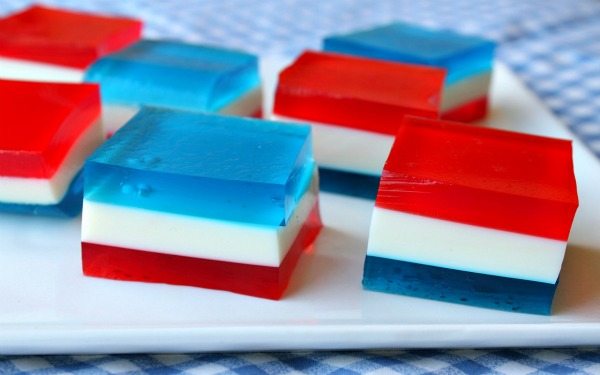
Just to be clear, “finger jello” is jello that you can cut into pieces and pick up and eat as a handheld treat. There are three different flavors going on in this finger jello. Make it for a summer party, and watch it fly off the table!
To make for a pretty display, cut one square larger and use a star cookie cutter to cut out a fun star shape for the middle of your platter. If you turn some of the squares upside down then your platter will show some red and some blue. It makes for a prettier display!
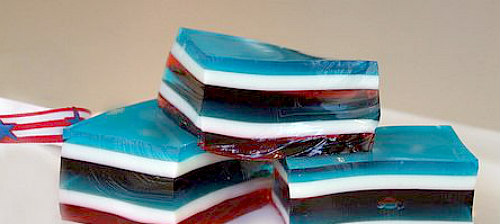
Here’s a 6 layer version of Red White and Blue Finger Jello that I made a few years back. I like the three layer version better- it’s much easier to make!
Here are a few more jello recipes you might enjoy:
Red, White and Blue Finger Jello
Ingredients
- Two 3-ounce boxes red jello gelatin
- Two 3-ounce boxes blue jello gelatin
- 4 envelopes Knox unflavored gelatin, divided
- One 14-ounce can sweetened condensed milk
- boiling water and cold water
Instructions
- In a medium bowl, mix two boxes of red jello with 1 envelope of unflavored gelatin. Add 2 cups of boiling water and stir to dissolve. Cool to room temperature and pour into a 9x13-inch glass pan that has been sprayed with nonstick spray. Refrigerate for 15 minutes (make sure that your refrigerator is level, or your jello will come out uneven-looking).
- While the first layer is setting, prepare the white layer. In another bowl, mix sweetened condensed milk with 1 cup of boiling water. In a separate small bowl, sprinkle 2 envelopes of unflavored gelatin over 1/2 cup of cold water. Let stand a few minutes and then add 1/2 cup of boiling water to dissolve the gelatin. Add to the milk mixture and stir to combine. Cool to room temperature. Pour this milk mixture over the first layer of red jello. Refrigerate for 30 minutes.
- While the white layer is setting, prepare the blue layer. In a medium bowl, mix two boxes of blue jello with 1 envelope of unflavored gelatin. Add 2 cups of boiling water and stir to dissolve. Cool to room temperature and pour on top of the white layer. Refrigerate for 30 minutes.
- Let jello set before cutting. Use a sharp knife to cut, and then use a metal spatula to slide underneath the jello and scoop out jello squares.
Notes
- For a festive 4th of July look, use a star cookie cutter to cut out a star-shape for the center of your platter. Place some jello squares red-side-up and some blue-side-up.
- For testing purposes, I used Strawberry & Berry-Blue flavored Jell-O. Sometimes you can find Pina Colada flavored jello (which is white), and you could opt to use that as your white layer. The milk layer though is yummy & the kids seem to like it mixed with the jello layers.
Nutrition
Nutrition information is automatically calculated, so should only be used as an approximation.


what size dish/pan do you use?
9×13 pyrex
Can the jello be spiked like you do with Jell-O shots? Would it still work the same?
I’ve never tried spiking it, so I’m not sure!
Very easy to follow. Grandkids loved it. I turned purple jello blue by adding a few drops of food coloring. Also, I poured the next layer over a spoon in order to deflect the liquid. This helps prevent “pour indentations ” in the previously set layer.
Through no fault of the recipe I made a bit of a mess of these and they still turned out almost picture perfect. Sharing my misadventures to encourage anyone else who may end up in the same boat… First, I turned out to only have one box of blue jello and couldn’t find more at any nearby stores. For the blue layer I ended up using the one box, two envelopes of unflavored gelatin (bringing the recipe total to five), and a quarter cup of Torani blue raspberry syrup (and reduced the total liquid in the blue layer from 2 cups to 1-3/4 to account for it). The taste and texture both turned out great, and I think you could even get away with leaving out the flavoring if you didn’t mind a milder berry flavor. Or a packet of koolaid and some sugar might also work. Next, I don’t often use sweetened condensed milk, so I was surprised to see it come out of the can distinctly caramel-colored. I was worried I was going to have *antique* looking patriotic squares! Fortunately the white layer set a lot lighter than it looked when I was mixing it. And finally, as I was pouring the white layer and mentally preparing myself to tackle the modified blue, I realized I had forgotten to grease the pan before the first layer. But never fear! After running a thin flexible spatula around the edges the next morning, soaking my glass dish in a broiler pan of hot water for a couple of minutes (metal would need less time) melted the bottom layer just enough that I could lift the squares out easily. Only suffered one casualty from the corner.
So thank you for posting this festive and apparently foolproof – for at least this fool! – recipe.
Other tips – I let each layer set for more than the recommended 15/30 minutes, more like 30/50, and they still stuck together fine. And if you’re looking for perfect appearances, make sure to pop any bubbles you have in each layer after you pour it, because they *will* set and mess with the clean lines between colors.
oh my, what a process! I’m glad it turned out in the end 🙂
Hello, Want to make your jello recipe tomorrow but the part I don’t get is, do you start prepping the jello right after you poured the white one on the first layer. Since you have to wait 30 min b4 you pour the last layer. I’m wondering if leaving the last jello out for 30 min won’t gel up and be hard to pour over the white jello? Thank you
Sorry I missed this- did you figure it out?
I made this recipe and it turned out absolutely perfect!!!!
Happy to hear!
I’m considering putting fresh strawberries in the red jello & blueberries in the blue. Do I need to adjust the ingredients so it’s not runny?? Would you happen to know?
I’m not sure if that would work out- sorry!
It’s important to let the jello mixture cool before layering. I missed that part, and the white layer turned pink instantly after it hit the set red jello.
Definitely. The instructions state to cool to room temperature- each layer.
Such an easy dessert idea! I’d always wondered how people made white jello….I never knew it was made with milk. Cool!
Love these! Always an easy choice to bring to a potluck.