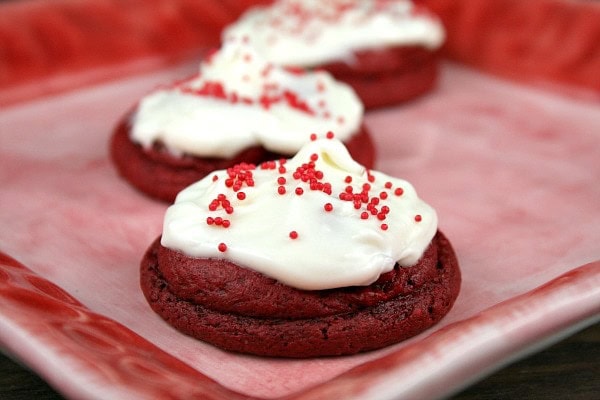
This is the story of how I saved an ugly cookie. Actually, let me re-phrase that… how I saved a disgustingly ugly-looking cookie that was totally worthy of eating but not appropriate for sharing with anyone, let alone on the blog. I decided to share them anyway because they have a funny story behind them, they ended up with a happy ending, and they were darn good too! Here are my Red Velvet Cookies with Cream Cheese Frosting.
I’m not sure how I found this recipe, but it was randomly tucked into the comments of another recipe on the internet that I happened to be looking at. I used that base recipe to create these. This cookie dough begins with a red velvet cake mix, and the batter is super duper thick. It’s so thick that I’m just gonna warn you right now that you’d better use a strong wooden spoon to stir it all up.
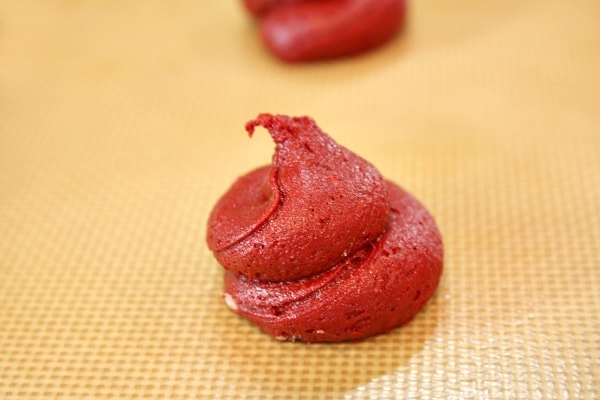
I had the brilliant idea of scooping mine into a big plastic bag and squeezing it onto my baking sheet. This was just a bad idea. It created unwanted swirls. It would have been MUCH better to use a cookie scoop, or even a spoon for that matter. You’ll find out why very soon…

I stuck a Hershey’s Hug Kiss in the center of each red velvet cookie dough blob.

And then squeezed some more cookie dough on top to sandwich it all together.
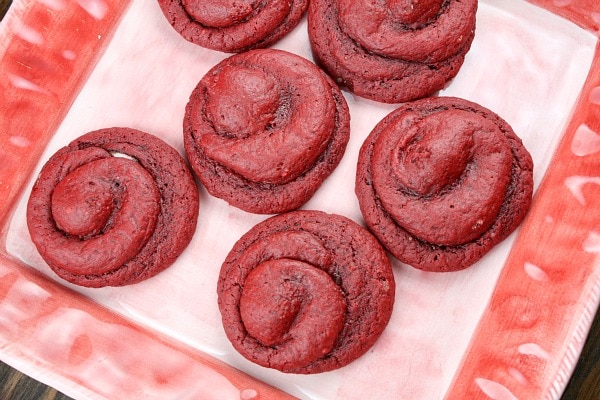
Here’s the part where I pretty much fell on the floor sort of laughing and crying. What do those look like to you?? Little piles of red velvet cow poop, right? Yep, I made red velvet cow poop cookies. NICE. The funny thing is that they were really delicious! They were not super cakey- just kind of like a regular cookie but a little soft- and then had that wonderful bite of chocolate in the middle.
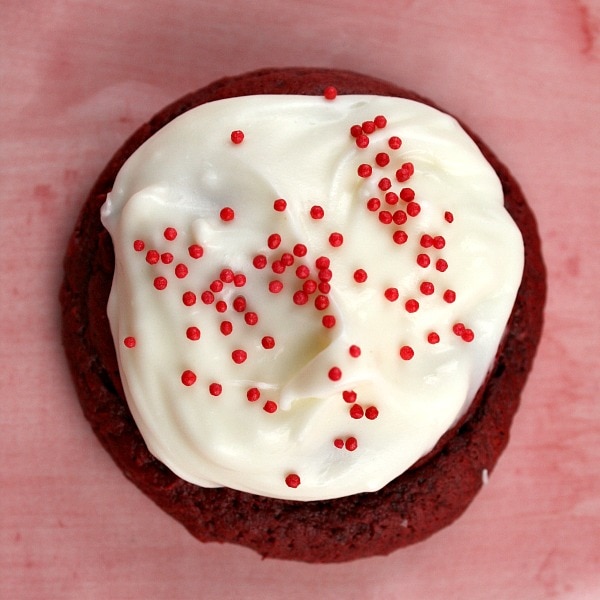
After sharing my red velvet cow poop cookie photo with my Instagram (find me there as RecipeGirl) friends, they suggested I rescue the cookies with a swirl of cream cheese frosting. So I did. All better. Unless some unsuspecting individual licked the frosting off of the cookie, no one would have a clue what they once looked like.
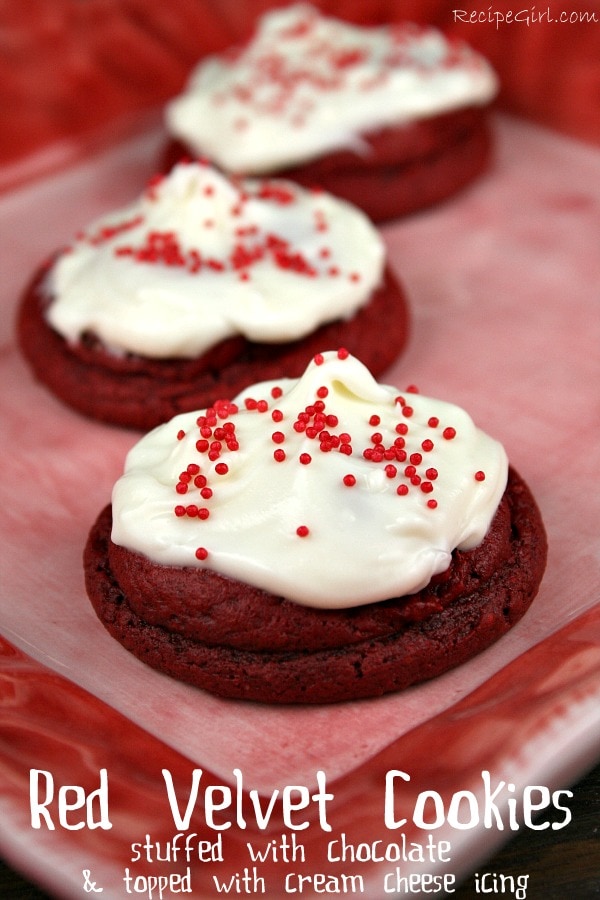
They actually turned out kind of pretty after all!
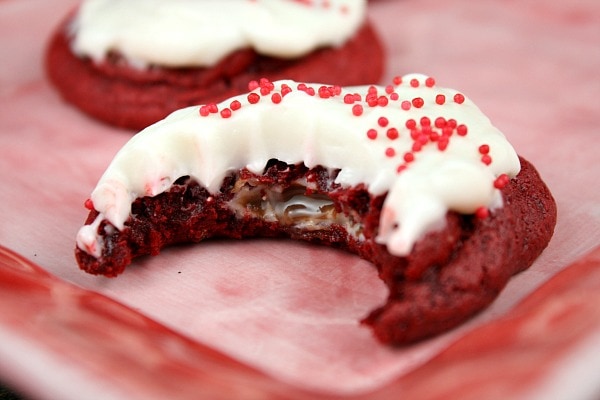
And there’s a peek at that wonderful surprise of melted chocolate on the inside. These were a little messy (as is all red velvet), and the cookie dough is a strange consistency (thick!), but they’re really pretty easy to make and they’re quite delicious too. I had to force myself to stay away from them after I sampled a couple too many. The kiddos in the neighborhood enjoyed them too- though my son had to tell them all the cow poop story and ruin my reputation. Giggles all around 🙂
Red Velvet Cookies with Cream Cheese Frosting
Ingredients
COOKIES
- 1 box Red Velvet Cake Mix (I used Duncan Hines)
- 1 small box instant vanilla pudding mix (dry)
- 4 to 5 large egg whites (start with 4... see step 2 below)
- ½ cup sour cream
- 24 Hershey's "Hugs" Kisses (White Chocolate + Milk Chocolate), unwrapped
CREAM CHEESE FROSTING
- 6 ounces cream cheese, softened
- 1¼ to 1½ cups powdered sugar
- 1 to 2 tablespoons whipping cream or milk
Instructions
COOKIES
- Preheat the oven to 350 degrees F. Line a baking sheet with parchment paper or a silpat mat.
- Whisk together the dry ingredients in a large bowl. In a separate bowl, mix 4 egg whites and sour cream, then use a WOODEN SPOON to mix it into the dry mixture. The mixture will be very thick. Add an additional egg white if it's impossible to stir. A thick batter is what you're looking for though. You'll think it's way too thick (I did. I thought... there is no way this is going to work out!), but it does and bakes up into a tender cookie.
- Use a small cookie scoop or a spoon to drop a tablespoon of cookie dough onto the prepared baking sheet. Press a kiss into the cookie dough, and then top the kiss with another tablespoon of dough. Just kind of plop it on top... it will bake together in the oven and keep the Kiss inside. Repeat with the remaining cookie dough. Bake 12 to 13 minutes, until the cookies are set. Remove from the oven and let cool on the cookie sheet a few minutes before transferring to a wire rack to cool completely.
CREAM CHEESE FROSTING
- Use a hand mixer to combine the cream cheese with 1¼ cups powdered sugar and drizzle in enough whipping cream or milk to create a nice spreading consistency, adding more powdered sugar if needed.
- Spread the frosting on the cookies. Top with decorative sprinkles, if desired.
Notes
- If topped with the homemade cream cheese frosting, the cookies will need to be kept in the refrigerator in a covered container. Bring to room temperature when ready to serve or nibble.
- Use store bought cream cheese frosting, if desired. It saves a little time!
Nutrition
Nutrition information is automatically calculated, so should only be used as an approximation.



That is the best looking piece of poop I’ve ever seen. I’d eat it!
Couldn’t wait to see your post of these after seeing the pictures on Instagram. Love everything about these tasty cookies! If only I had a few to nibble on right now!
they look great, and one would never know…
OK so I am totally addicted to the cauliflower pizza, I have made it 4 times so far…I love it…can one overdose on cauliflower?
BTW because I have been making it so much, I did a little experiment with the recipe and cut down on the cheese to one cup, it worked fine, and less calories too!!!
Im totally gonna make these thanks for sharing!
Love hearing about mishaps turning into successful recipes! At the end of the day, it’s all about the taste anyway, right?
LOL!!! Great post – the recipe sounds delicious (and EASY).
Loooove the idea of sneaking a kiss in there…literally 🙂
You had me tearing up this morning. I saw your post, paged through it without reading first. Came to the picture looking down on your little swirls. Thought … yikes, looks like what I go around our yard daily picking up with the pooper scooper. LOL They look good, but I’m back to being good with WW. Maybe later. Thanks for the giggle.
HA HH A HA HA HAH A A HA HAH AH AHA HAHA HAHA H A!!
This just TOTALLY cracks me up!!! and I love that you came up with a solution!!
any now you have a good cookie idea for April Fools! {wink}