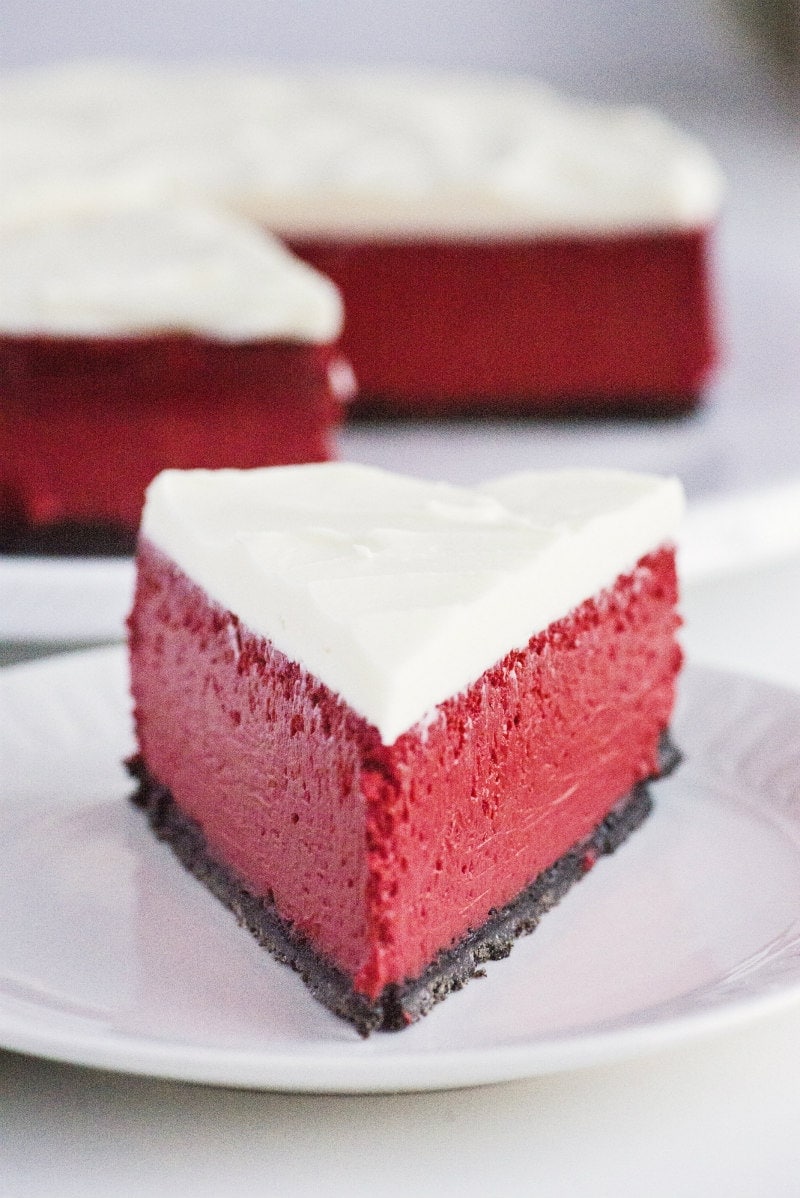
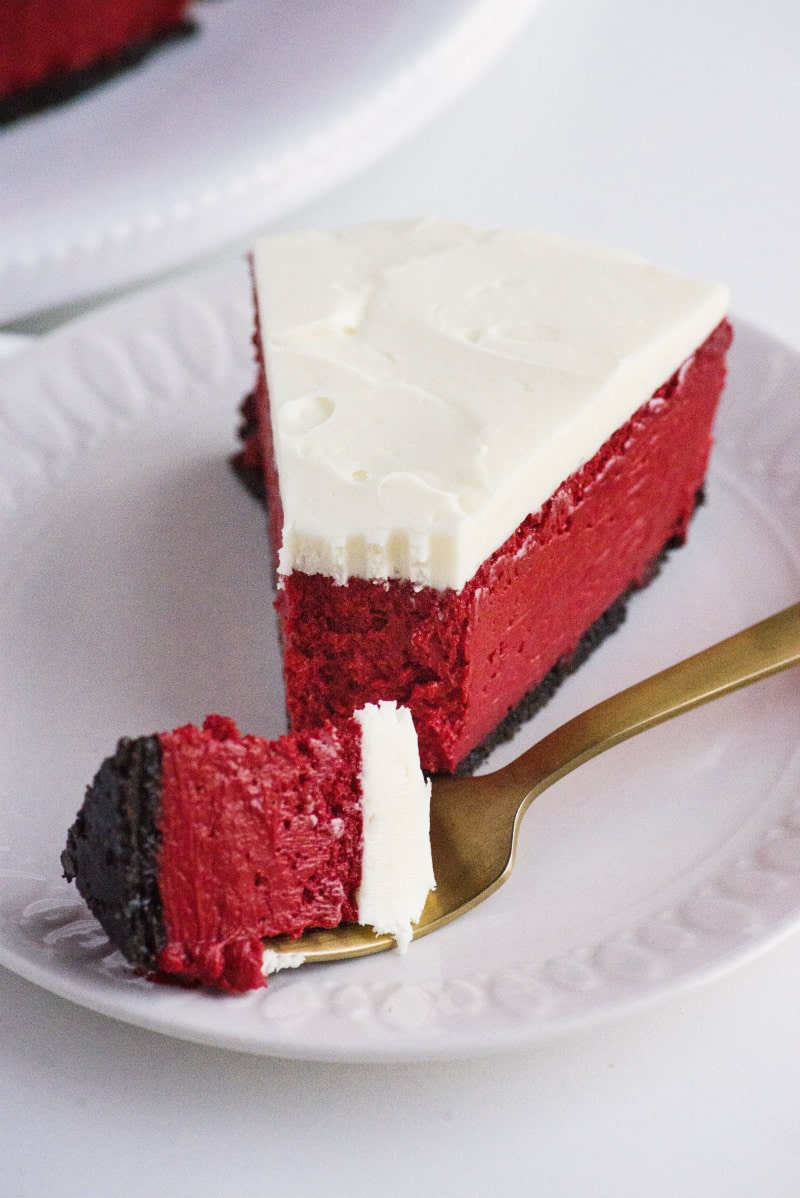
This Red Velvet Cheesecake recipe is a delicious and creamy cheesecake with an Oreo Crust. It’s covered with a thick layer of cream cheese frosting too. Watch the video showing you how to make this cheesecake, then scroll to the bottom of this post and print out the recipe so you can make it at home!
What is Red Velvet Cheesecake?
You’re probably familiar with the classic red velvet cake, which has cream cheese frosting. Or maybe you’ve tried my recipe for my very popular Red Velvet Cheesecake Cake! Well, this red velvet cheesecake is frosted with a good, thick layer of cream cheese frosting too. Does that make it rich and decadent? Yes, it does! Cheesecake is always a mega sweet-treat, and this one is over the top. I’ve made it a few times, and it’s always a big hit with cheesecake (and red velvet) lovers!
The Oreo crust is a nice pairing. Use the whole Oreo for the crust (cream and all). You can choose to make a classic graham cracker crust, if you’d like. Or you can use chocolate graham crackers for the crust instead.
What’s the best occasion for serving a Red Velvet Cheesecake?
This Red Velvet Cheesecake is such a pretty cheesecake to make for the holidays. It’s nice for Christmas because I love that it has all of the “Santa” colors. It’s a festive one for New Year’s Eve. And it’s always a hit for Valentine’s Day too.
How do you make Red Velvet Cheesecake?
First you’ll make the Oreo crust. It’s a simple trio of Oreos that have been crushed into crumbs combined with melted butter and sugar. A classic 9-inch springform pan is used for this recipe, so the Oreo crust is just pressed into the bottom of the pan. The crust does NOT need to be baked.
The filling is next. It’s a classic cheesecake made with cream cheese, sugar, eggs, sour cream and vanilla. But to turn it into a red velvet cheesecake, you’ll add unsweetened cocoa, buttermilk, white vinegar and red food coloring. If you prefer to use gel paste instead of red food coloring, just add in the red gel paste until you get a nice, deep red hue to the cheesecake batter. The batter is then scraped into the pan on top of the Oreo crust.
Then it’s ready for the oven!
Do you have to bake this cheesecake in a water bath?
If you just bake your Red Velvet Cheesecake in the oven like you’d bake a regular cake, you run the risk of some major cracking. Lucky for you, there are two options for baking this cheesecake. You can choose to bake it in a water bath. This method just means you wrap foil around the cheesecake pan and set it into a larger pan that has a little bit of water in it. This ensures your cheesecake will stay moist during the long baking process. Some people are wary of using this method because of the possibility of water leakage through tears in the foil.
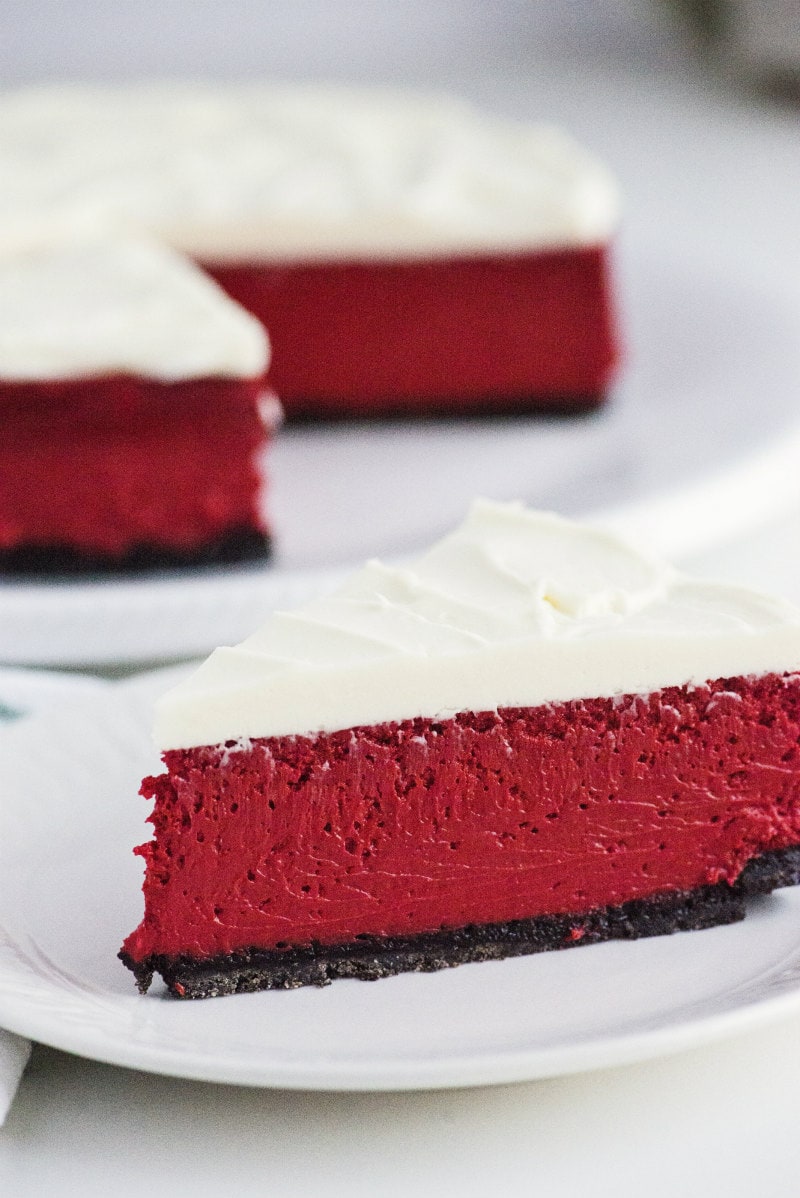
If you don’t like to use a water bath, then you can choose this alternate method. Simply place a pan of water on a lower rack, and bake the cheesecake on a rack above the pan. Having the water in the oven will still create enough moisture to help keep the cheesecake moist. I actually prefer to use this method most of the time when I’m baking cheesecakes. Take a look at the photo above. This cheesecake turns out very moist!
FOLLOW-UP NOTE: There are a few people who have shared that the water bath method (or pan underneath) didn’t work well for them– that it made the crust too soggy. You are welcome to bake this without any kind of water bath. If it cracks on top, it’s okay since you will be covering it with icing.
What do you do if the top of your Red Velvet Cheesecake cracks?
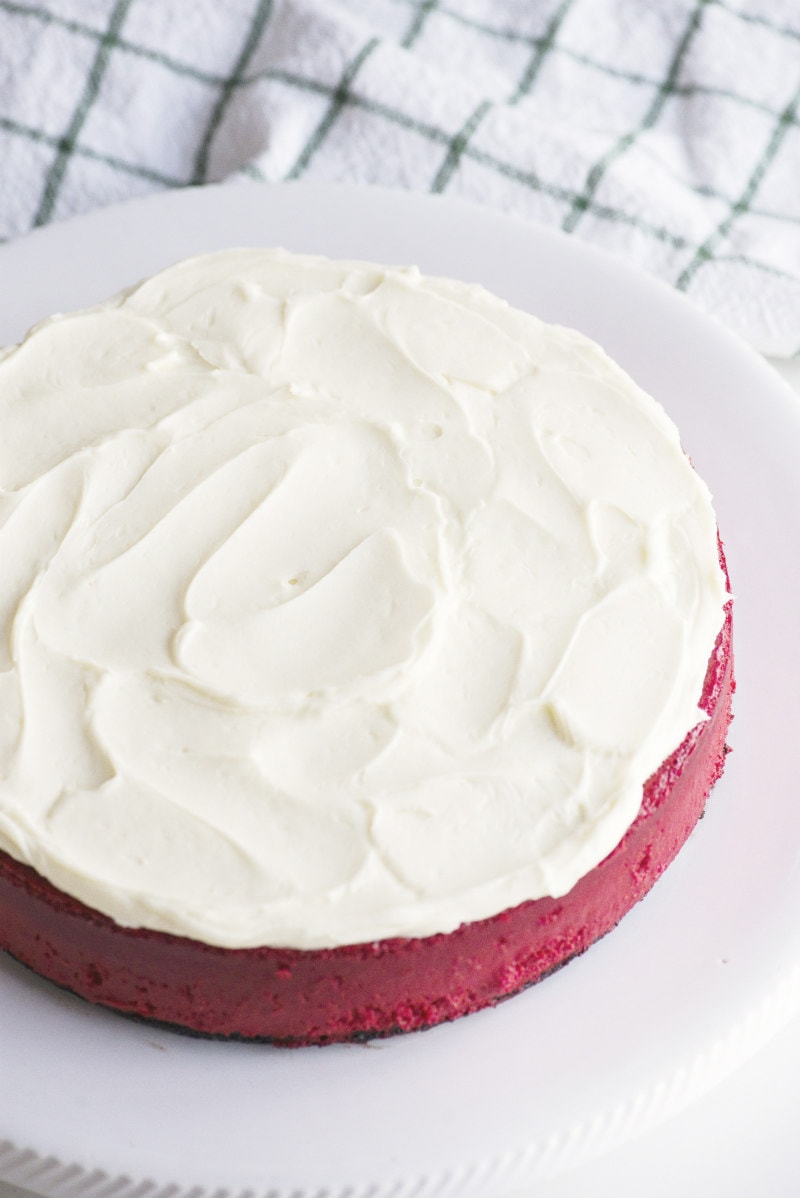
It’s okay! Once the cheesecake has been chilled in the refrigerator for a good number of hours, you’ll be covering the top of it with a thick layer of cream cheese frosting. So if there are any cracks there, they’ll be buried by the frosting!
Are there make-ahead instructions for Red Velvet Cheesecake?
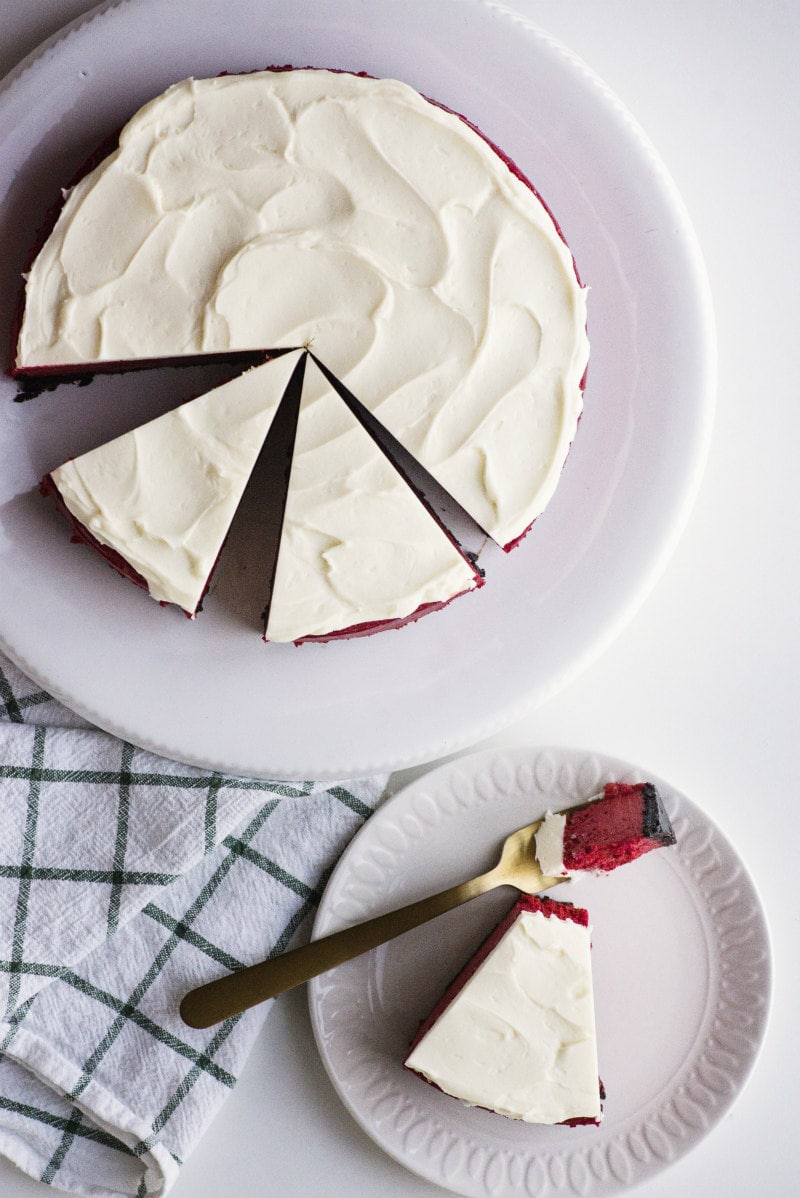
It’s probably a good idea to make this recipe one day ahead of serving. Go ahead and frost it too. It will be easiest to cut neat slices if it has been well-chilled.
Here are a few more great cheesecake recipes to try:
- No Bake Cheesecake
- Pumpkin Cheesecake
- Instant Pot Cheesecake
- Caramel Apple Cheesecake
- No Bake Baileys Chocolate Cheesecake
- Snickerdoodle Cheesecake
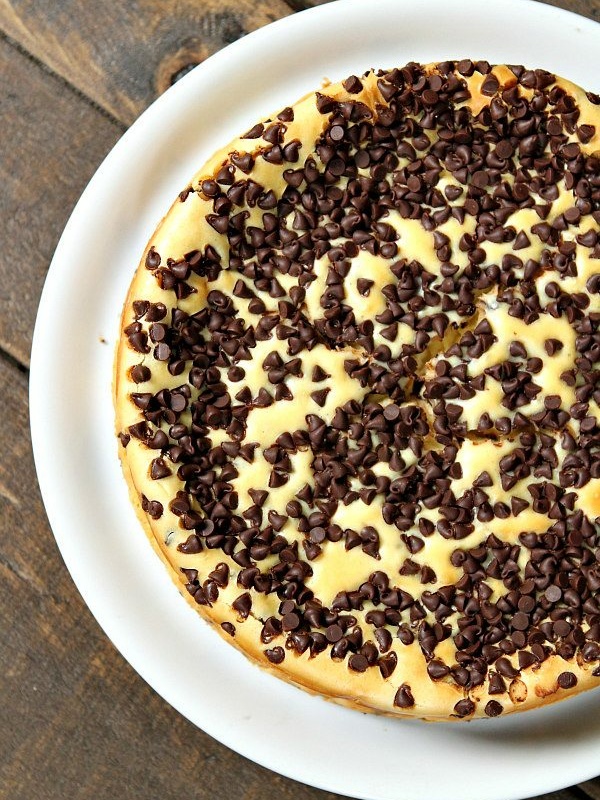
- Chocolate Chip Cheesecake
- Sugar Cookie Cheesecake
- No Bake Banana Rum Cheesecake
- Strawberry- Coconut Cheesecake
Red Velvet Cheesecake
Ingredients
CRUST:
- 17 OREO cookies (don't remove the cream), crushed into crumbs
- 1/4 cup (1/2 stick) butter, melted
- 1 tablespoon granulated white sugar
CHEESECAKE:
- 24 ounces (3 packages) cream cheese, at room temperature
- 1½ cups granulated white sugar
- 4 large eggs, lightly beaten
- 3 tablespoons unsweetened cocoa powder
- 1 cup sour cream
- 1/2 cup buttermilk
- 2 teaspoons vanilla extract
- 1 teaspoon distilled white vinegar
- 2 ounces red food coloring (two 1-ounce bottles)
FROSTING:
- 3 ounces cream cheese
- 1/4 cup (1/2 stick) butter, at room temperature
- 2 cups powdered sugar, sifted
- 1 teaspoon vanilla extract
- mint sprigs for garnish, optional
Instructions
PREPARE THE CRUST:
- Stir together the Oreo crumbs, melted butter, and sugar. Spray the bottom and sides of a 9-inch springform pan with nonstick spray, and then press the crust mixture into the bottom of the pan. NOTE: the video for this recipe shows that you have to bake the crust. That's an error. You DO NOT have to bake the crust!
- Preheat the oven to 325°F. Prepare a water bath: Fill a large roasting pan (big enough for springform pan to fit into) with about 1-inch of water. Place in the oven and allow to preheat along with the oven. Alternately, if you don't want to put the cheesecake INTO a water bath, you can put the pan on a lower rack and plan to bake the cheesecake on a rack ABOVE the bath.
PREPARE THE FILLING:
- In a large bowl, use an electric mixer to combine the cream cheese and sugar at medium-low speed for 1 minute. Add the eggs and remaining cheesecake ingredients, mixing on low speed just until fully combined. Pour the batter into the prepared crust.
BAKING:
- If using the WATER BATH method, take out two sheets of heavy duty foil and layer them on top of one another. Place the springform pan on top of the foil and wrap the foil gently around the pan and up the sides. Make sure that there are no tears or holes and that the foil comes all the way up around all sides of the cake. Carefully place the foil-protected pan into the water bath in the preheated oven. Alternately, if not using a water bath, just place the springform pan on a rack above the pan of water.NOTE: There are a few people who have shared that the water bath method didn't work well for them-- that it made the crust too soggy. You are welcome to bake this without a water bath. If it cracks on top, it's okay since you will be covering it with icing.
- Bake for 10 minutes; then reduce heat to 300°F. Bake for an additional 75 minutes or until the center is firm (it might take 15 minutes more or so... you don't want the cheesecake to be jiggly in the middle). Turn the oven off. Let the cheesecake stand in oven for 30 minutes. Remove the cheesecake from the oven. Carefully remove the cheesecake from the water bath and place on a wire rack. Run a thin knife around the outer edge of the cheesecake. Cool on the rack for a couple of hours, until the cheesecake becomes close to room temperature. Cover and chill for at least 8 hours (or overnight). Remove the sides of the springform pan.
PREPARE THE FROSTING:
- Beat the cream cheese and butter at medium speed with an electric mixer until smooth. Gradually add the powdered sugar and vanilla, beating until smooth. Spread evenly on top of the cheesecake. Garnish, if desired. Keep refrigerated until ready to serve.
Notes
- You may sub 1 1/ cups chocolate graham cracker crumbs (or regular graham cracker crumbs) for the crushed Oreos.
- If your cheesecake cracks, don't worry! You'll be covered the top of it with frosting, and no one will know.
- Some readers have indicated that there is far too much frosting for this recipe. I personally like a lot of frosting, so you can see a thick layer of frosting in the photograph. If you're not big on frosting, you can leave it off entirely or cut the frosting recipe in half.
Nutrition
Nutrition information is automatically calculated, so should only be used as an approximation.



I made this for our family gathering at Christmas. My daughter in law had been after me for several months to make a red velvet cheesecake. This turned out fabulous. I believe the water bath helped to make the cheesecake extra moist and I had a number of people almost fighting over the last piece.
My wife is giving a baby shower later this month for her cousing and they want me to fix this for the baby shower only substituting blue food coloring for the red (she is having a boy). Do you see any problems with making the cake blue?
I think it would be fine! Blue Velvet Cake!
Making it for my husbands birthday since cheesecake and red velvet are his favorites. I split the cheesecake batter and did only half with the red color and cocoa and then swirled them together. It is very pretty and seems to work just fine.
Would it be possible to seprate the batter half and half, only make half red velvet and the other half plain? Then pour red velvet over the plain and then bake it. Do you think it would run together or stay seprate? Thank you!
Hard to say since I haven’t tried it that way. I would guess that if you were very careful about gentle swirling, it might be okay.
hi, my cheesecake is in the oven right now so fingers crossed =) i just was looking at other websites as well and i was wonderin if anybody had trouble with removing the cake from the springfoam pan? some websites asked to line the bottom with parchment paper and to grease the sides but i didnt.. will i have some trouble with taking if off the pan?
I’m probably too late in answering your question. Putting parchment on the bottom certainly helps. How did it work out for you?
This is a wonderful and fun recipe. Everyone loved it and was great fun to do and present. I recommend this!
I really enjoyed this cheese cake, Everyone at the birthday party like and was amazed there was no cracks in the top. I ended up using a 10 inch round cake pan to keep the water out of spring pan.
I love this recipe it was a hit at christmas at my house and I am here 3 days after christmas making another to deliver to relatives that didnt get to try it…I will be delivering slices this after noon. I think the frosting was a little added bonus. Thanks so much.
i made this for our christmas dessert and it was SO good. everyone loved it!
i took the lazy way out and did not use a waterbath, i figured any cracks would be covered covered by the frosting. oooh my did it crack! it looked totally fine once i added the frosting, but i would definitely suggest using the waterbath.
great recipe, thanks!
I made this twice last year and I’ve just made it again today for a party tomorrow night . . . and I think I’ll make it again for Christmas Day. It has really been a big hit. It is super deliscous and looks amazing!!! Thanks a bunch!!
I recently made this for some of the girls at work. They ALL said that it was the BEST cheesecake they had EVER had!
Thanks so much recipegirl!