These Mummy Cookie Pops are the perfect Halloween treat for all ages! For some reason, putting any treat on a stick makes it just so much more fun to eat!
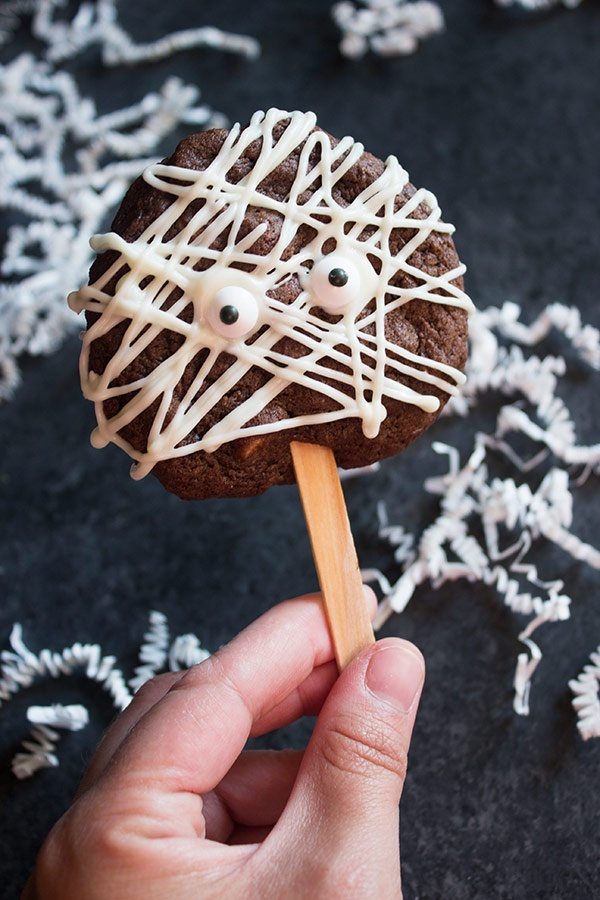
Not only are these mummy cookie pops adorable but they are made with triple chocolate cookies that are any chocolate lover’s dream! The dough is a chocolate dough that’s filled with white and semi-sweet chocolate chips making the cookies extra decadent! It’s quick and easy to pull together and it takes no refrigeration time or fancy equipment.
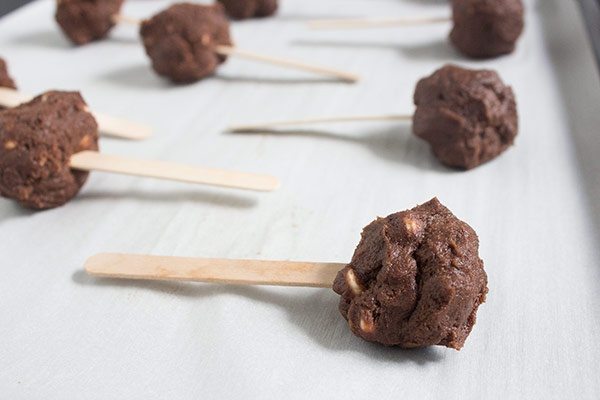
How to make Mummy Cookie Pops:
Once you’ve made your dough, you just place a popsicle stick into the balls of raw dough before baking them. Be sure to use a popsicle stick and not a round lollipop stick. The lollipop sticks tend to slide right out, so I’ll save you that frustration!
When the cookies come out of the oven, they’ll be un-mummified little cookie pops ready for decorating.
By the way, these triple chocolate cookies are amazing all on their own so you can make them year round! But, the mummy decorations are just so fun for Halloween!
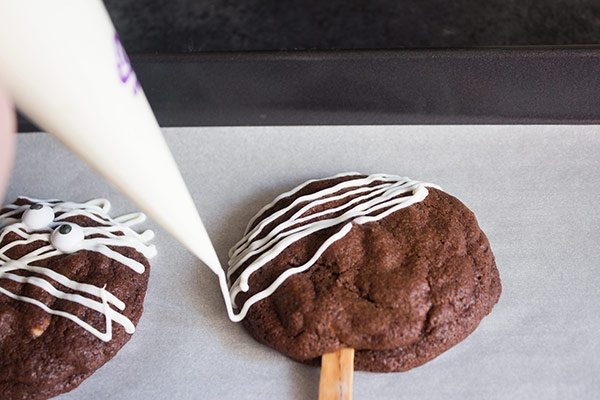
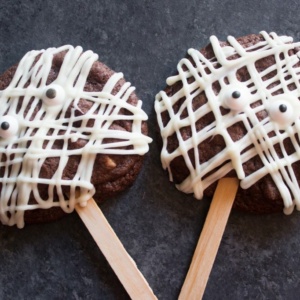
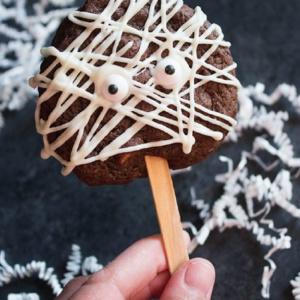
To make the mummies, melt your white chocolate and then use a piping bag or a zip-top bag with a corner cut off to drizzle the chocolate on each cookie. Make an extra little blob of chocolate where you want the eyes to go, stick the eyes on, and you’re done!
The nice thing about these is you don’t need to be an expert cookie decorator to make them look great. (The creepier, the better!) Kids can help you make these, and they will have so much fun making their own creations and “eating eyeballs”.
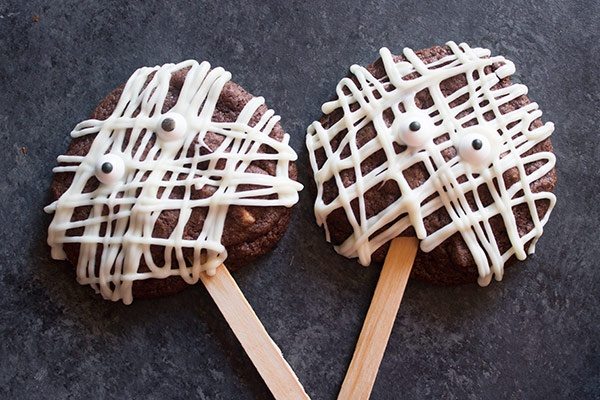
Aren’t these little guys are so cute!? Wrap them individually in cellophane baggies with a ribbon for party favors!
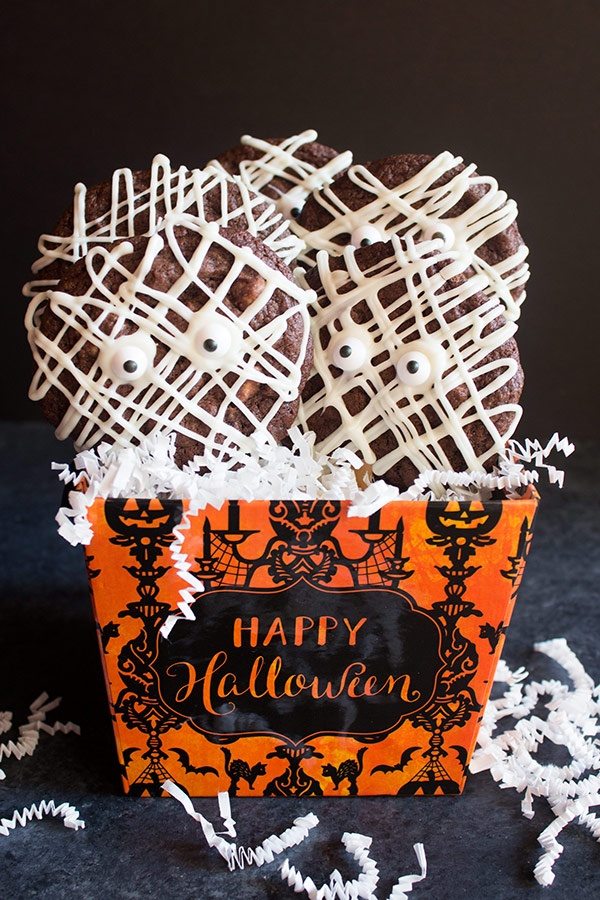
Tip: to get the cookie pops to stand up straight in the bucket, I filled it almost to the top with uncooked rice and just inserted the pops into the rice. Then you can just add some fun crinkle paper on top to hide the rice!
I hope you enjoy these little mummy cookie pops as much as my family has enjoyed them! Happy Halloween!
Here are a few more Halloween cookie recipes you might enjoy:
Mummy Cookie Pops
Ingredients
- 1 cup (2 sticks) salted butter, at room temperature
- ¾ cup packed dark brown sugar
- ¾ cup granulated white sugar
- 2 large eggs
- 1 teaspoon vanilla extract
- 1¾ cups all purpose flour
- ½ cup unsweetened cocoa powder
- 1 teaspoon baking soda
- 1 cup (6 ounces) semi-sweet chocolate chips
- 2 cups (12 ounces) white chocolate chips, divided
- 20 popsicle sticks
- 20 candy eyes (look for them at craft stores)
Instructions
- Preheat the oven to 350 degrees F. Line baking sheets with parchment paper.
- In a large bowl, use a hand mixer to beat together the butter and sugars until light and fluffy. Then add in both eggs and vanilla extract and beat again until combined.
- In a separate bowl, whisk together the dry ingredients (flour, cocoa powder, baking soda). Add the dry ingredients to the wet mixture and use the hand mixer to combine.
- Stir in the semi-sweet chocolate chips and 1 cup of the white chocolate chips. Save the rest of the white chocolate chips for the drizzle on top.
- Form dough balls that are about the size of a golf ball and insert a popsicle stick into each ball. I insert it all the way through until I can almost feel it coming out of the top. Place on the prepared baking sheet and bake for 12 to 14 minutes.
- When you take them out of the oven, let them cool completely on the baking sheet before touching or moving them. Once cooled, add the remaining white chocolate chips to a microwave safe bowl and microwave in 30 second intervals, stirring in between, until melted. (usually about 90 seconds total)
- Add the white chocolate to either a piping bag or a zip-top bag with the end snipped off and drizzle lines all over your cookies. I just go back and forth in 2 directions but you can make your mummies however you like!! Add 2 extra little dots of white chocolate to attach the eyes and place the candy eyes on. Let sit at room temperature to set or you can pop them in the fridge for 10 minutes.
Notes
- The dough should be thick but it might be a little bit sticky. You can rub a little flour on your hands to keep it from sticking to your hands while you form the balls.
Nutrition
Nutrition information is automatically calculated, so should only be used as an approximation.



These are adorable and look so yummy! I HAVE to make these!!