Here’s week 2 showing the progress of my Master Bathroom Remodel. If you missed the before pics, you can check those out > HERE. This is a major remodel– with everything being stripped down, walls torn down and added and the whole bit. You might find it useful if you have thought about sprucing up the bathrooms in your house!
I have lots more to show you today… and then I’ll be sharing the final reveal next Saturday!
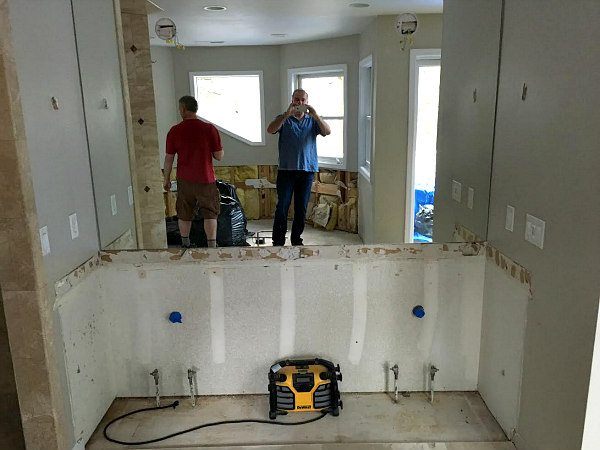
This is where the vanity with sinks used to be. We tore it all out!
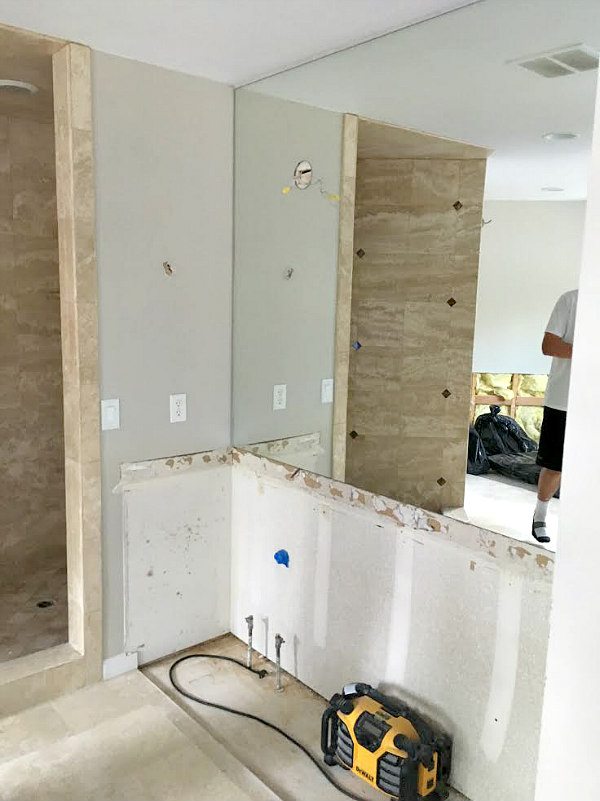
You get a little peek there into the shower on the left too. All of that same boring tile!
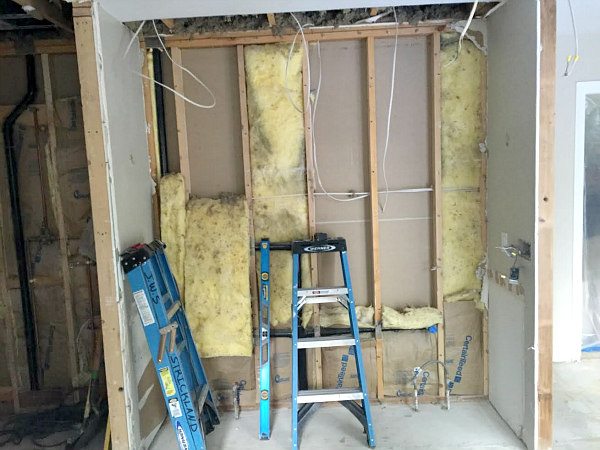
Vanity mirror down and wall ripped out… tile on the floor gone and shower on the left demo’d too. Time to start re-building the bathroom and adding all of the new goodies in!
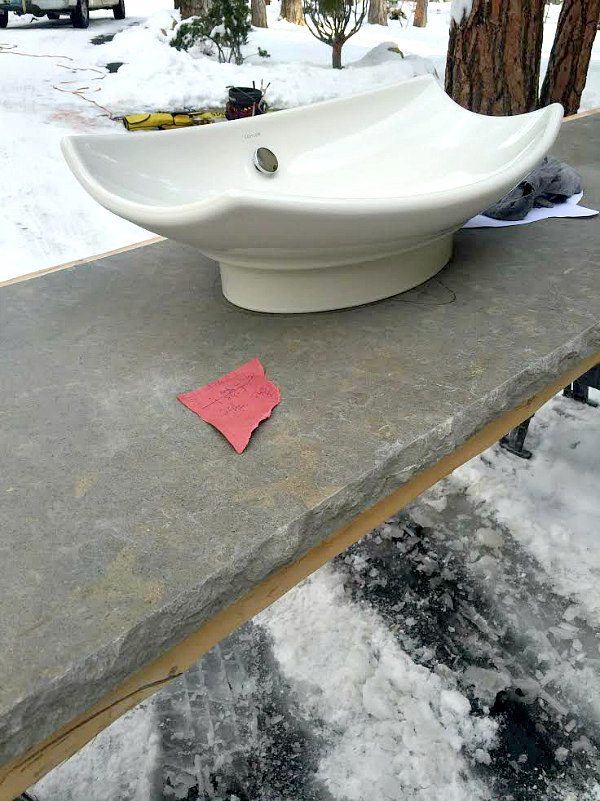
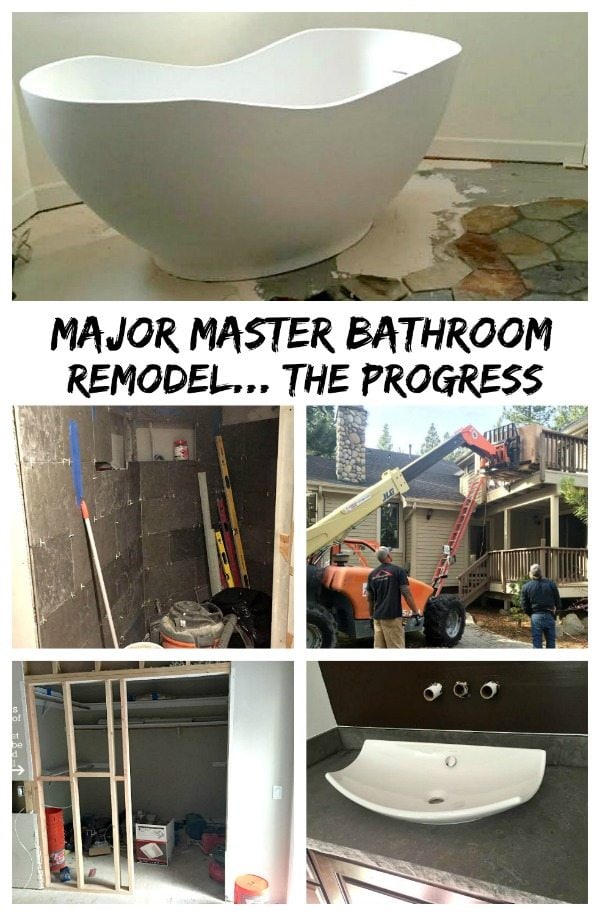
My husband and I knew we wanted to incorporate an interesting sink into our master bath. We checked out the many options that Kohler offers in above counter vessel sinks. We settled on the Leaf Vessel Bathroom Sinks.
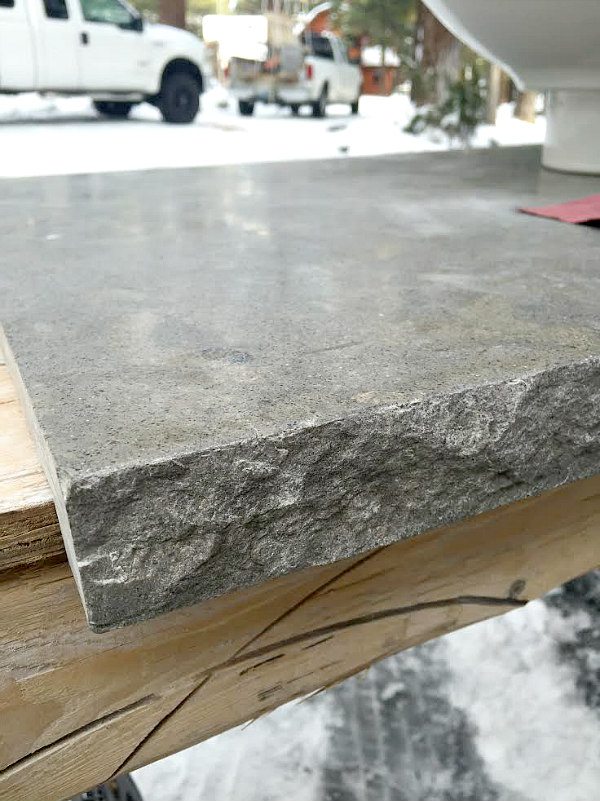
We chose limestone for our vanity top– and had them create a chiseled edge. We looked everywhere for what we wanted- kind of a greyish/green and couldn’t find anything. Our contractor finally found what we wanted at a place in Los Angeles, and we took a chance and ordered it sight unseen. It turned out to be exactly what we wanted- phew!
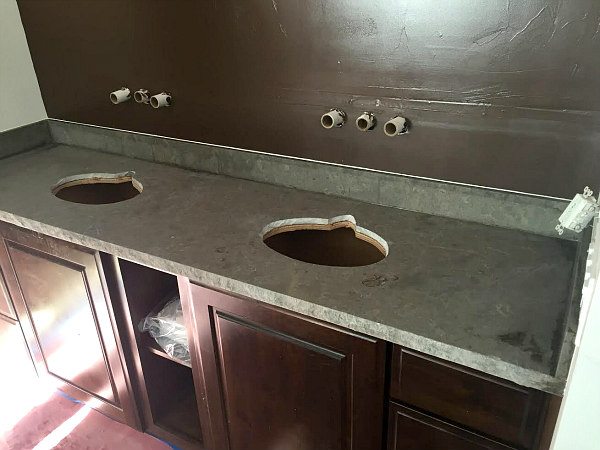
They had to cut out spots for the sinks… and you can see on the wall behind that we decided to have the faucets for the sinks come out of the wall into the vessel sinks. Also, you can see a sneak peek at the vanity cabinets that we chose- we ordered from a local place, and it turned out to be quite a lot more than we wanted to spend… but we decided in the end that we’d be happy with spending the extra money to get what we wanted- good quality cabinetry with a slightly rustic style.
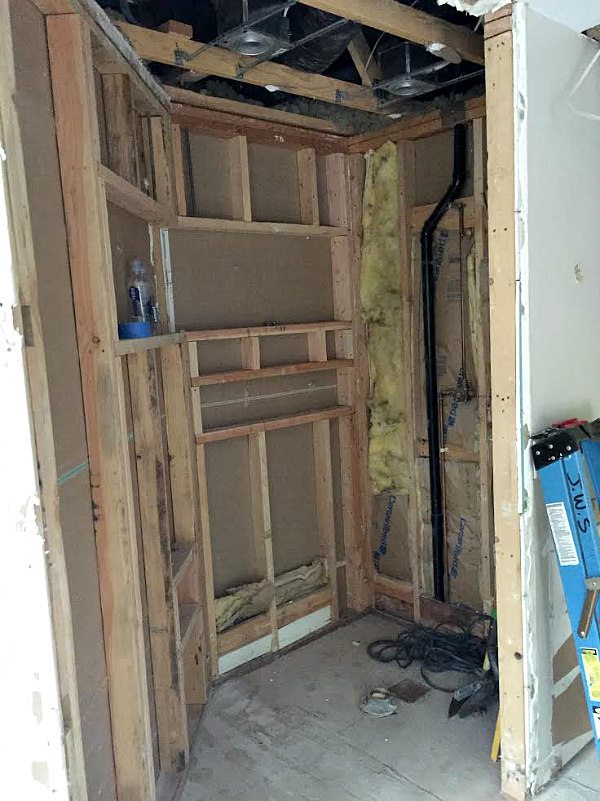
This is a shot of the shower demo. You can see that we had such an oddly-shaped shower space to work with. Everything in our bathroom has odd corners… I honestly don’t know what the original builder was thinking.
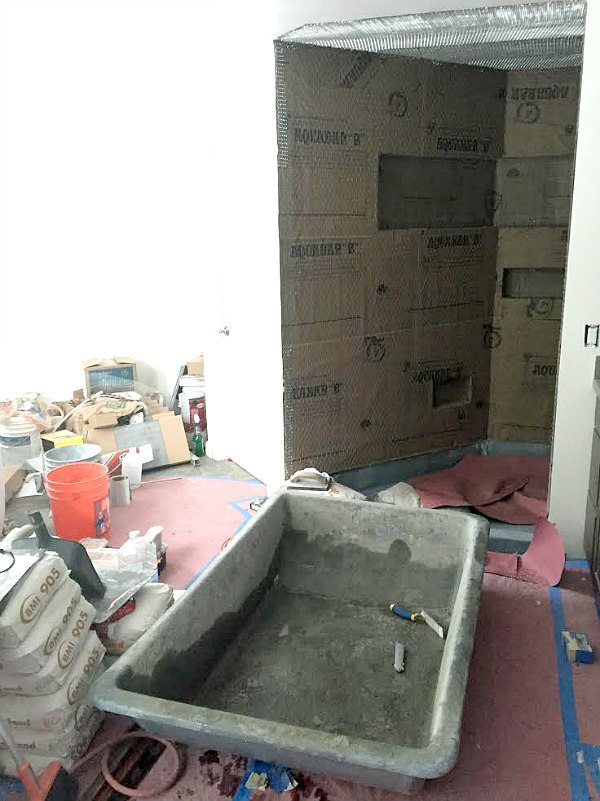
More progress on the shower… the bathroom was a complete DISASTER for so many months. I mentioned in my last post that we were displaced from our master bedroom for four months. The contractor sealed off the bathroom from the bedroom with plastic- but it was not possible to inhabit the bedroom while construction was going on. Everything was a huge mess.
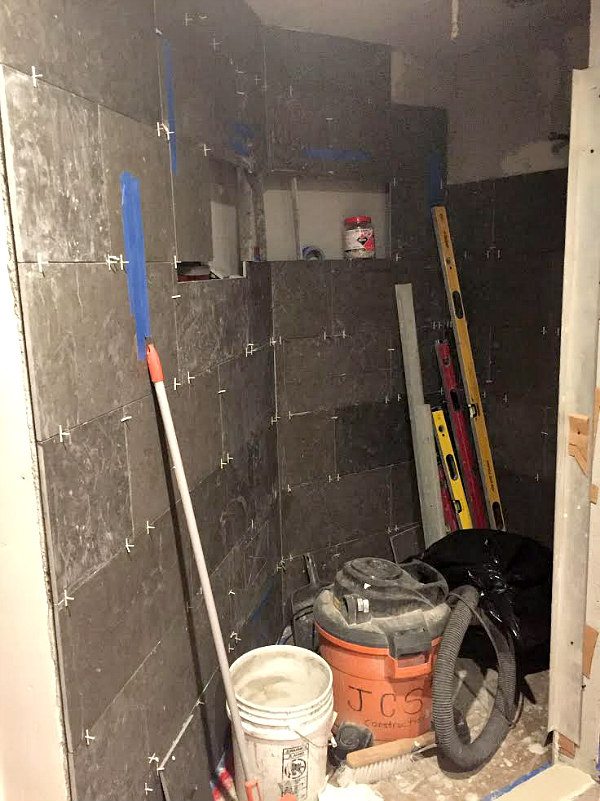
We chose large tiles for the bulk of the shower — and you can see that we had some little nooks built in for storing shampoo, etc.
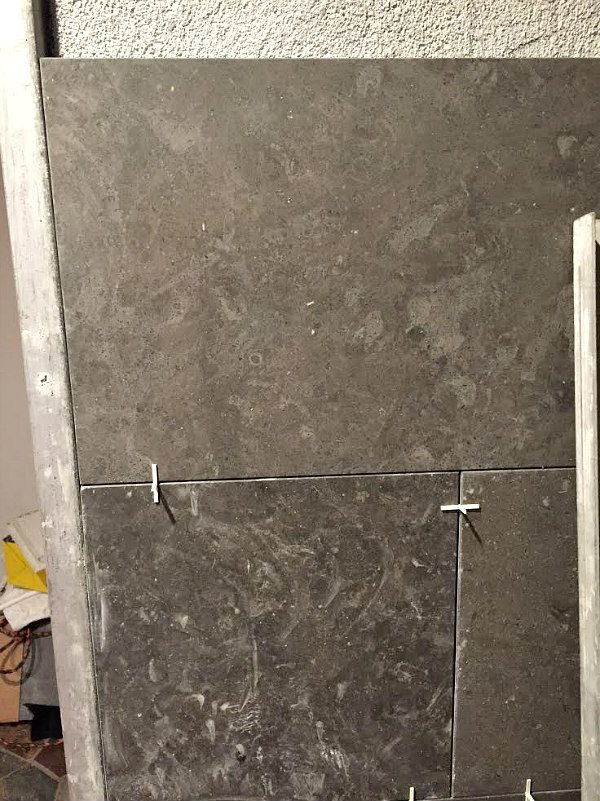
The large tile we chose: Nova Blue Honed Limestone Tile. You’ll see the accent tile we chose in next week’s complete reveal post.
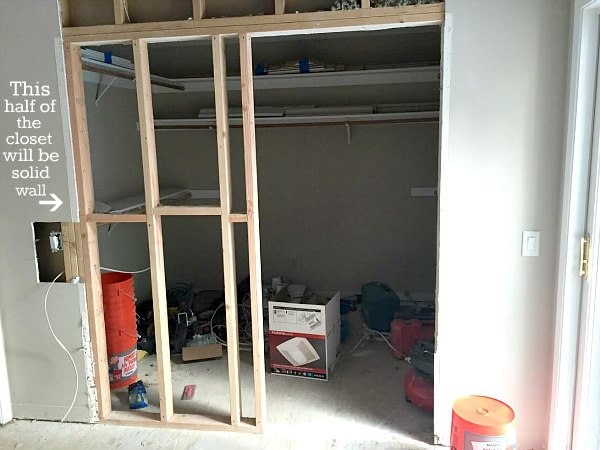
Here’s the closet demo and re-build! You may recall that we had an awful sliding mirror door with gold accents. We did away with it completely and had them extend the wall (we wanted to be able to utilize that wall space with a shoe shelf built in on the inside of the closet). I can’t wait to show you what we did with the closet and the door next week!
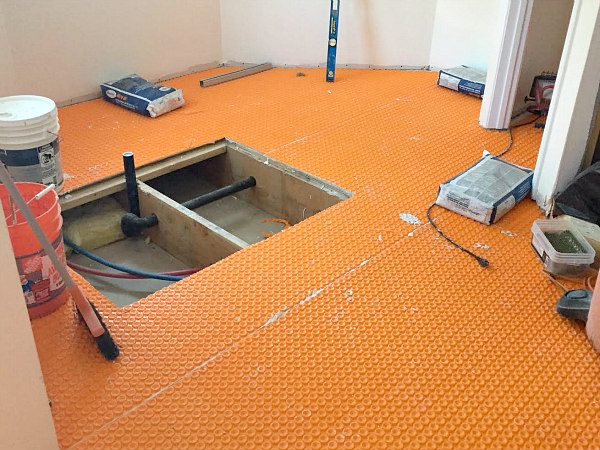
While we were in the midst of the project, we kept thinking about how cold the old tile was when we walked on it- especially in the winter. So we reviewed options and ended up having them put in Ditra Heat floors- made by a company called Schluter.
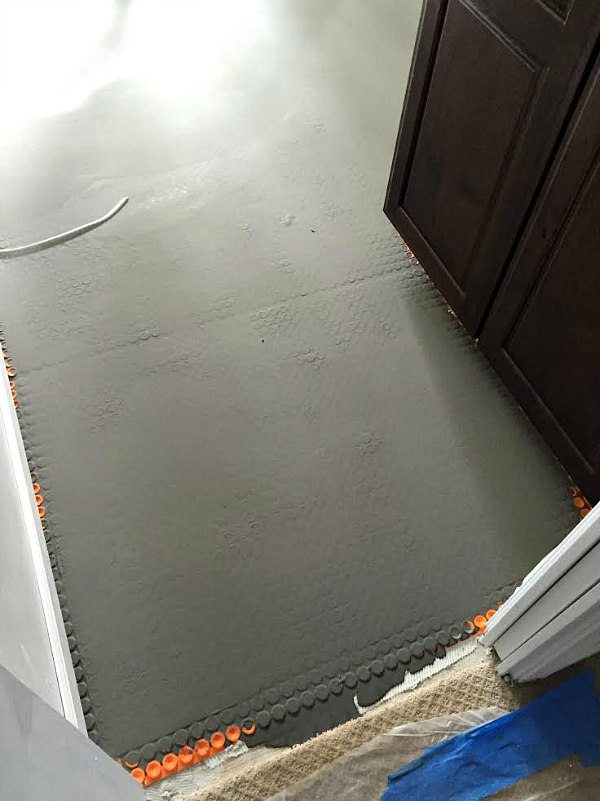
This was all done before they installed the tile. The heat is controlled by a little panel in our bathroom so we can keep it at a controlled, manageable, warm temperature when it’s freezing outside!
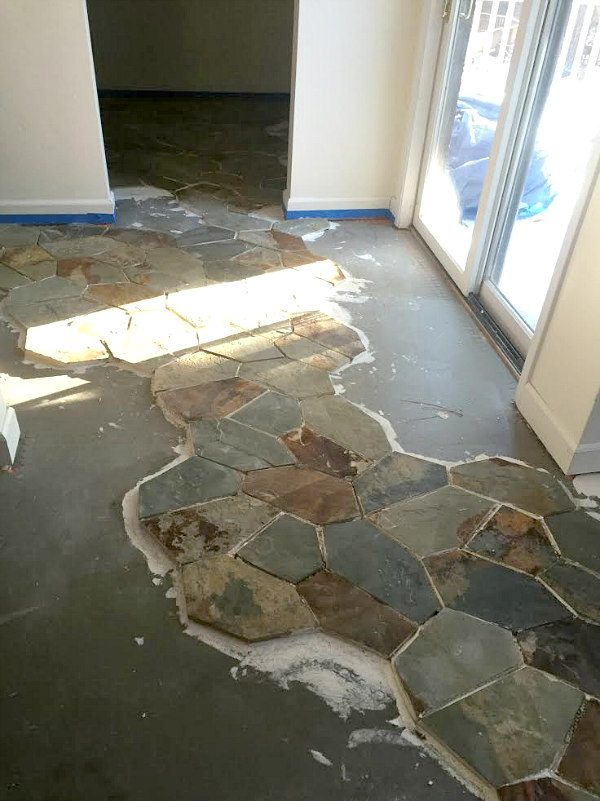
Here’s a peek at the tile we chose. It’s not your usual choice. In fact, both our contractor and our designer were not fans of our decision! It’s Butterscotch Random Slate. We used to see it a lot when we lived in San Diego, and it was what we thought might look cool in our bathroom.
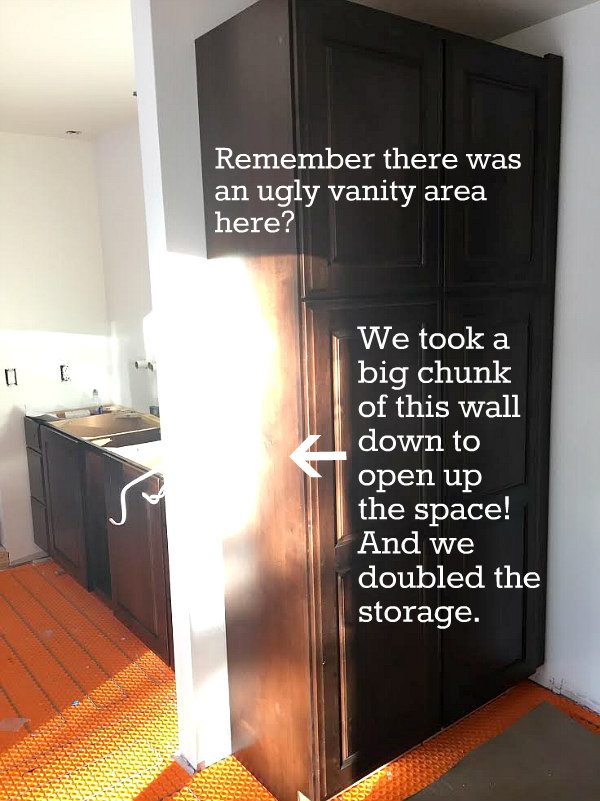
This next peek shows you what we did to the entry of the bathroom (entry on the right). There used to be an ugly extra make-up vanity in this spot with a longer wall. The best thing we did in our bathroom remodel was to rip out a good chunk of the wall and really open up the bathroom. It looks so much bigger now! And then we put a large, floor-to-ceiling pantry storage in that spot.
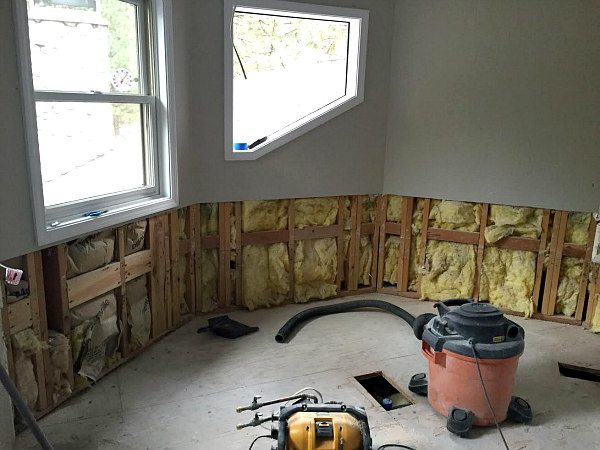
This is where that awful, giant jacuzzi tub used to be… leaving plenty of room to work with on a new tub and extra space too.
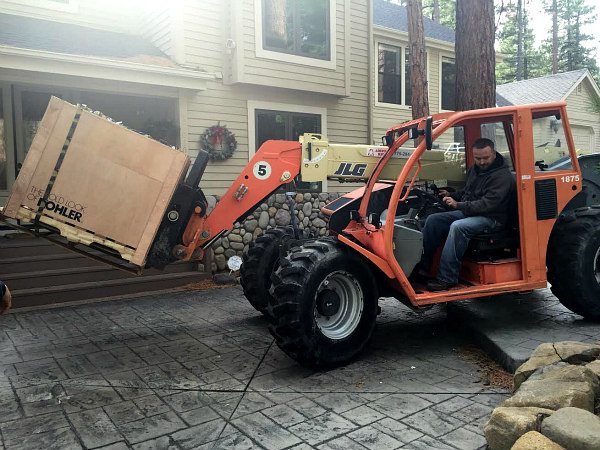
We had so much fun choosing the bathtub. We knew we wanted one of Kohler’s freestanding bathtubs. And my husband and I had many conversations about which tub would look best! We settled on the Abrazo Cast Acrylic Freestanding Bath with a Center Toe-Tap Drain.
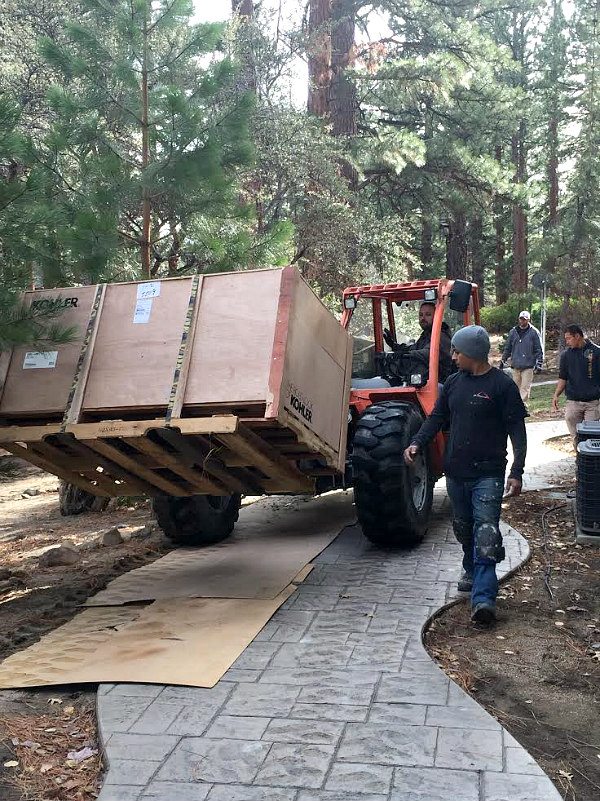
It turns out that the tub is rather heavy, and our master bathroom is on the second story. Our contractors decided that using a forklift to get the bathtub up to our master bathroom (via the deck outside the bathroom) was going to be their best bet… since we have kind of a curvy staircase on the main entry. They took the deck apart… motored the fork lift across our front yard, down our side yard…
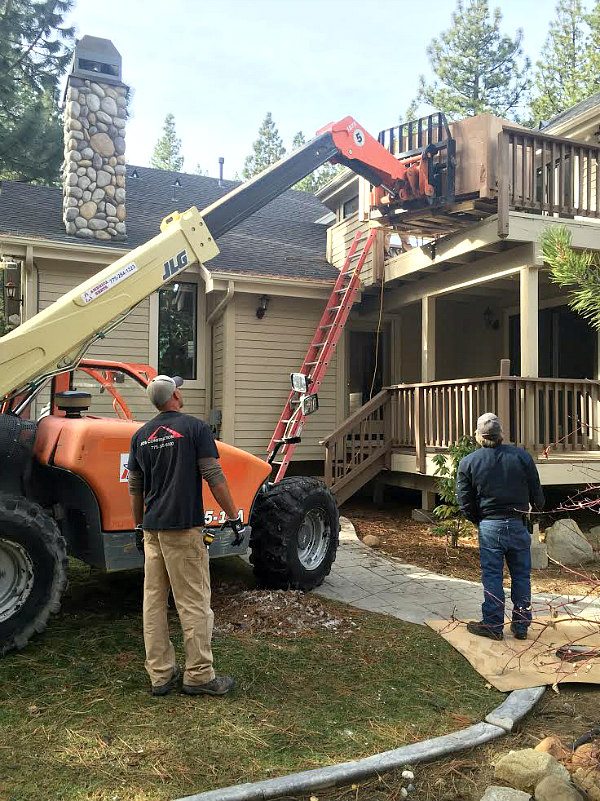
…and lifted it up onto the deck. I was terrified that they were going to drop it, but thankfully it all worked out! It was quite a show for the neighborhood looky-loos 🙂
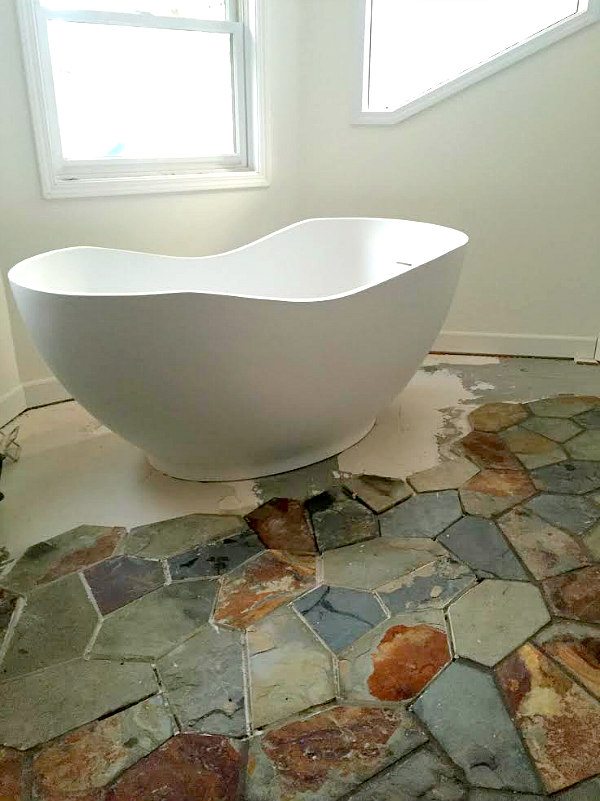
And there is the beautiful tub- all in one piece!! It reminds me of the Alice in Wonderland Teacup ride at Disneyland. We chose to put it right underneath those windows for maximum light… and views out the windows at the trees while bathing.
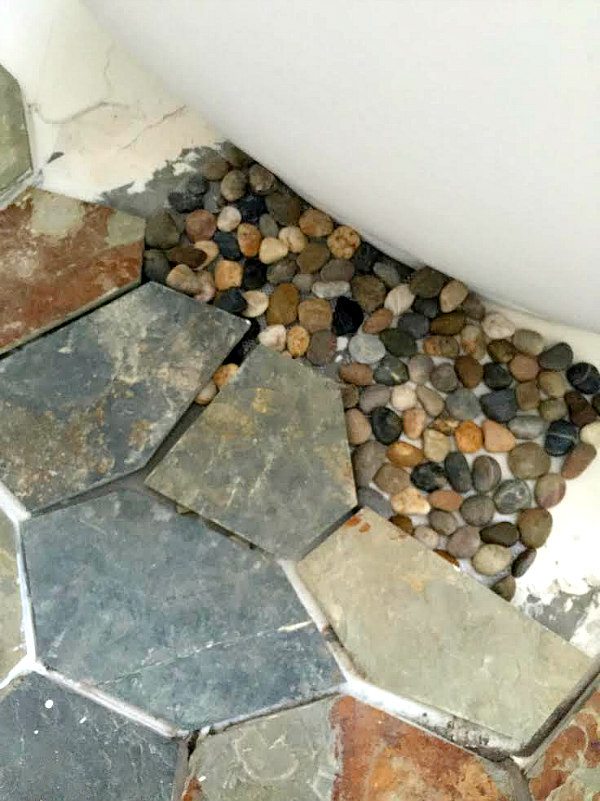
And finally, here is a tiny peek of what we decided to do next to the tub (our designer’s idea): Leaving a little path around the tub, we opted to fill that in with a “river rock” look- a netted pebble tile that we took apart and placed into the path.
Next week you’ll see the final reveal… photos of the entire bathroom- all of the plumbing fixtures, how the sinks and tile and bathtub look… how everything turned out!
Disclosure: Thank you to Kohler for working with us on our selections!




oh my gosssssssshhhhhh I need that tub in my life. ASAP.
That tuuuub! Oh my goodness! You’re going to be able to soak away a lot of stress in that thing 🙂
That is going to be your new favorite room in the house. It’s going to be exquisite.
What a big project! It looks like it’s going to be totally worth it. Dream bathroom!
How exciting Lori!! Loving how everything is coming together!!
I just love, love that tub! And the flooring is super cool! Can’t wait to see it all complete!
That bathtub is my everything. <3
The tile you chose for the floor is gorgeous. I also love the limestone tile in the shower. Can’t wait to see the finished room!
Your bathroom is going to be beautiful when it’s done. I love your slate tile – that’s what I would choose as well! Your sink is nice too but the countertop is the perfect piece! I love the chiseled edge! This gives me ideas as we will be renovating our one and only bathroom .. scary cause it’s the only bathroom so it all has to go ok and has to be quick.
One time I had to have a hot tub placed into the backyard of the house I was living in by crane! It was quite the show for the neighborhood looky-loos too as this hot tub was swinging in mid air with the crane. Talk about a few moments of terror! Your bathroom is coming along and I can’t wait to see the final reveal!