Here’s a Chocolate Cheesecake Cake that is perfect for special occasions. It’s two layers of chocolate cake with a layer of chocolate cheesecake in the middle. The whole cake is covered in rich chocolate frosting and sprinkled with chocolate shavings.
Watch the video showing you how to make this cake, then scroll to the bottom of this post and print out the recipe so you can bake it at home!
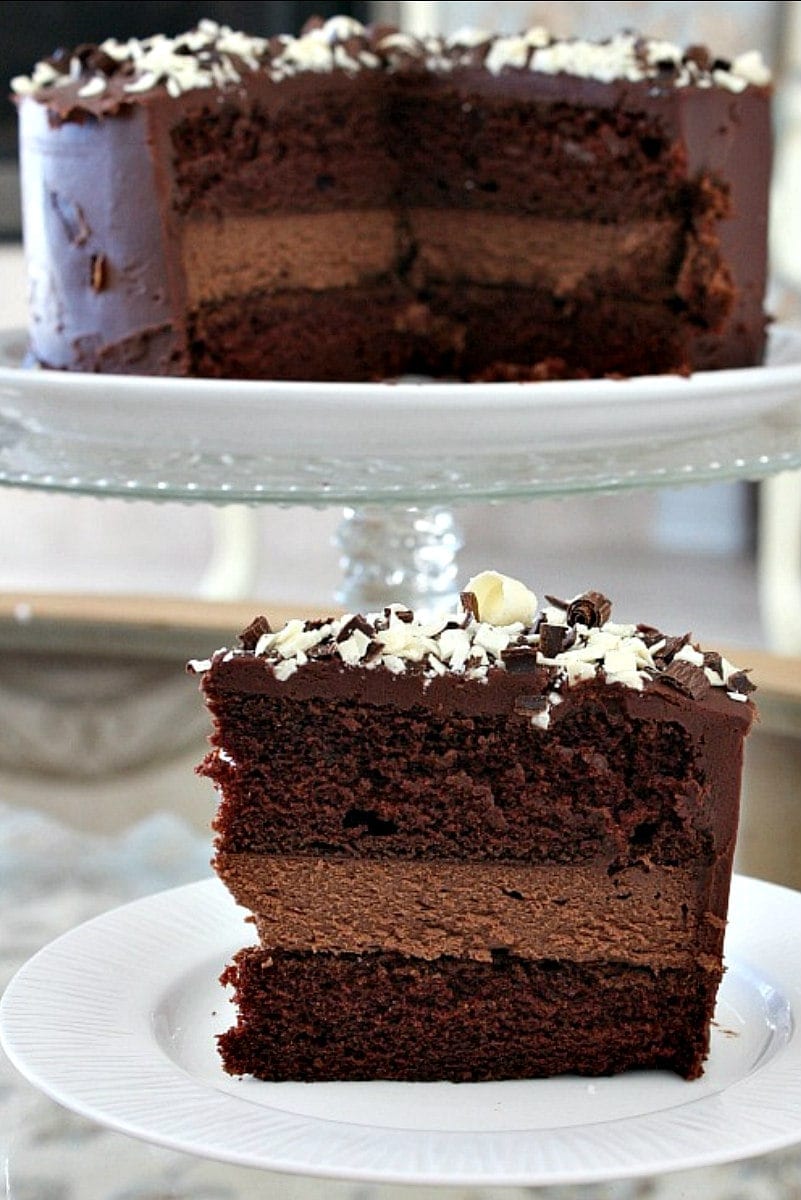
You know how some people really don’t get along well with their In-Laws? How visits with them are stressful and awkward and generally awful for many people? Yeah, not me. I got kinda lucky on that whole “in-law” thing. And I’m not just writing this to kiss-up to my in-laws because I know there’s a good chance they’re reading this. I actually truly enjoy being around my in-laws. And I’m pretty sure they like me too. No weird, stressful stuff when we’re all together. They’re just good people. And for that reason, I bring them cakes like this Chocolate Cheesecake Cake.
I happened to make this recipe for my Father In Law’s birthday. He loves chocolate A LOT… which is a very good thing since this cake has a lot of chocolate inside and out.
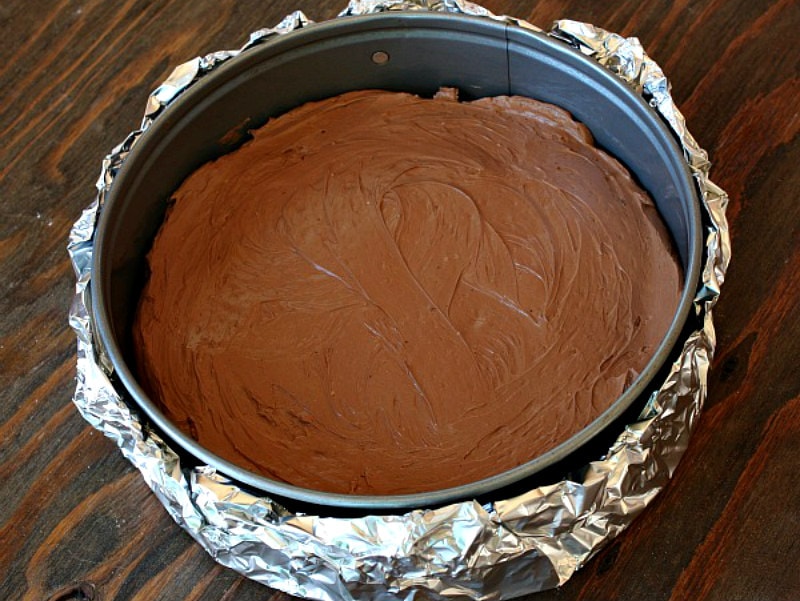
If you follow my blog, you’ve probably seen my oh-so-yummy Red Velvet Cheesecake Cake. This Chocolate Cheesecake Cake is made using the same concept. A cheesecake layer is baked up first. This one is a chocolate cheesecake (of course). The batter is very thick (and I do mean very), but you just spread it into a cheesecake pan- the kind with removable sides- and then wrap the bottom and sides with heavy duty foil.
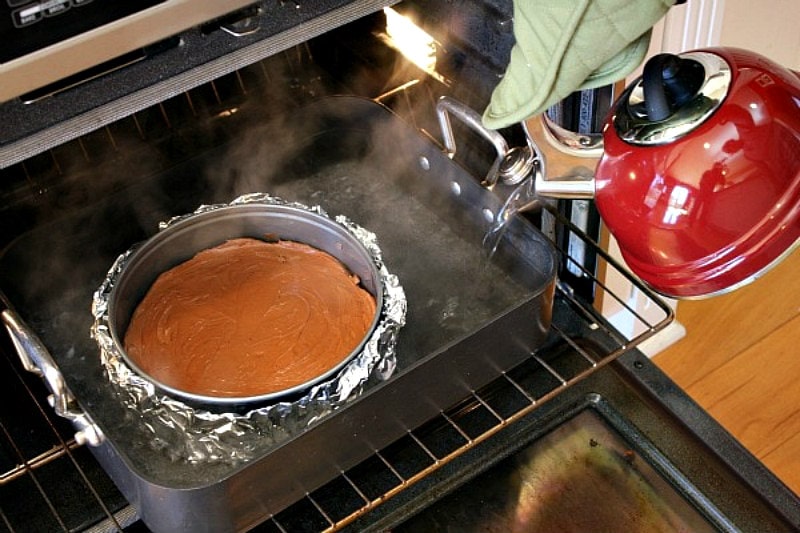
I usually bake my cheesecakes in a “water bath.” If you’ve ever wondered what that means, here you go. Set the foil-wrapped cheesecake pan into a larger (roasting) pan- or anything that your cheesecake pan can fit inside of- and then pour boiling hot water into the pan so that surrounds the cheesecake pan and comes up the side of the pan about 1-inch. Then bake it in its water bath.
See, not as complicated as you thought, right? The reason behind it is that you will most always get a cheesecake that doesn’t crack on the top. Bake it without a bath, and you risk cracking. But some people are wary of using this method because of the possibility of water leakage through tears in the foil.
If you don’t like to use a water bath, then you can choose this alternate method. Simply place a pan of water on a lower rack, and bake the cheesecake on a rack above the pan. Having the water in the oven will still create enough moisture to help keep the cheesecake moist. And honestly, if it cracks then it won’t be that big of a deal since you’re going to put it in between two layers of cake!
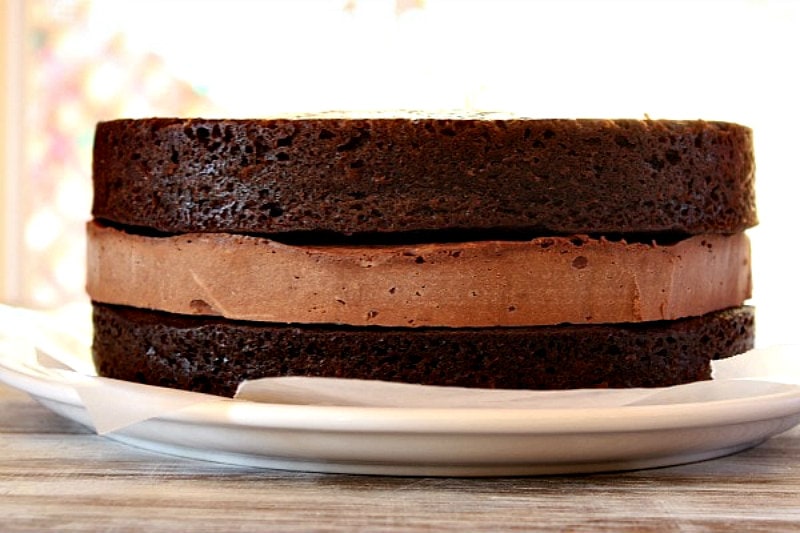
That baked cheesecake is popped into the freezer and allowed to freeze up nice and firm. Then it will pop out of the pan easily and you can trim the edges with a sharp knife as needed to make sure that they are the same size as your cake rounds. This chocolate cake recipe comes from Camilla Saulsbury’s Piece of Cake cookbook. It works perfectly for building the cheesecake cake. One layer of chocolate cake on the bottom, then your cheesecake layer, then the 2nd chocolate cake layer.
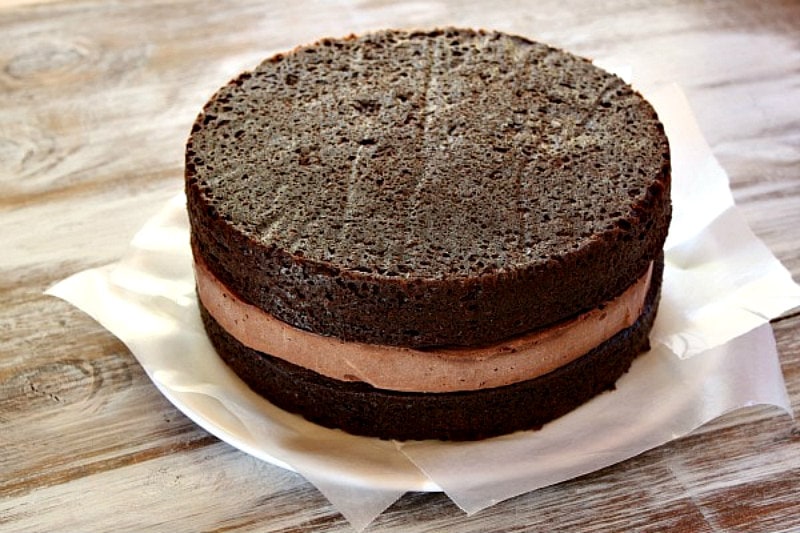
In case you’re wondering how I got my Chocolate Cheesecake Cake layers to bake up so even and flat… nope, I did not trim them. I used Cake Strips. You just soak them in water, and then velcro them around each cake pan. Your cake layers will magically turn out nice and even and flat!
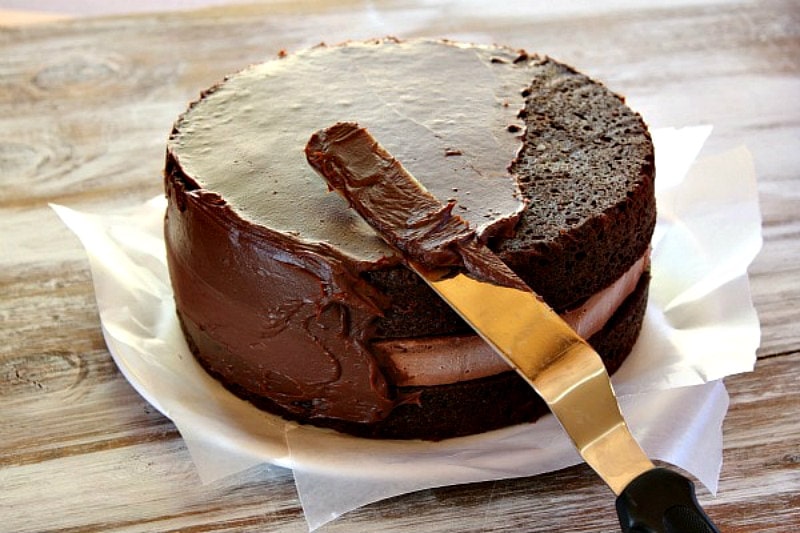
The frosting recipe I used is also from the Piece of Cake cookbook– Sour Cream Chocolate Frosting. This is a super easy frosting recipe to make, and it spreads on so nice and smooth and thick.
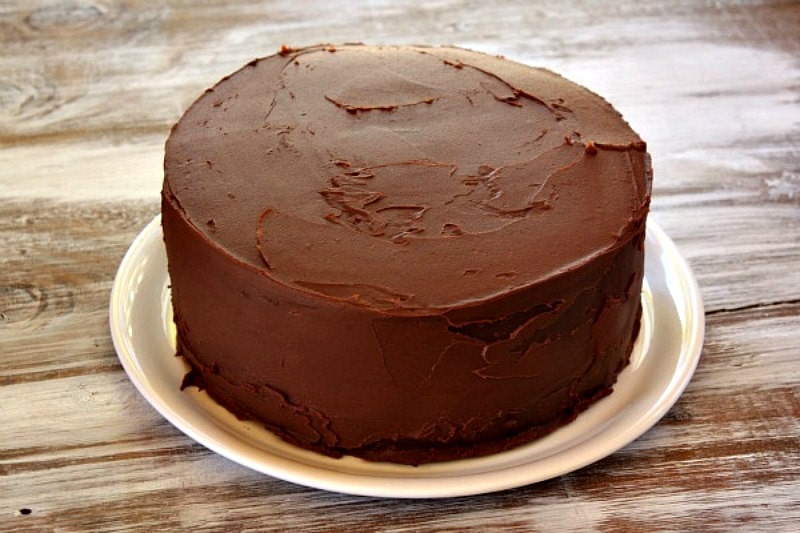
It’s a pretty fudgy frosting, so I’d say it’s not great for trying to pipe decorations. I chose to go simple.
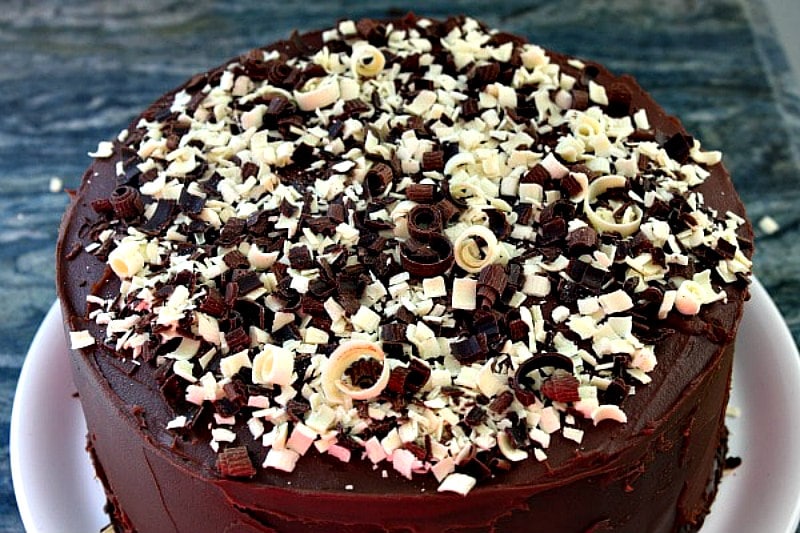
And I shaved some chocolate on top of my Chocolate Cheesecake Cake. Just pop your chocolate bar into the microwave for about 15 seconds to soften it up slightly, then potato-peel it down the side of the bar to make some shavings. Nothing fancy, but it pretties it up a little.
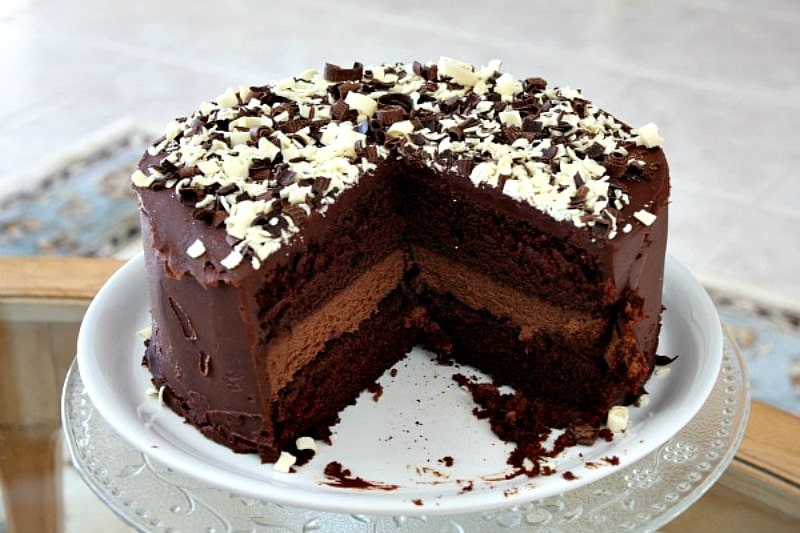
I guess I have to say it. This cake is for major chocolate lovers and for good reason. Those chocolate cake layers PLUS the chocolate cheesecake layer PLUS the chocolate frosting PLUS the shavings on top. Dig out the vanilla ice cream to accompany slices of this!
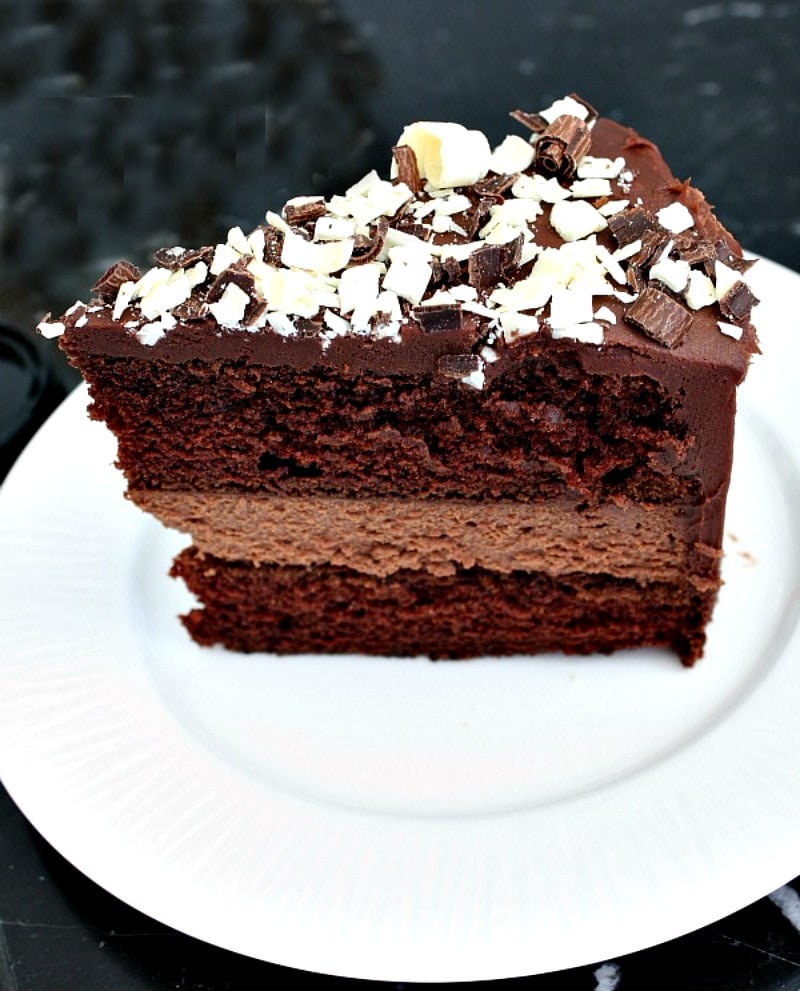
I’m pretty sure my in-laws love me even more for making this Chocolate Cheesecake Cake for them, especially since I let them keep the leftovers.
Here are a few more chocolate cake recipes you might enjoy:
- Chocolate Truffle Cake
- Chocolate Pudding Fudge Cake
- Chocolate Scratch Cake
- Chocolate Pudding Cake
- Sunday Chocolate Cake
- Chocolate Glazed Cake
Chocolate Cheesecake Cake
Ingredients
CHOCOLATE CHEESECAKE:
- 5 ounces bittersweet chocolate (70% cocoa), chopped
- Two 8-ounce packages cream cheese, at room temperature
- 1/2 cup + 3 tablespoons granulated white sugar
- 2 tablespoons unsweetened cocoa powder
- 2 large eggs
CHOCOLATE CAKE:
- 1¾ cups all purpose flour
- 1½ cups granulated white sugar
- 2/3 cup unsweetened cocoa powder
- 1½ teaspoons baking soda
- 1/2 teaspoon baking powder
- 1/2 teaspoon salt
- 1 teaspoon instant espresso powder
- 3 large eggs, at room temperature
- 1¼ cups buttermilk, divided
- 3/4 cup (1½ sticks) unsalted butter, at room temperature
- 1 teaspoon vanilla extract
CHOCOLATE SOUR CREAM FROSTING:
- 2 cups semisweet chocolate chips
- 1/2 cup (1 stick) unsalted butter, at room temperature
- 1 cup sour cream
- 2 tablespoons light corn syrup
Instructions
PREPARE THE CHEESECAKE LAYER:
- Preheat the oven to 325 degrees F. Place a large roasting pan on the lower third rack of the oven. Place a kettle of water on the stove to boil. Spray a 9-inch springform pan with nonstick spray and line the bottom with a round of parchment paper. Wrap a double layer of foil around the bottom and up the sides of the pan (you want to seal it so the water from the water bath doesn't seep into the pan). Place the chocolate in a medium glass bowl. Melt in the microwave in 30 second bursts until the chocolate is melted and smooth, stirring after each burst. Set the chocolate aside and let it cool off until it is lukewarm but still pourable. In a large bowl, use an electric mixer to mix the cream cheese- blend until it is nice and smooth and creamy. Mix in sugar and cocoa powder and blend until incorporated, scraping down sides of the bowl as needed. Add eggs, one at a time, blending after each addition. Mix in the lukewarm chocolate. Mix until smooth. The batter will be very thick- scrape it into the prepared pan and smooth the top. Set the pan into the roasting pan in the pre-heated oven. Carefully pour the hot water from your kettle into the roasting pan (it will fill the pan surrounding the cheesecake). Pour enough water so that there is about an inch of water coming up the foil along the sides of the cheesecake pan. Bake the cheesecake for 45 minutes. It should be set to the touch and not jiggly. Remove the cheesecake from the roasting pan and let it cool on a wire rack for at least an hour. When it has cooled, place the pan into the freezer and let the cheesecake freeze completely. This can be done in several hours- or overnight.
PREPARE THE CAKE LAYERS:
- Preheat the oven to 350 degrees F. Grease and flour two 9-inch round metal baking pans (or spray with nonstick baking spray with flour). In a large bowl, whisk together the flour, sugar, cocoa powder, baking soda, baking powder and salt. Add the espresso powder, eggs, 1/4 cup of the buttermilk, butter and vanilla to the flour mixture. Using an electric mixer on medium-low speed, beat for 1 minute, until blended. Scrape the sides and the bottom of the bowl with a rubber spatula. Beat on high speed for 2 minutes. Add the remaining buttermilk and beat on low speed for 15 to 30 seconds, until just blended. Spread the batter evenly into the prepared pans, dividing equally. Bake 30 to 35 minutes or until a toothpick inserted in the center comes out with a few moist crumbs attached. Let cool in pans on a wire rack for 10 minutes. Run a knife around the edge of the pans, then invert the cakes onto a rack to cool completely.
PREPARE THE FROSTING:
- In a large microwave-safe bowl, combine the chocolate chips and butter. Microwave 1 to 2 minutes, stopping every 30 seconds to stir, until melted and smooth. Whisk the sour cream and corn syrup into the chocolate mixture until smooth. Cover and refrigerate for at least 30 minutes or until firm enough to spread.
ASSEMBLE THE CAKE:
- Place one cake layer into the center of a cake plate or platter. Remove the cheesecake from the freezer, take off the sides of the pan, and slide a knife under the parchment to remove the cheesecake from the pan. Peel off the parchment. Measure your cheesecake layer against the cake layers. If the cheesecake layer turns out to be a slightly larger round than your cake, move it to a cutting board and gently shave off some of the exterior of the cheesecake (with a sharp knife) to get it to the same size as your cake layers. Place the cheesecake layer on top of the first cake layer. Place the 2nd cake layer on top of the cheesecake.
FROST THE CAKE:
- Apply a crumb coat layer to the cake- use a long, thin spatula to cover the cake completely with a thin and even layer of frosting. Be sure to wipe off your spatula each time you are about to dip it back into the bowl to get more frosting (this way you won't be transferring any crumbs into the bowl of frosting). Don't worry at this point about the crumbs being visible in the frosting on the cake. When your cake has a thin layer of frosting all over it, place it into the refrigerator for 30 minutes to "set" the frosting. Once the first layer of frosting is set, apply the 2nd layer. Start by adding a large scoop of frosting onto the top of the cake. Use a long, thin spatula to spread the frosting evenly across the top and then spread it down the sides of the cake too. Because you applied a crumb-coat layer, you shouldn't have any crumbs floating around in the final frosting layer. Decorate, as desired. I recommend white chocolate shavings (see *Tips below). Keep this cake refrigerated.
Notes
- *Using a good quality bittersweet chocolate will make a difference in this recipe. Splurge for Scharffen Berger or something similar.
- *For making white chocolate shavings: Purchase a hunk of white chocolate and a hunk of dark chocolate. Microwave the chocolate to soften it up slightly (15 to 30 seconds, depending on the size). Use a potato peeler to run down the side of the chocolate to create shards/shaves/curls of chocolate. I like to shave it onto a paper plater and then just use the plate to slide the chocolate onto the top of the cake.
- *If you are serving this cake at a party, it's perfectly okay to leave the cake at room temperature for an hour or so while serving. Otherwise, keep it refrigerated.
Nutrition
Nutrition information is automatically calculated, so should only be used as an approximation.


Every layer of this is better than the last. SO decadent and delicious!
THE MORE CHOCOLATE THE BETTER!!!
My family loved this cake! We have both cheesecake lovers and chocolate cake lovers….and I happen to be fond of them BOTH!
So incredibly decadent! I’m in love!
This cake was a beautiful addition to our holiday desserts!
I wonder how the frosting would turn out if whipped after cooled. The cake looks wondermus. I can’t wait to try it.
Thanks for sharing.
I made this recipe this past Sunday for my family and it’s almost gone today!! Great favor and texture. I’ll definitely be making this one again! TY so much for sharing
awesome!
I found this recipe early this morning. The sun had just begun to rise. It was love at first sight. My niece’s birthday is this weekend. I went to the store this morning and bought all the ingredients and even for a pint of strawberries and blackberries. As well, I made chocolate togo around the perimeter. It’ll be beautiful. She turns 9.
Thank you so much for this recipe. I’d be willing to send you pictures of the cake as it comes together.
Assembling soon.
good luck!
One more note that I forgot – I didn’t use corn syrup in the frosting as my grocery store didn’t have it. Instead, I used coconut nectar and it was delicious! I found it in the syrup section. It’s fairly mild and low glycemic. It’s practically healthy. 😉
I just made this cake last night and it is the absolute most delicious chocolate confection ever created. I followed your recipe to the letter and it’s just perfect. PERFECT!!! The only thing easier than making it is eating it! Thank you for this chocolate nirvana. It’s to die for!!