Cauliflower Crust Pizza is the best invention ever. Yes, you heard that right… pizza crust made out of cauliflower. It’s (shockingly) good!
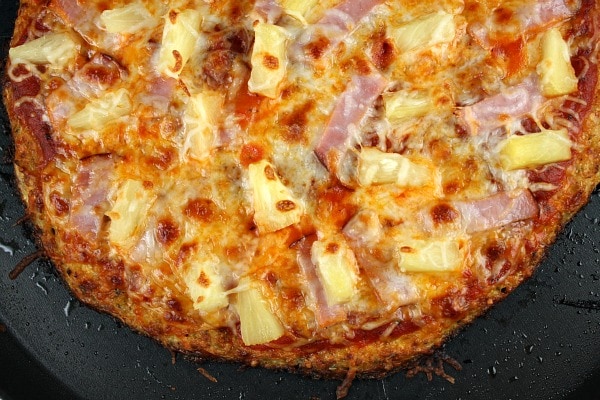
You can top cauliflower crust with any pizza toppings you’d like. I topped this one Hawaiian style. This pizza is incredibly simple to make!
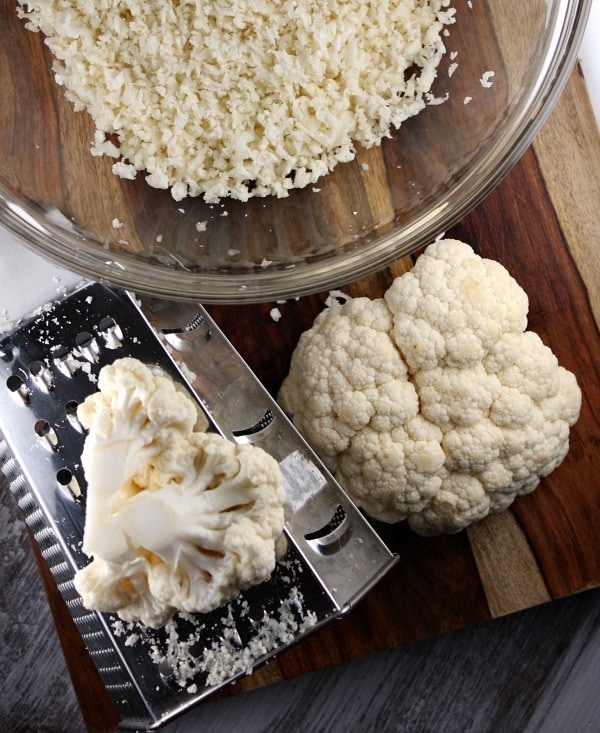
These days you can buy “cauliflower crumbles” in your market’s produce section. If you can’t locate the crumbles, it’s easy enough to make your own.
How to make cauliflower crumbles:
Just use a cheese grater to “grate” your cauliflower into very small pieces. You can grate a whole large head of cauliflower and make two 9-inch pizzas.
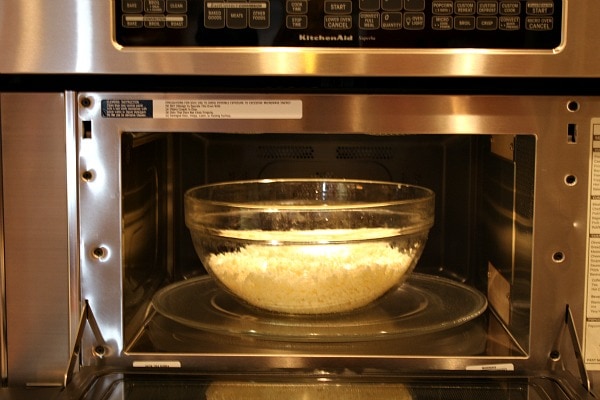
Microwave those cauliflower crumbles for 8 minutes. No water or anything needed. Just microwave it for 8 minutes to soften it up, and then let it cool a little bit. See the recipe below for how to proceed if you do not have a microwave.
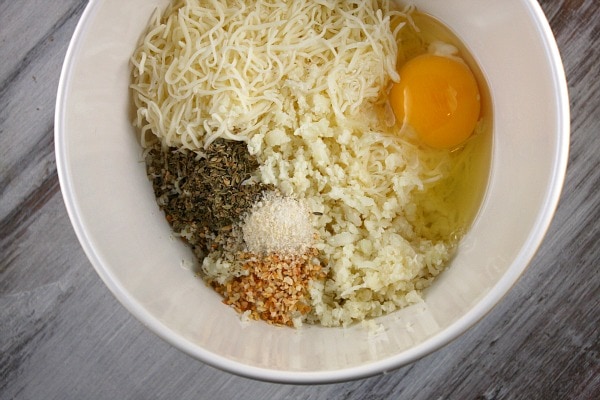
Mix 1 1/2 cups of the cauliflower crumbles with egg, cheese and spices. (I use mozzarella, but imagine using different varieties of cheeses in the crust! Yum!)
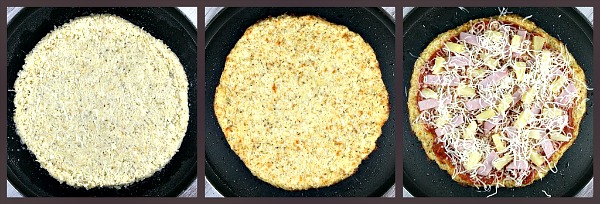
Shape it into a 9 to 12-inch round. Bake the crust. Top it with desired sauce and toppings.
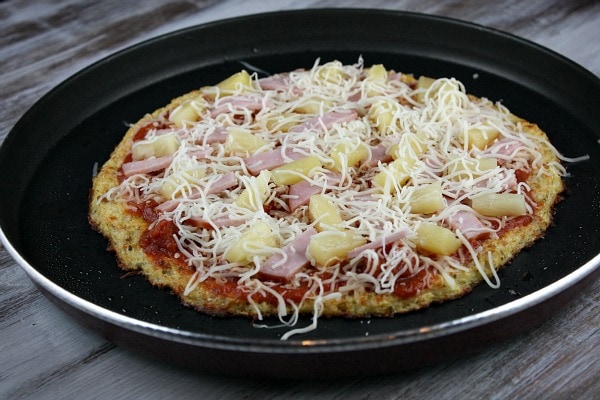
I went so simple and just used Classico Tomato Basil marinara sauce, mozzarella cheese, Canadian bacon and pineapple (our favorite).
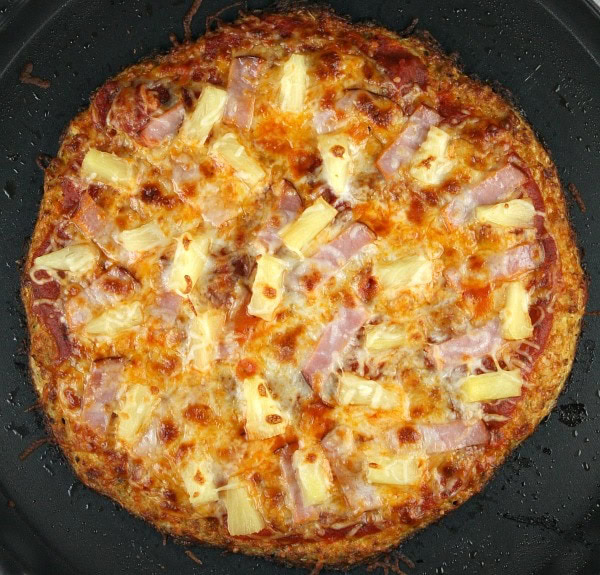
All that happens next is just a quick broil in the oven to melt the cheese and heat the toppings.
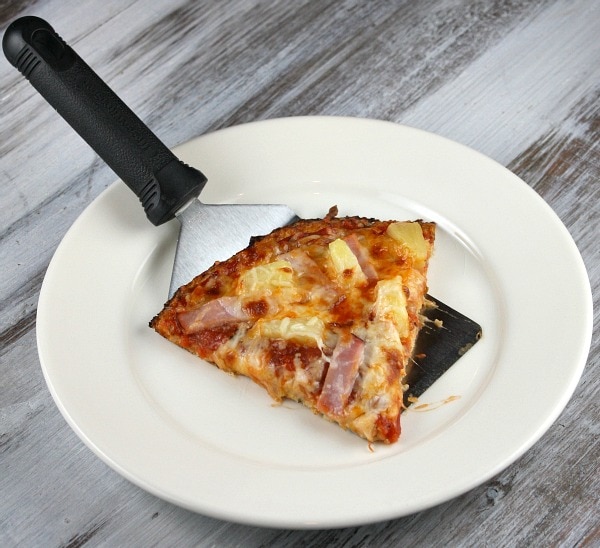
That is all! The pizza can be cut into 6 slices. You’ll probably want to eat three slices to make it a complete meal. If you happen to be following the Weight Watchers WW plan, you will find a link to the WW Points on the recipe card at the end of this post.
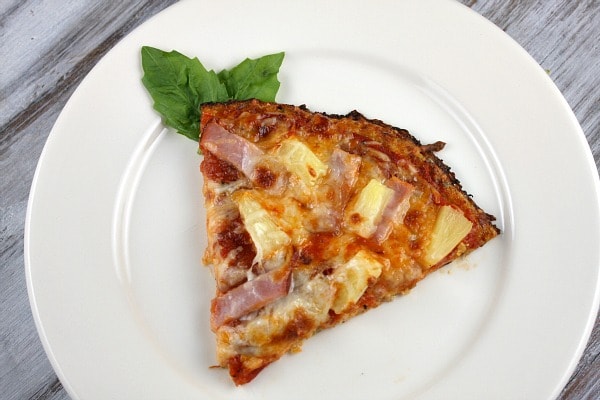
You should be able to make two pizzas from one large head of cauliflower. Everyone in my house really love this pizza crust and agrees that you can’t tell at all that the crust is made out of cauliflower. It doesn’t taste like “real” pizza crust, but it doesn’t have the flavor or texture of cauliflower either. You’ll have to try it out for yourself and let me know what you think! Thanks to this Cauliflower Pizza Crust post for inspiring me to make this myself and share it with my readers!
More pizza topping ideas:
- Marinara or pizza sauce with your favorite toppings
- Pesto with thin sliced tomato and fresh mozzarella
- Alfredo with sausage, mushrooms, Provolone & Asiago cheese
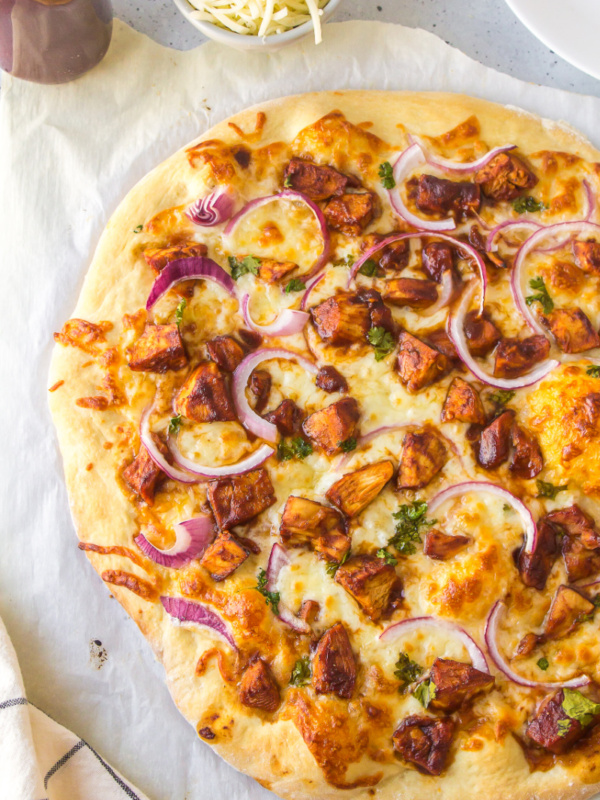
- Barbecue sauce with shredded chicken, green onions and smoked gouda
Here are a few more recipes featuring cauliflower:
- Cauliflower Tortillas
- Easy Cheesy Cauliflower Breadsticks
- Cauliflower Mashed Potatoes
- Cheesy Baked Cauliflower Tots
- Cauliflower Rice

Cauliflower Crust Hawaiian Pizza
Ingredients
CAULIFLOWER CRUST:
- 2 + cups cauliflower crumbles (alternately, you can use a box grater to grate a cauliflower head)
- 1 large egg
- 1 cup finely shredded mozzarella cheese (or try another kind)
- 1 teaspoon dried oregano
- ½ teaspoon dried minced (or fresh) garlic
- ½ teaspoon onion salt
TOPPINGS:
- ½ cup pizza sauce or tomato-basil marinara sauce
- ½ cup finely shredded mozzarella cheese
- 3 slices Canadian bacon, cut into strips
- ½ cup pineapple tidbits
Instructions
PREPARE THE CAULIFLOWER CRUST:
- Place the cauliflower crumbles in a large bowl and microwave them (dry) for 8 minutes (see Tips below if you do not have a microwave). Give the cauliflower a chance to cool.
- Preheat the oven to 450℉. Spray a cookie sheet or pizza pan with nonstick spray (or use a nonstick surface).
- In a medium bowl, mix the cauliflower crumbles (about 1½ cups since they shrink after cooking) with the remaining crust ingredients. Pat the "crust" into a 9 to 12-inch round on the prepared pan. Spray the crust lightly with nonstick spray and bake for 15 minutes (or until golden). Remove the crust from the oven and turn the heat up to broil.
PREPARE THE PIZZA:
- Spread the sauce on top of the baked crust, leaving a ½-inch border around the edge. Sprinkle ¼ cup cheese on top. Add the bacon and pineapple, spreading it out around the pizza. Sprinkle the remaining cheese on top.
- Broil the pizza 3 to 4 minutes, or until the toppings are hot and the cheese is melted and bubbly. Cut into 6 slices and serve immediately. *This pizza is best served on a plate with a fork.
Notes
- For those who don’ t have a microwave: You can steam the florets just until they are tender (not mushy) on the stove and then let them cool before grating them. The texture/consistency won’t be the same (It will be more like a puree) but it still works fine once you mix all the ingredients together.
- *Other topping ideas:
Marinara or pizza sauce with your favorite toppings
Pesto with thin sliced tomato and fresh mozzarella
Alfredo with sausage, mushrooms, Provolone & Asiago cheese
Barbecue sauce with shredded chicken, green onions and smoked gouda - If you are preparing this recipe as GLUTEN-FREE, just be sure to use brands of sauce and Canadian bacon that are known to be GF,
Nutrition
Nutrition information is automatically calculated, so should only be used as an approximation.


Do you cook the bacon before putting it on the pizza, or does it go on un-cooked and get cooked at the broiling stage?
I used Canadian Bacon, not regular bacon… so I just cut it and put it on with everything else.
Really, really good. I used fat-free cheddar in the crust and the pizza turned out excellent. I really cannot believe how much like real pizza crust this tastes; but, without the extra carbs/starch with regular bread-based pizza crust.
I’ve made this now 7 or 8 times and LOVE IT! Sometimes I have trouble with the crust (and I don’t have a microwave either) but thank you for sharing this and providing us non microwave people with extra instruction!
Made the crust and am IN LOVE it! This is a great alternative to the expensive gluten-free crusts you can buy in the store – but this tastes MUCH better!
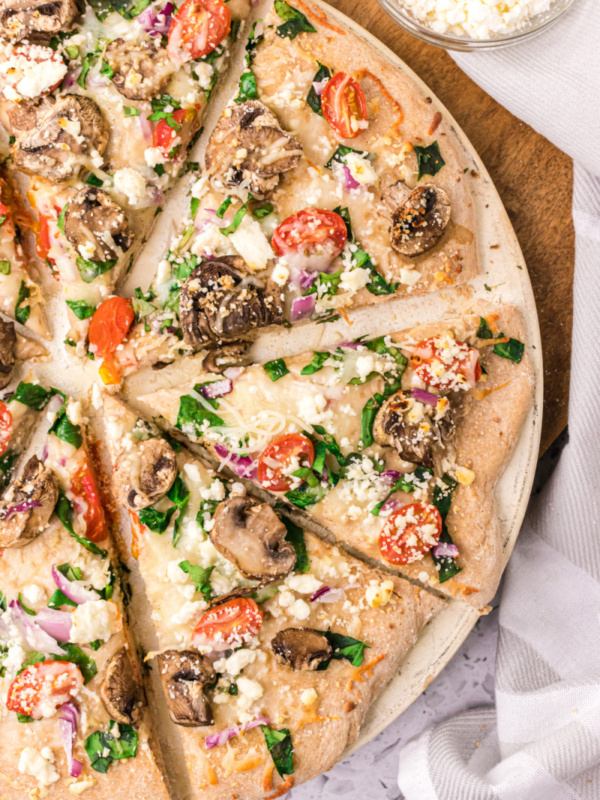
I used 1/4 teaspoon of garlic powder and 1 teaspoon of pizza seasoning (oregano, basil, celery salt). My toppings were Alfredo sauce, spinach, red onion, broccoli, mozzarella cheese, and diced tomatoes – a delightful and filling traditional Italian fest!
I made this for a Downton Abbey watch party on Sunday with some other low-carbers. Excellent! Since I am a crust lover, I can’t call this a replacement for pizza but it is definitely an alternative! I think “weird” pizza toppings would work better than traditional (like pesto, goat cheese, pears, etc).
I made 4 crusts in total. 2 round and 2 rectangular.
Another reader said that they had problems with it sticking to the pan. I noticed that if I made the crust too thick, it would stick the pan. I also cooked them SLIGHTLY longer and that really helped with any potential sticking. I made two of the crusts on a silpat and that worked well.
Also, we are less than we thought we would so I had two of the rectangular crusts leftover and they stored SURPRISINGLY well in the fridge in some plastic wrap. For lunch the next day, we put one on a cookie sheet, topped it and put it in the oven at 350 for 10 minutes and then broiled it for 2.
I think next time, I will make several crusts and freeze them for easy weeknight dinners. Thank you so much for the recipe!
Tried to do my best and followed the recipe 100% but it is the worst disaster ever. The crunch all fell apart and did not resemble nothing of a pizza.
Had high hopes for this recipe but none of it worked as described. But good to try new things. Not all have to work out I guess.
I loved the flavor of this, but mine was also a little soggy in the middle and I had to eat it with a fork. I oiled the pan before making it and it stuck really badly. Not sure why some people have this problem. I did not use a non stick pan, but I figured oiling it first would be fine. Next time I think I am going try a lower temperature and cooking it a little longer.
This cauliflower Crest is AMAZING! Thank you! Could I post this on Facebook?
With your URL! Would love to! This is the best thing to happen to Pizza since Gosh, it’s hard to pin one thing down! AMAZING!! Want the world to know!!
If you could just post a link and not the entire recipe, that would be much appreciated!
This was amazing, cut into 8 but, used garlic chicken, parmesan in crust, fresh basil and spinach, also onions.
Tried this recipe last night and absolutely give it a THUMBS UP! I shared it on my Stay Healthy Fitness FB page. Keep up the healthy creations and Stay Healthy~ Darla