Cauliflower Crust Pizza is the best invention ever. Yes, you heard that right… pizza crust made out of cauliflower. It’s (shockingly) good!
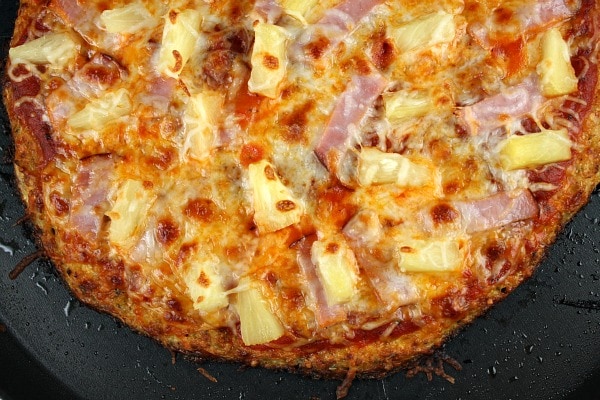
You can top cauliflower crust with any pizza toppings you’d like. I topped this one Hawaiian style. This pizza is incredibly simple to make!
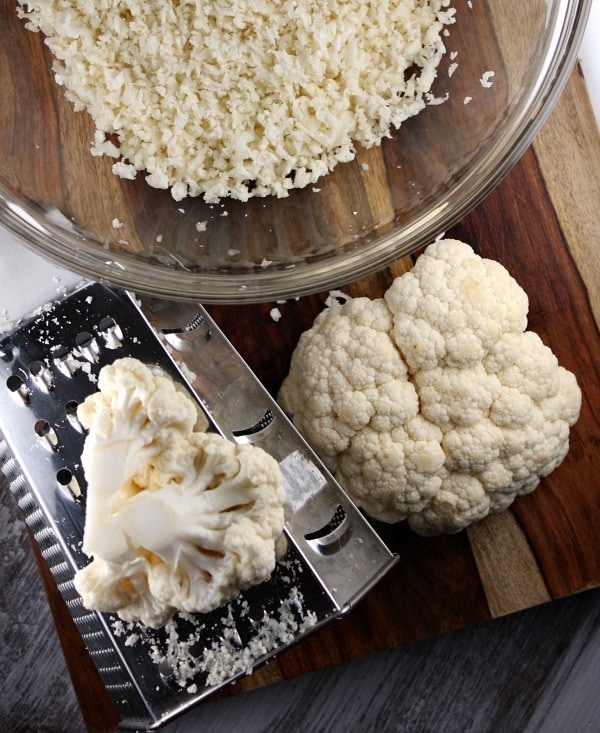
These days you can buy “cauliflower crumbles” in your market’s produce section. If you can’t locate the crumbles, it’s easy enough to make your own.
How to make cauliflower crumbles:
Just use a cheese grater to “grate” your cauliflower into very small pieces. You can grate a whole large head of cauliflower and make two 9-inch pizzas.
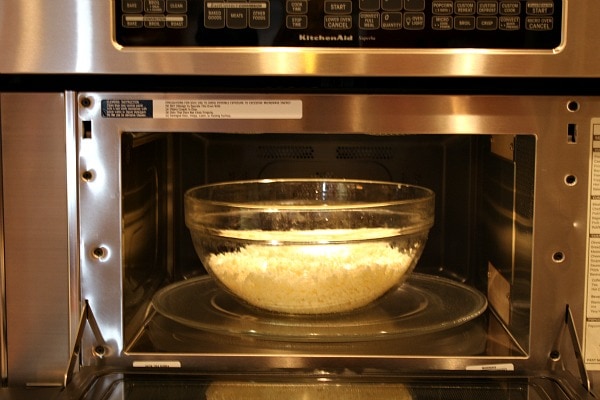
Microwave those cauliflower crumbles for 8 minutes. No water or anything needed. Just microwave it for 8 minutes to soften it up, and then let it cool a little bit. See the recipe below for how to proceed if you do not have a microwave.
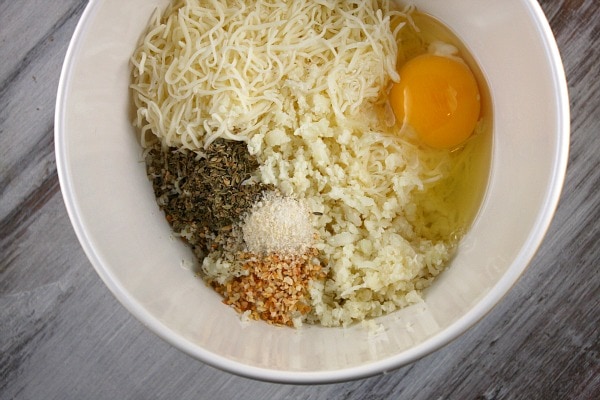
Mix 1 1/2 cups of the cauliflower crumbles with egg, cheese and spices. (I use mozzarella, but imagine using different varieties of cheeses in the crust! Yum!)
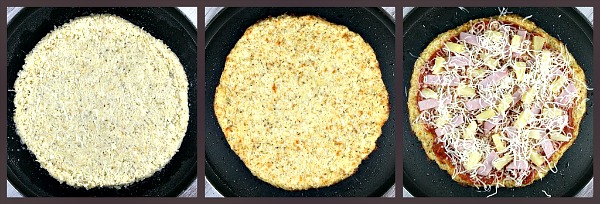
Shape it into a 9 to 12-inch round. Bake the crust. Top it with desired sauce and toppings.
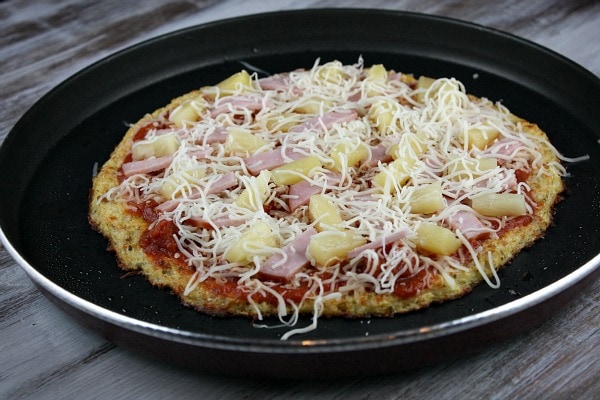
I went so simple and just used Classico Tomato Basil marinara sauce, mozzarella cheese, Canadian bacon and pineapple (our favorite).
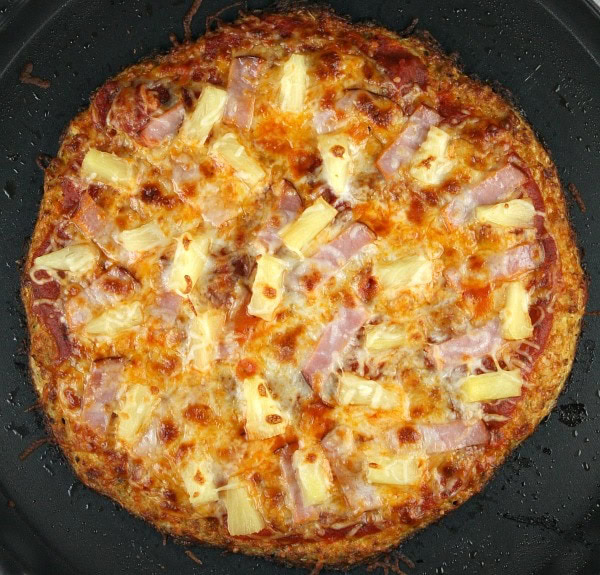
All that happens next is just a quick broil in the oven to melt the cheese and heat the toppings.
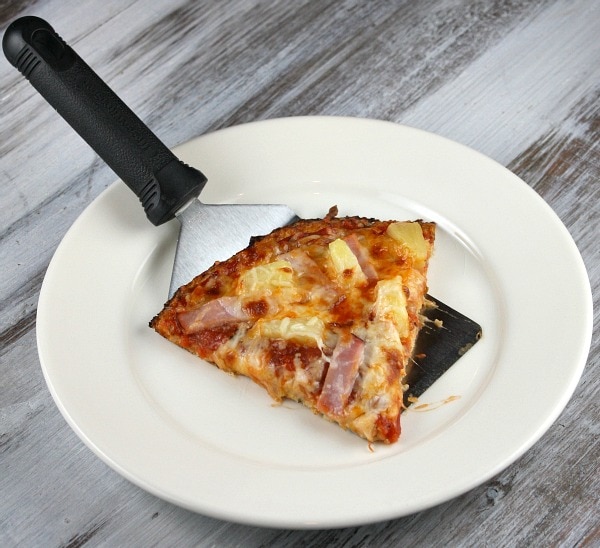
That is all! The pizza can be cut into 6 slices. You’ll probably want to eat three slices to make it a complete meal. If you happen to be following the Weight Watchers WW plan, you will find a link to the WW Points on the recipe card at the end of this post.
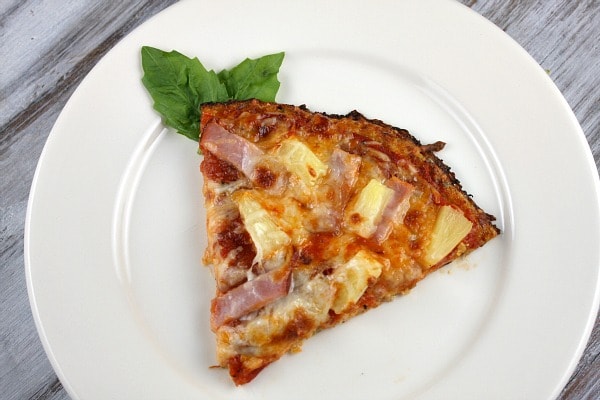
You should be able to make two pizzas from one large head of cauliflower. Everyone in my house really love this pizza crust and agrees that you can’t tell at all that the crust is made out of cauliflower. It doesn’t taste like “real” pizza crust, but it doesn’t have the flavor or texture of cauliflower either. You’ll have to try it out for yourself and let me know what you think! Thanks to this Cauliflower Pizza Crust post for inspiring me to make this myself and share it with my readers!
More pizza topping ideas:
- Marinara or pizza sauce with your favorite toppings
- Pesto with thin sliced tomato and fresh mozzarella
- Alfredo with sausage, mushrooms, Provolone & Asiago cheese
- Barbecue sauce with shredded chicken, green onions and smoked gouda
Here are a few more recipes featuring cauliflower:
- Cauliflower Tortillas
- Easy Cheesy Cauliflower Breadsticks
- Cauliflower Mashed Potatoes
- Cheesy Baked Cauliflower Tots
- Cauliflower Rice
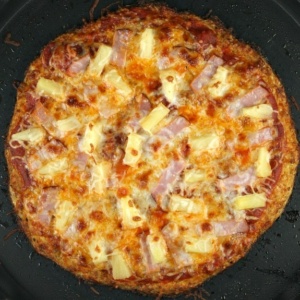
Cauliflower Crust Hawaiian Pizza
Ingredients
CAULIFLOWER CRUST:
- 2 + cups cauliflower crumbles (alternately, you can use a box grater to grate a cauliflower head)
- 1 large egg
- 1 cup finely shredded mozzarella cheese (or try another kind)
- 1 teaspoon dried oregano
- ½ teaspoon dried minced (or fresh) garlic
- ½ teaspoon onion salt
TOPPINGS:
- ½ cup pizza sauce or tomato-basil marinara sauce
- ½ cup finely shredded mozzarella cheese
- 3 slices Canadian bacon, cut into strips
- ½ cup pineapple tidbits
Instructions
PREPARE THE CAULIFLOWER CRUST:
- Place the cauliflower crumbles in a large bowl and microwave them (dry) for 8 minutes (see Tips below if you do not have a microwave). Give the cauliflower a chance to cool.
- Preheat the oven to 450℉. Spray a cookie sheet or pizza pan with nonstick spray (or use a nonstick surface).
- In a medium bowl, mix the cauliflower crumbles (about 1½ cups since they shrink after cooking) with the remaining crust ingredients. Pat the "crust" into a 9 to 12-inch round on the prepared pan. Spray the crust lightly with nonstick spray and bake for 15 minutes (or until golden). Remove the crust from the oven and turn the heat up to broil.
PREPARE THE PIZZA:
- Spread the sauce on top of the baked crust, leaving a ½-inch border around the edge. Sprinkle ¼ cup cheese on top. Add the bacon and pineapple, spreading it out around the pizza. Sprinkle the remaining cheese on top.
- Broil the pizza 3 to 4 minutes, or until the toppings are hot and the cheese is melted and bubbly. Cut into 6 slices and serve immediately. *This pizza is best served on a plate with a fork.
Notes
- For those who don’ t have a microwave: You can steam the florets just until they are tender (not mushy) on the stove and then let them cool before grating them. The texture/consistency won’t be the same (It will be more like a puree) but it still works fine once you mix all the ingredients together.
- *Other topping ideas:
Marinara or pizza sauce with your favorite toppings
Pesto with thin sliced tomato and fresh mozzarella
Alfredo with sausage, mushrooms, Provolone & Asiago cheese
Barbecue sauce with shredded chicken, green onions and smoked gouda - If you are preparing this recipe as GLUTEN-FREE, just be sure to use brands of sauce and Canadian bacon that are known to be GF,
Nutrition
Nutrition information is automatically calculated, so should only be used as an approximation.


I’ve made this several times and here’s a couple of hints that helped me:
1) When the cauliflower cools, place it in a clean dishtowel and squeeze, squeeze, squeeze the excess moisture out. This helps the crust from being too soft.
2) For those of you that are having problems with it sticking to your pans, line your pans with parchment paper first. You can find this at Walmart next to the trash bags and sandwich bags
3) if you want to top with lots of extra veggies, I precook mine/microwave mine to release the excess moisture, drain and pat them dry with towels, and then put them on top of pizza before popping the pizza back in the oven to heat all the ingredients together.
4) I use a garlic & basil pesto on the crust before using my red sauce. This adds a nice flavor to the crust.
Thanks for the tips!
Thank you 🙂 I did today and It was simply DELICIOUS!
Oh my goodness! This is absolutely delicious!! My favorite pizza is hawaiian but toppings aside, the crust is wonderful. I am currently on a 1,000 calorie diet and struggle finding pizza options that don’t ruin my daily intake. This pizza is perfect. I was able to enjoy two perfectly seasoned pieces and not feel guilty. THANK YOU!!!
Hubby and I both LOVED it (although he was definitely sceptical at first, especially when he smelled the cauliflower in the microwave. :-)) Kiddos however didn’t really like it, but they’re 3 & 1 with ever changing likes/dislikes, so hopefully they will like it next time. 🙂
Wow! This looks amazing! It reminds me of the mom and pop pizza we used to order when I was a kid! Can’t wait to make this. Hawaiian is the perfect choice here. Thanks for sharing.
So thank you for sharing this recipe. I read the reviews and was aware that it might turn runny. It happened to me too. But here is why, I think.
1. The cauliflower was a little too soggy (next time I would just shred it and not even steam it, so it would absorb the moisture from the cheese and egg).
2. Cheese type application (I used daiya which is dairy free – slightly different properties).
Having said that, I can see how the cheesy dough mixture can be applied in other dishes, i.e. mac and cheese w/a twist, casseroles, and even chicken parmesan (but instead of the parmesan, it could be this gooey cheese…
I shared this yummy crust recipe on my site today and linked back to you. People should be coming to your site for the recipe. Thanks for the great recipe!
I tried this tonight and while it was very good, I did have the issue with the crust sticking. I used a pizza stone. I will make this again. It tasted yummy. 🙂
This crust IS delicious and super easy to make! I am in love with this recipe. Fantastic Find! Thanks 🙂
Thanks for posting. My 2 year old daghter has FPIES (food protein intolerance enterocolitis syndrome). She can not eat any grains (rice, oats, wheat…). If she does she has severe vomiting & diarrhea until her body goes into shock, then she goes cold, clammy, and loss of consious, followed by painful urination and defication and a week long rash on her privates and bottom. Tonight I tried your pizza but with a homemade sauce and whatever veggies I had for toppings. It was great! Now she can feel like she can eat pizza too! It was so nice to eat a mean as a whole family, everyone eating the same thing. We didn’t have to say once, you can’t eat that it will make you sick 🙂
I love this story- thank you so much, and so happy that you found the recipe!!
I wonder is a can of chickpeas or psyllum husks would work as a binder instead of the cheese? Might try it out.