Cauliflower Crust Pizza is the best invention ever. Yes, you heard that right… pizza crust made out of cauliflower. It’s (shockingly) good!
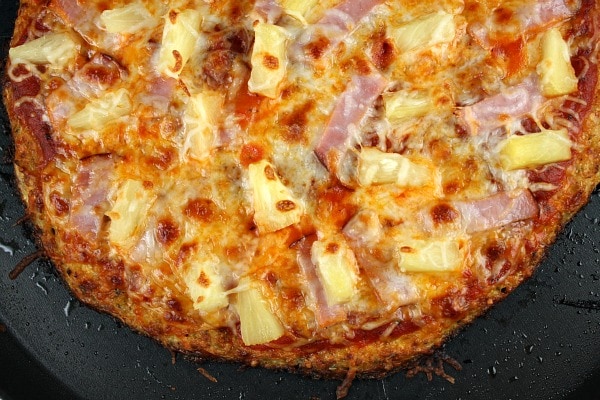
You can top cauliflower crust with any pizza toppings you’d like. I topped this one Hawaiian style. This pizza is incredibly simple to make!
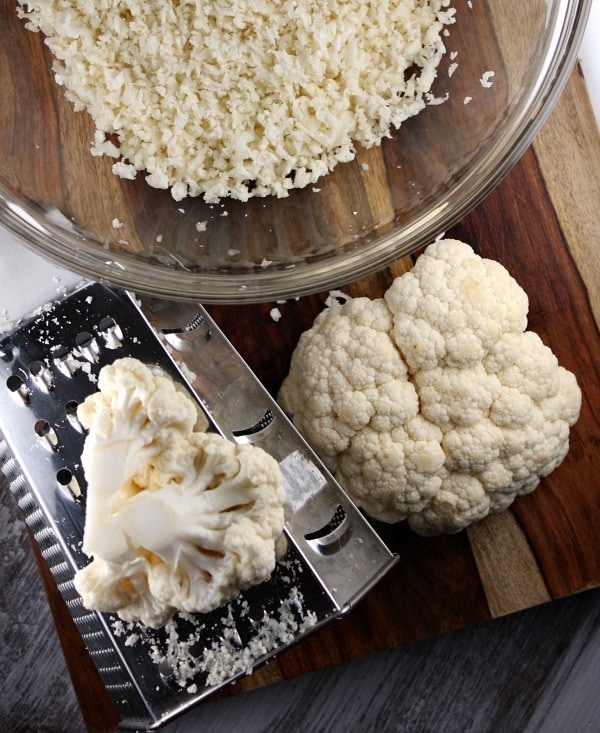
These days you can buy “cauliflower crumbles” in your market’s produce section. If you can’t locate the crumbles, it’s easy enough to make your own.
How to make cauliflower crumbles:
Just use a cheese grater to “grate” your cauliflower into very small pieces. You can grate a whole large head of cauliflower and make two 9-inch pizzas.
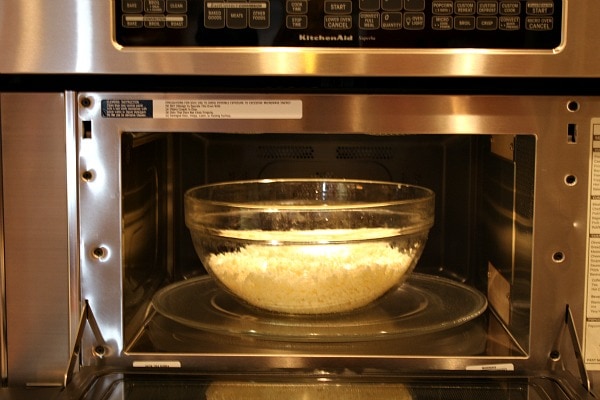
Microwave those cauliflower crumbles for 8 minutes. No water or anything needed. Just microwave it for 8 minutes to soften it up, and then let it cool a little bit. See the recipe below for how to proceed if you do not have a microwave.
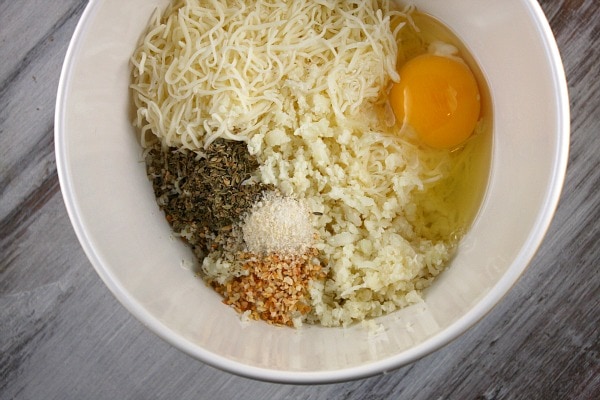
Mix 1 1/2 cups of the cauliflower crumbles with egg, cheese and spices. (I use mozzarella, but imagine using different varieties of cheeses in the crust! Yum!)
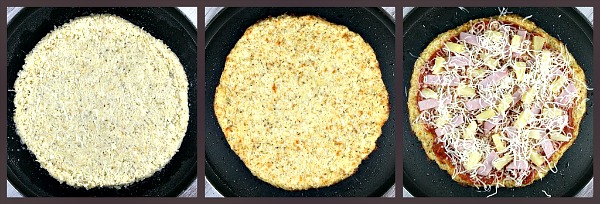
Shape it into a 9 to 12-inch round. Bake the crust. Top it with desired sauce and toppings.
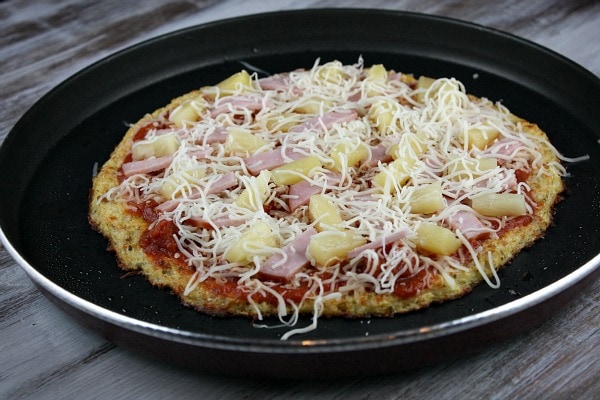
I went so simple and just used Classico Tomato Basil marinara sauce, mozzarella cheese, Canadian bacon and pineapple (our favorite).
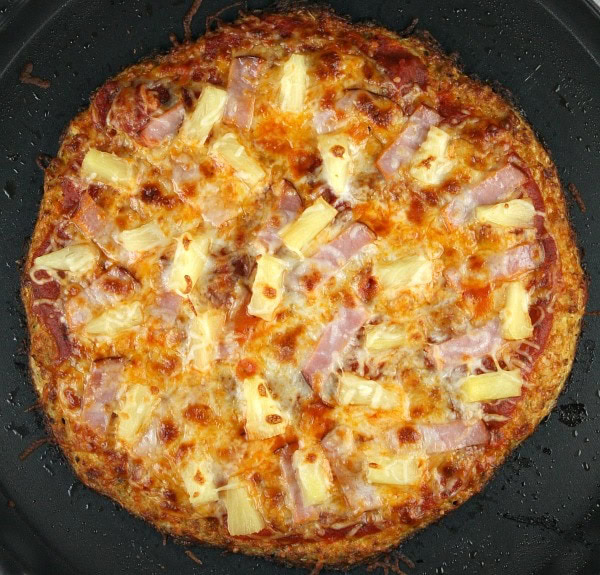
All that happens next is just a quick broil in the oven to melt the cheese and heat the toppings.
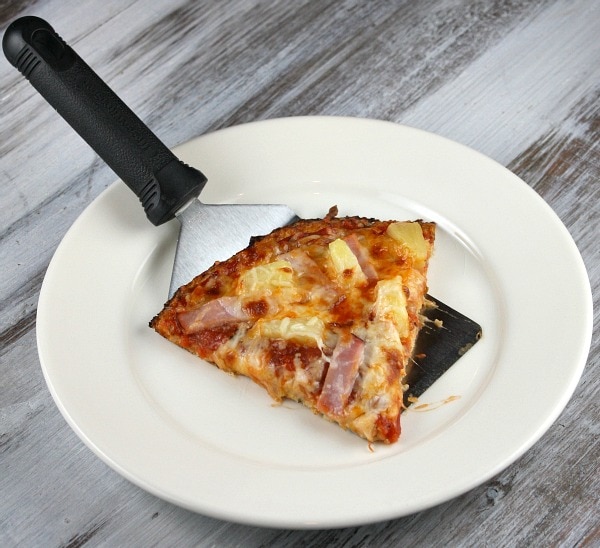
That is all! The pizza can be cut into 6 slices. You’ll probably want to eat three slices to make it a complete meal. If you happen to be following the Weight Watchers WW plan, you will find a link to the WW Points on the recipe card at the end of this post.
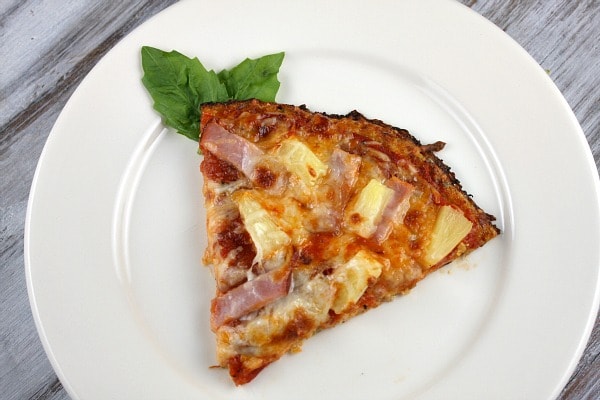
You should be able to make two pizzas from one large head of cauliflower. Everyone in my house really love this pizza crust and agrees that you can’t tell at all that the crust is made out of cauliflower. It doesn’t taste like “real” pizza crust, but it doesn’t have the flavor or texture of cauliflower either. You’ll have to try it out for yourself and let me know what you think! Thanks to this Cauliflower Pizza Crust post for inspiring me to make this myself and share it with my readers!
More pizza topping ideas:
- Marinara or pizza sauce with your favorite toppings
- Pesto with thin sliced tomato and fresh mozzarella
- Alfredo with sausage, mushrooms, Provolone & Asiago cheese
- Barbecue sauce with shredded chicken, green onions and smoked gouda
Here are a few more recipes featuring cauliflower:
- Cauliflower Tortillas
- Easy Cheesy Cauliflower Breadsticks
- Cauliflower Mashed Potatoes
- Cheesy Baked Cauliflower Tots
- Cauliflower Rice
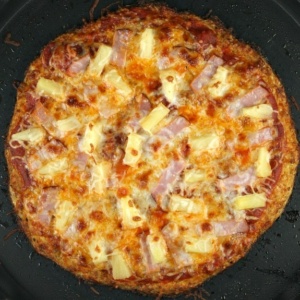
Cauliflower Crust Hawaiian Pizza
Ingredients
CAULIFLOWER CRUST:
- 2 + cups cauliflower crumbles (alternately, you can use a box grater to grate a cauliflower head)
- 1 large egg
- 1 cup finely shredded mozzarella cheese (or try another kind)
- 1 teaspoon dried oregano
- ½ teaspoon dried minced (or fresh) garlic
- ½ teaspoon onion salt
TOPPINGS:
- ½ cup pizza sauce or tomato-basil marinara sauce
- ½ cup finely shredded mozzarella cheese
- 3 slices Canadian bacon, cut into strips
- ½ cup pineapple tidbits
Instructions
PREPARE THE CAULIFLOWER CRUST:
- Place the cauliflower crumbles in a large bowl and microwave them (dry) for 8 minutes (see Tips below if you do not have a microwave). Give the cauliflower a chance to cool.
- Preheat the oven to 450℉. Spray a cookie sheet or pizza pan with nonstick spray (or use a nonstick surface).
- In a medium bowl, mix the cauliflower crumbles (about 1½ cups since they shrink after cooking) with the remaining crust ingredients. Pat the "crust" into a 9 to 12-inch round on the prepared pan. Spray the crust lightly with nonstick spray and bake for 15 minutes (or until golden). Remove the crust from the oven and turn the heat up to broil.
PREPARE THE PIZZA:
- Spread the sauce on top of the baked crust, leaving a ½-inch border around the edge. Sprinkle ¼ cup cheese on top. Add the bacon and pineapple, spreading it out around the pizza. Sprinkle the remaining cheese on top.
- Broil the pizza 3 to 4 minutes, or until the toppings are hot and the cheese is melted and bubbly. Cut into 6 slices and serve immediately. *This pizza is best served on a plate with a fork.
Notes
- For those who don’ t have a microwave: You can steam the florets just until they are tender (not mushy) on the stove and then let them cool before grating them. The texture/consistency won’t be the same (It will be more like a puree) but it still works fine once you mix all the ingredients together.
- *Other topping ideas:
Marinara or pizza sauce with your favorite toppings
Pesto with thin sliced tomato and fresh mozzarella
Alfredo with sausage, mushrooms, Provolone & Asiago cheese
Barbecue sauce with shredded chicken, green onions and smoked gouda - If you are preparing this recipe as GLUTEN-FREE, just be sure to use brands of sauce and Canadian bacon that are known to be GF,
Nutrition
Nutrition information is automatically calculated, so should only be used as an approximation.


I was entirely too intrigued by this recipe to not give it a try. Both my husband and I loved it. The flavor is amazing. I baked it in a cast iron skillet to get it the right size and shape, but it did not crisp up as much as I had hoped. We will most definitely be making this again, though, I will put it on our pizza pan to see if it gets any crispier. Thank you so much for the recipe.
This was AMAZING! I am living/teaching in China and califlower is so cheap and plentiful right now, I used (new zeland) cheese, but I am not eating eggs here (mostly because there are 800 different types in the supermarket, and I dont wanna risk it) so I put in 3tablespoons of corn flour and a few tablespoons of water, i cooked it for 20 mins in the toaster oven (ahh the things you miss from home, an oven) at 250 but it wasnt quite long enough. The problem was it was SO RICH that I could only eat half of it. Here’s my thoughts on the mushy/not sticking together pproblem…
– try to put oil on the bottom of the pan so it fries just slightly
– cook the crust a little longer
– try some (small bits) of low gi flour, or reg flour if your body doesnt mind
I tried the crust recipe last night and LOVED it!! Can’t wait to make again 🙂 Thanks!
Did you use full fat cheese or a lighter version? Do you think that Fat-Free cheese would work or the weight watchers cheese would? I bet it would use less points too!
I used regular Mozzarella cheese. I always find that the low fat and fat-free versions don’t melt.
I made this for supper tonight. It was utterly amazing. I am wheat and soy intolerant so I didn’t think eating pizza was an option anymore. I am also thinking of using the crust, in place of bread, for cheesy bread.
This pizza looks amazing! In the Boston area we have “bar room” pizza which is a thin, crispy, buttery crust and nobody has been able to crack the code on the recipe. I must say your pic looks like the pizza I was always hoping to make at home. We eat with our eyes right, so I can my pizza and have it a little healthier too. Creative idea, I love it!
Tried it – hated it. The crust was tasteless had an awful texture, and didn’t hold up well under a fully loaded pizza. I get the healthy crust idea if you’re watching your weight, but I would suggest making a real, full flavor crust and just running an extra few miles the next day. Great intentions though! I don’t mean to hate on the whole thing, it just really wasn’t for me.
Ok….so, the pizza was delicious. My girlfriend and I eat a mostly “no-grain” diet and we have tried all different varieties of crusts (almond meal, coconut flower, etc.) and they pretty much all stunk. This one was outstanding. I do however, disagree with your topping choice. Pineapple on pizza?!?!?!! How did this ever get so popular? Fruit does not belong (other than tomato…but let’s be honest we all really think the tomato belongs in the veg family) on a pizza! Anyway, thanks for sharing! It was tasty.
I’ve been wanting to make this, but i can not have dairy. Do you think the crust will come out if I leave out the cheese? Should I add something else?
Is there anything that you normally use in place of cheese? The cheese sort of binds it all together.
My wife and I tried this last night and were super excited after hearing about this and reading the rave reviews. Having said that, this is what happened…
First, after cooking it in the over for 15-20mins like it said, the middle was still mush/raw. We didn’t really know this though until after the fact we took them out of the over after putting our sauce and toppings on. Not sure why the middle didn’t cook at all. I also sprayed our cookie sheet with PAM and we use AirBake cookie sheets. It stuck to the pan and was very very soggy/raw in the middle? Any ideas as to why? We followed the recipe to a T and we didn’t over puree’ our cauliflower or anything, it was “riced” like it should be. Even after cooking it in the microwave we still had a full bowl, ours didn’t cook down like some others have said theirs did.
Anyway, just wondering if others had the same problem and know why it might have not cooked all the way through, or what we could have done wrong.
Perhaps the cauliflower had a good deal of moisture in it after cooking? I didn’t squeeze mine dry, but others have said they’ve had to. Mine slid right off the pan, using a nonstick pizza pan, and it was firm enough to hold and eat.