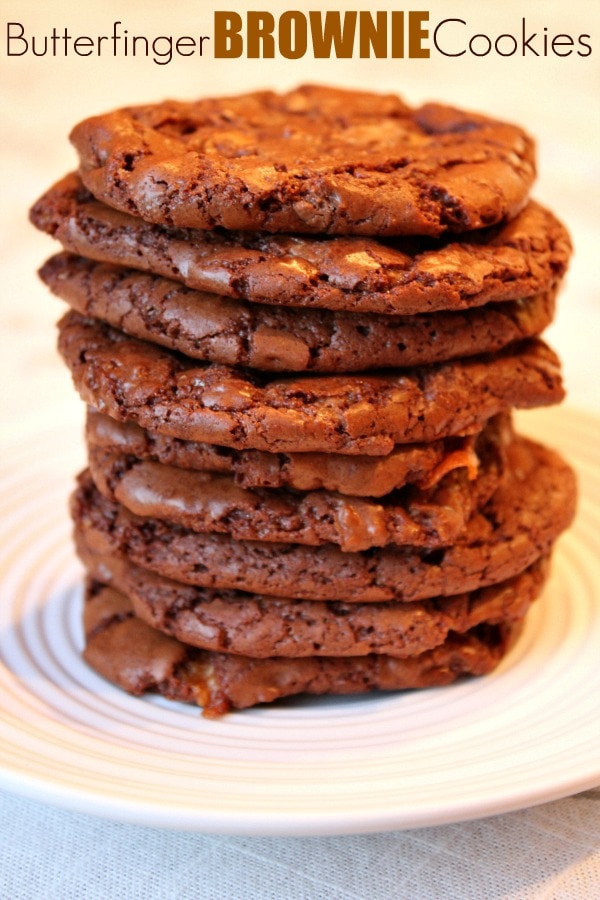
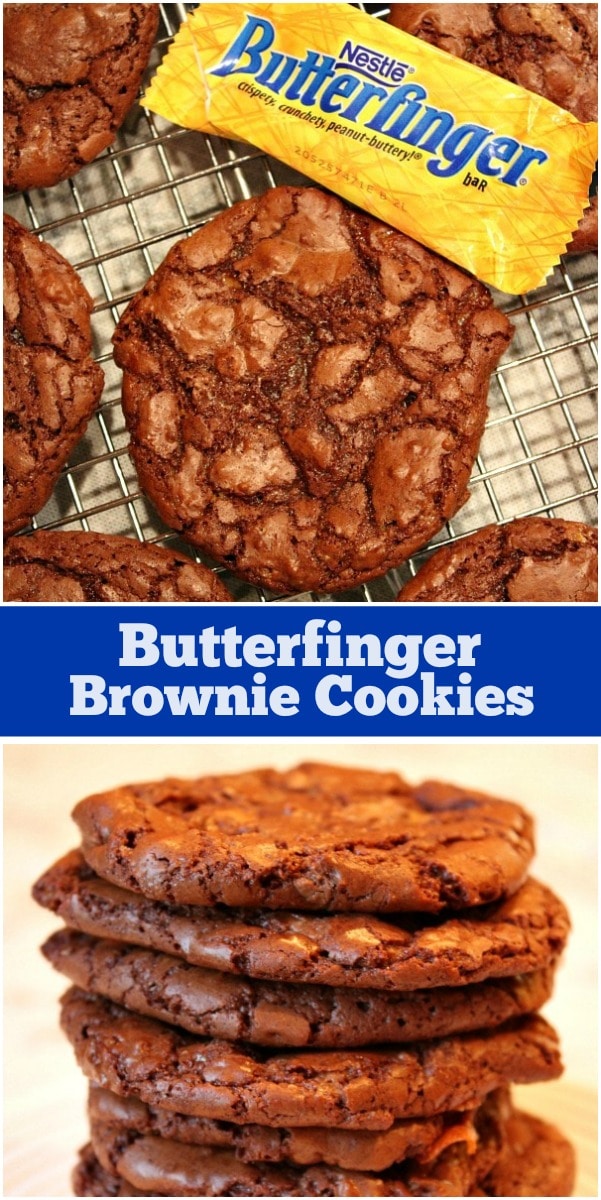
Butterfinger Brownie Cookies are chocolate brownie cookies with Butterfinger candy bars mixed in.
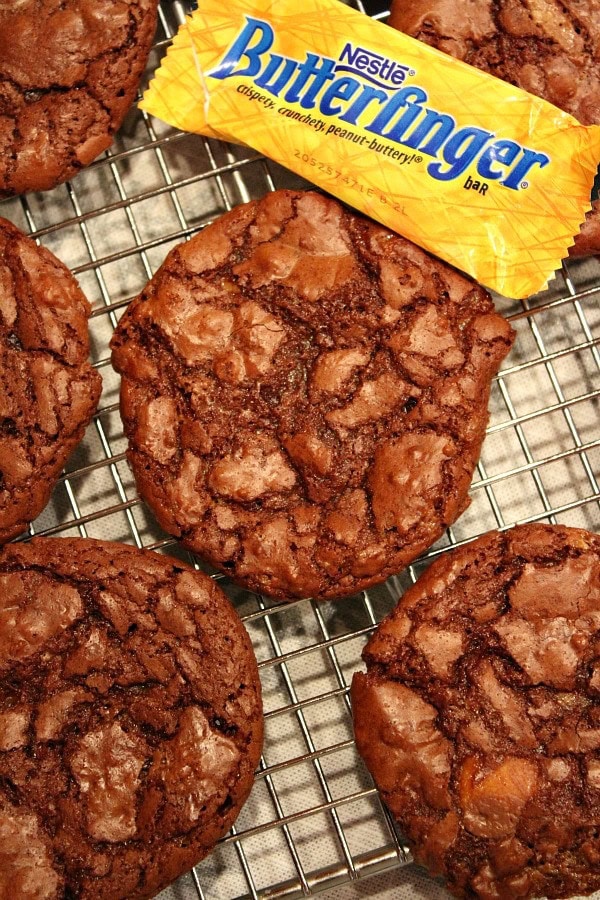
Butterfinger Brownie Cookies
I first made these cookies when our neighborhood was headed out in the chilly air to sing Christmas Carols! Our neighbors were hosting a caroling party, complete with ugly Christmas sweaters, bring-your-own treats, singing door-to-door and sipping festive beverages. There were lots and lots of kids in the group, and I figured they might like some brownies… or chocolate cookies… or butterfingers. So, what the heck? I put that stuff all together and created some Butterfinger Brownie Cookies!
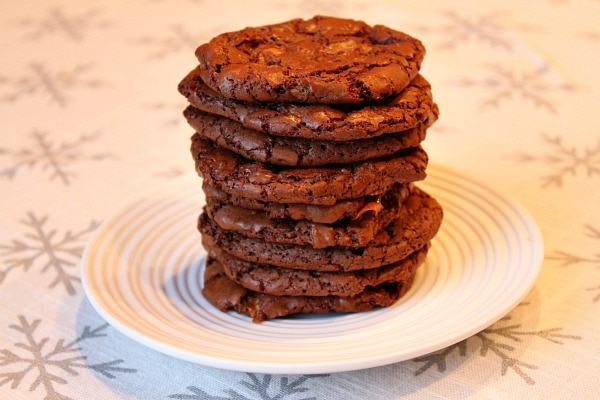
🛒Ingredients needed:
- unsalted butter
- bittersweet chocolate chips
- sugar
- salt
- vanilla
- eggs
- flour
- baking soda
- Butterfinger candy bars
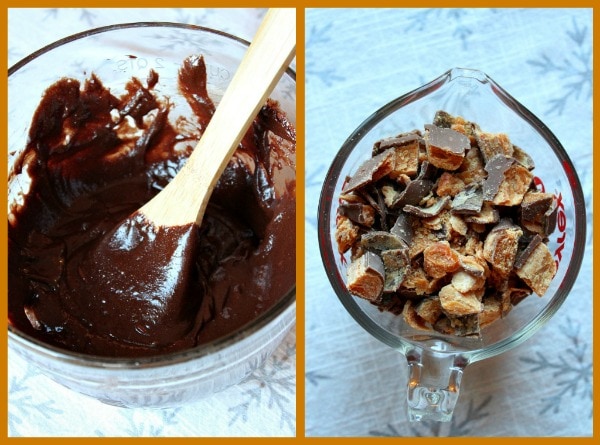
✏️How to make Butterfinger Brownie Cookies:
*The complete, printable recipe with all ingredients and instructions is at the end of this post.
-
Preheat the oven to 350℉. Line cookie sheets with silpat mats or parchment paper.
-
Put butter and chocolate chips in a glass bowl. Microwave for 2 minutes, stir, then microwave an additional 15 to 20 seconds if needed until the mixture is melted and smooth. (alternately, you can heat the butter and chocolate in the top of a double boiler or in a metal pan set over a pot of simmering water).
-
Stir sugar, salt and vanilla extract into the chocolate mixture. Add the eggs one at a time, stirring until they are completely incorporated.
-
In a small bowl, whisk together the flour and baking soda, then add the flour mixture to the chocolate batter. Stir vigorously with a wooden spoon. Give it all you’ve got for a good 2 to 3 minutes of mixing. The batter should be smooth and glossy and thick. When the batter has cooled off, stir in the Butterfingers.
-
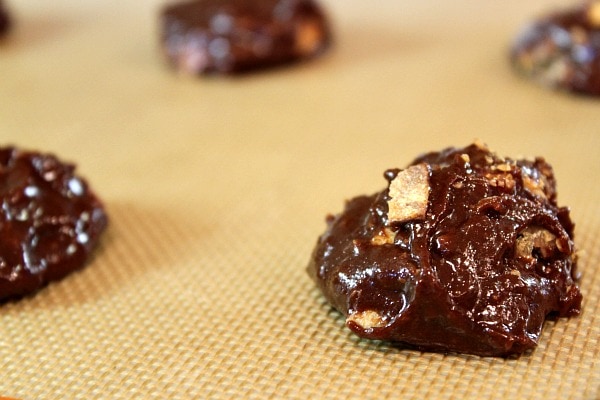
Drop heaping tablespoonfuls of batter onto your prepared cookie sheets- leaving about 2-inches between cookies as they’ll need space to grow. Bake 10 to 12 minutes. They’ll spread out and puff up. You want to take them out when they’ve crackled but they’re still soft and gooey. They’ll sink and become more firm as they cool. Wait a few minutes, then transfer them to a cooling rack to cool completely.
➡️Recipe Tips:
- This recipe is not gluten-free as written, however I believe that this one is a good candidate for adapting to gluten-free. Be sure to use GF chocolate chips, a GF flour blend, GF vanilla and double check to make sure your Butterfingers are GF too. I haven’t tried the recipe yet as gluten-free, but there is so little flour in it that it will probably be successful. Let me know if you try it and have success!
- I used two 6-packs of .65-ounce bars found in the grocery store candy aisle
- If Butterfingers aren’t for you, try another type of candy. I think Heath or Skor bars would work especially well.
✔️What to do with Butterfinger Brownie Cookies:
- I took these to a neighborhood Christmas party, but really they’redelicious for any occasion, so next time you offer to bring dessert, keep these in mind.
- Butterfinger Brownie Cookies are perfect for bake sales. Place two of three in each baggie and just see how fast they sell!
- If you like these, another of my Butterfinger Cookies recipes.They have all of that Butterfinger goodness in a cookie that’s NOT chocolate.
★How to Store:
Stored in a covered container and enjoy these cookies within 2 to 3 days. You can also freeze them in a tightly sealed container for 1 to 2 months.
❤️Why I love this recipe:
- I love a chewy cookie and these Butterfinger Brownie Cookies are exactly that.
- Butterfingers have a unique taste. I find them a bit similar to toffee and I love toffee!
- Kids and adults alike gobble up these cookies. Coming home with an empty plate feels like a victory!
Recipes using Butterfingers:
- Butterfinger Rice Krispie Treats
- Butterfinger Pie
- Butterfinger Truffles
- Butterfinger Ice Cream
- Butterfinger Brownies
- Butterfinger Blondies
Butterfinger Brownie Cookies
Ingredients
- 4 tablespoons (½ stick) unsalted butter, cut into pieces
- 8 ounces bittersweet chocolate chips
- 1 cup granulated white sugar
- ¼ teaspoon salt
- ½ teaspoon vanilla extract
- 2 large eggs
- ⅔ cup all purpose flour
- ⅛ teaspoon baking soda
- 2 cups (7.8-ounces) chopped Butterfinger candy bars
Instructions
- Preheat the oven to 350℉. Line cookie sheets with silpat mats or parchment paper.
- Put butter and chocolate chips in a glass bowl. Microwave for 2 minutes, stir, then microwave an additional 15 to 20 seconds if needed until the mixture is melted and smooth. (alternately, you can heat the butter and chocolate in the top of a double boiler or in a metal pan set over a pot of simmering water).
- Stir sugar, salt and vanilla extract into the chocolate mixture. Add the eggs one at a time, stirring until they are completely incorporated.
- In a small bowl, whisk together the flour and baking soda, then add the flour mixture to the chocolate batter. Stir vigorously with a wooden spoon. Give it all you've got for a good 2 to 3 minutes of mixing. The batter should be smooth and glossy and thick. When the batter has cooled off, stir in the Butterfingers.
- Drop heaping tablespoonfuls of batter onto your prepared cookie sheets- leaving about 2-inches between cookies as they'll need space to grow. Bake 10 to 12 minutes. They'll spread out and puff up. You want to take them out when they've crackled but they're still soft and gooey. They'll sink and become more firm as they cool. Wait a few minutes, then transfer them to a cooling rack to cool completely. Eat them up within 2 to 3 days (stored in a covered container).
Notes
- I use two 6-packs of .65-ounce bars found in the grocery store candy aisle
- *This recipe is not gluten-free as written, however I believe that this one is a good candidate for adapting to gluten-free. Be sure to use GF chocolate chips, a GF flour blend, GF vanilla and double check to make sure your Butterfingers are GF too. I haven't tried the recipe yet as gluten-free, but there is so little flour in it that it will probably be successful. Let me know if you try it and have success!
Nutrition
Nutrition information is automatically calculated, so should only be used as an approximation.



Why do these have to be eaten in 2-3 days? I’m thinking of sending them as gifts in the mail to family and friends but that last line makes me nervous….
I said 2 to 3 days to be safe… they’d probably be okay to ship.
I used an electric chopper for the Butterfingers but it chopped them too finely. Next time I’ll use a rubber mallet .
I made these gluten free yesterday! So yummy! I just used gf bisquick (and a little brown rice flour because I didn’t have quite enough mix) and it worked perfect. I made one batch of cookies, then got lazy and put the rest in an 8×8 and cooked 30-35 minutes and it made yummy chewy gooey brownies!
Alex – Just put a large stainless mixing bowl over a sauce pan with about 2″ of simmering water. Super easy one-bowl recipe.
If you’re reading this and thinking, “Maybe I’ll make these sometime,” TURN OFF YOUR COMPUTER AND GO MAKE THEM NOW. They are divine – and unbelievably easy to make. I keep catching my beau, who doesn’t eat sweets, sneaking into the cookie jar for another one. Oh, well. Back to the store for more Butterfingers!
these look so good, going to try them out tonight! question for you guys though—I live in NYC, so my kitchen tools are pretty meager (aka I don’t have a double boiler). Is this something I could potentially swap out the ‘homemade’ ingredients for brownie mix? Has anyone given it a try, or have any advice on how best to approach? Thanks!
I haven’t tried with a brownie mix!
Oh my – this is just my type of cookie! I’ll have to sneak this in before 1/1 – I’m trying to do clean eating in the new year! But let’s be real, I’ll make this before 1/1 and plenty of times in the new year – I just can’t resist!
These won’t stand a chance in our butterfinger lovin house:-) They look awesome!!!
These were delicious. Thanks for sharing.
Butterfingers are a favorite around our house – these would be a HUGE hit!