My little one had a birthday recently, and he wished for a Boston Red Sox birthday cake. I’m not a big cake baker, but I figured I could pull it off. Armed with a picture of their logo, I set off to bake his wish. Here’s a pictoral step-by-step, with a few instructions for how I made it along the way and at the end of this post.
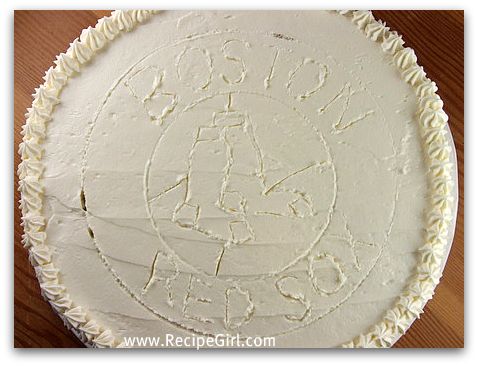
I found two different sized bowls to use to mark the circles I needed, gently touching them on the top of the cake to make imprints. Then, eyeing my sample Red Sox logo, I drew the logo details freehand with the tip of a sharp knife. The best part… when you mess up, you just rub the frosting back into place!
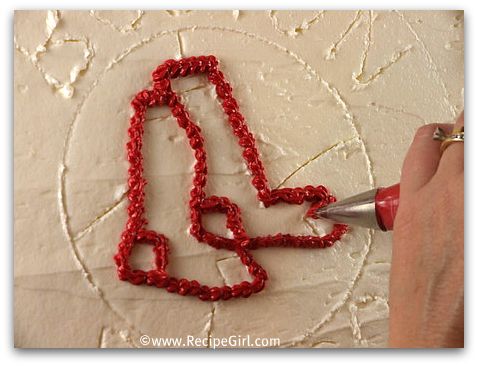
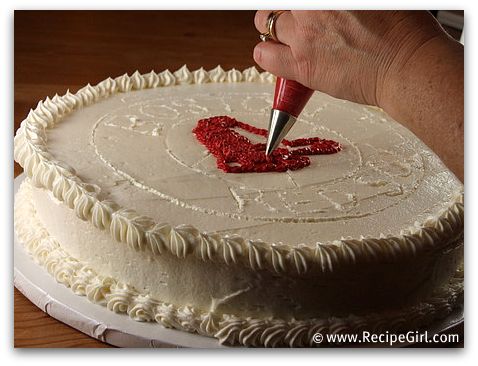
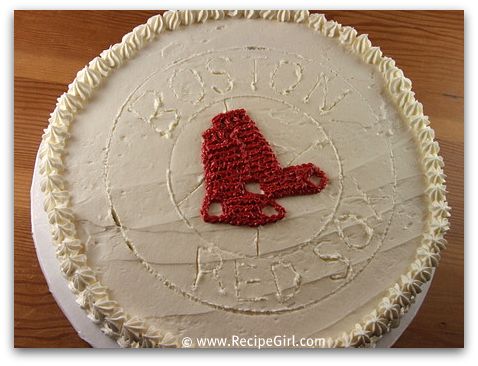
I wish I could tell you which tip I used for the socks but it appears that I might have tossed it with the bag after decorating (stupid, amateur baker). I liked this one though since it made the texture of the socks look woven. Warning… red frosting isn’t easy to fix if you mess up!
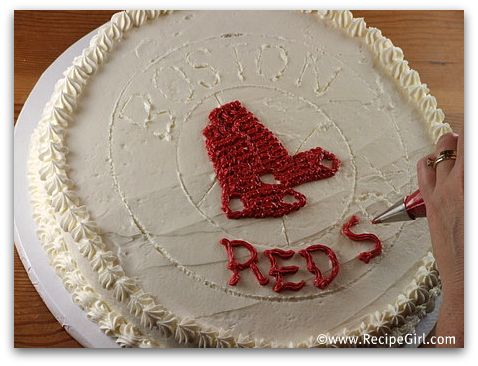
The cool Red Sox font that’s on the logo above was simply too tough (for me) to replicate on a frosted cake, so I just went with letters & tried to make them somewhat similar to the curves on the true Red Sox font.
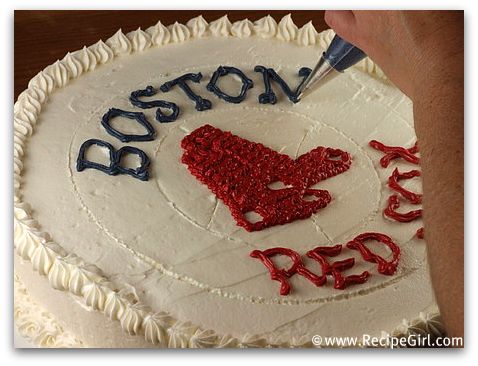
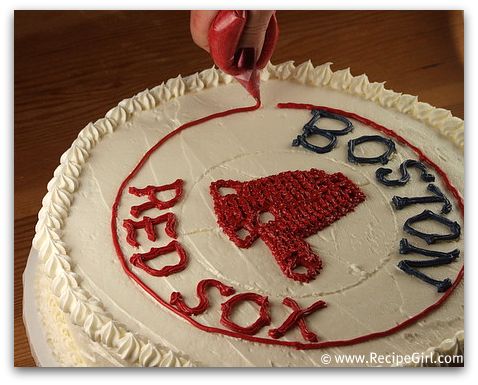
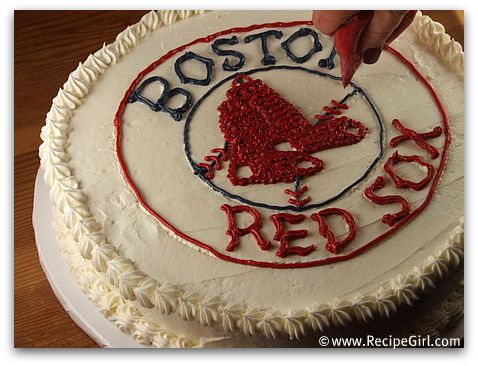
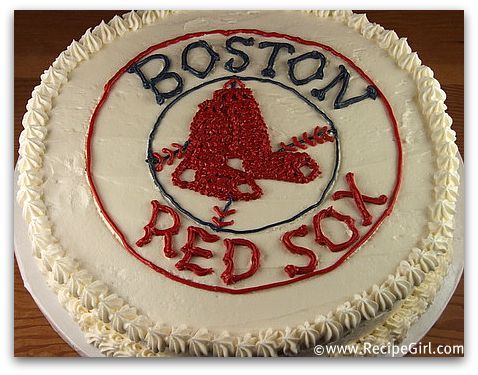
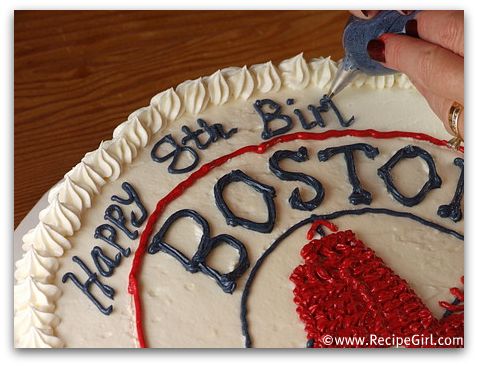
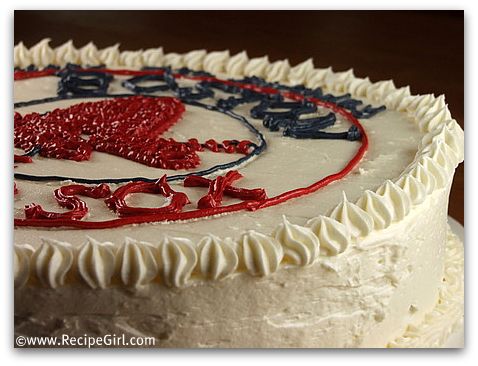
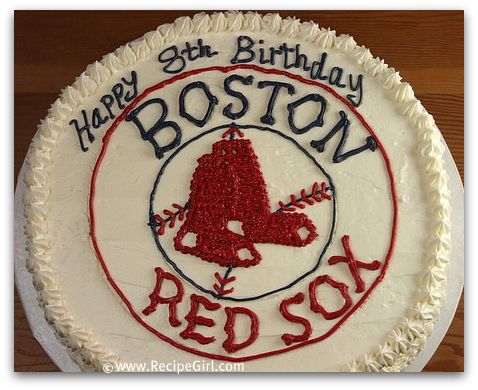
8-year-old wish granted 🙂
My local baking supply shop supplied me with a 12-inch round metal pan, a 14-inch round board & box and red/white/blue gel paste.
I doubled my Wedding Cake recipe to use for the big, round cake. I baked it for a little over an hour, watching it closely and poking with a toothpick until I was satisfied that it was done. The baking shop folks warned me that it would sink a little in the middle, and it did. I simply used a bread knife to cut and even out the top and then covered all with frosting.
For frosting, I made a double batch of Wedding Cake Buttercream to do the white base of the cake, smoothing it out as flat as I could and then I piped some decor around the edge. The buttercream frosting is always a little off-white because of the yellow butter, but I used clear vanilla extract and threw in a few squirts of white gel paste to brighten the white color.
For the colors, I made one batch of the Wedding Cake Buttercream and then split it into two bowls- one for red and one for blue. I had to use quite a bit of red to get the red that I wanted. I also had to use quite a bit of navy blue, and ended up throwing in a tiny bit of black paste to darken it even more.
All in all, it was a big, fun, time-intensive project. I’m always willing to try anything, and the smile on my son’s face, as well as hearing the delighted giggles when he saw his cake was simply reward enough. (Bonus… the cake was delicious and moist, & got rave reviews from both 8 year olds and adults at the party) 🙂





Great job…and I’m a Red Sox fan too! Lovley!
Nice! I think you can do fondant, really~ I think you’re fibbing when you say you can’t…lol…
Great cake and go Sox!! Belated Happy Birthday to your son. : )
Awww, what a wonderful bday treat for your son! The cake turned out just beautifully. I’m so impressed with your decorating skills. Fabulous job!
You did a great job.
Well done! I’m too scared to pipe writing so I resort to my tappit letters. I’ve resolved to practice more piping after the cake I did in class came out so nice.
What a great mom! So cute!
Ok, that is amazing. Your kids are so lucky to have such a talented mom!
You did a great job! Way to go!
The cake turned out great! I hope your son had a great birthday. I am sure the cake made it a sweet one:)