These Bake and Slice Chocolate Swirls have been a favorite in our family for over 40 years!
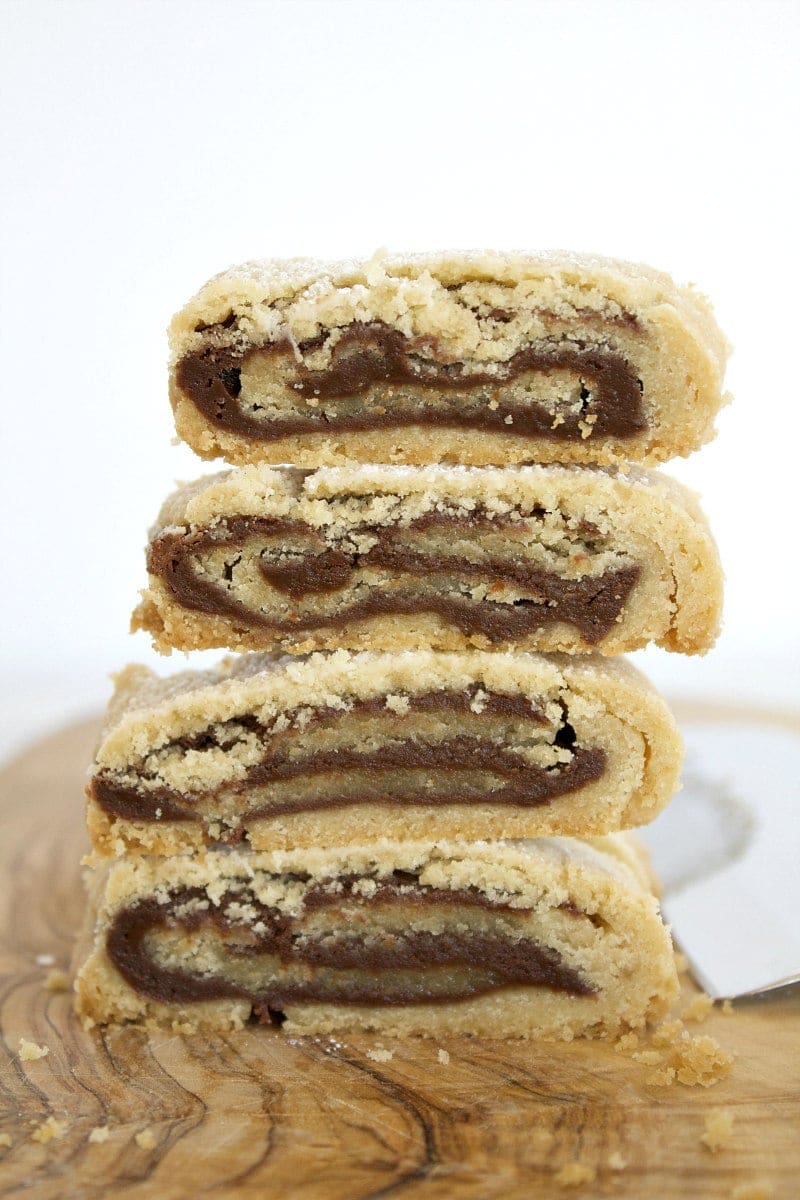
My Mom made these cookies all the time when we were growing up. Most often, she made them during the holidays and included them in our Christmas cookie collection! I’m sure she clipped the recipe from a little Pillsbury recipe booklet or something like that. We looked forward to them every year. I love them when I was little and I love them now too. They’re a chocolate swirled cookie with a buttery shortbread crust.
Nowadays, my Mom is gluten-free, so when I’m baking them for her, I use Cup4Cup gluten-free flour and they turn out just as delicious!
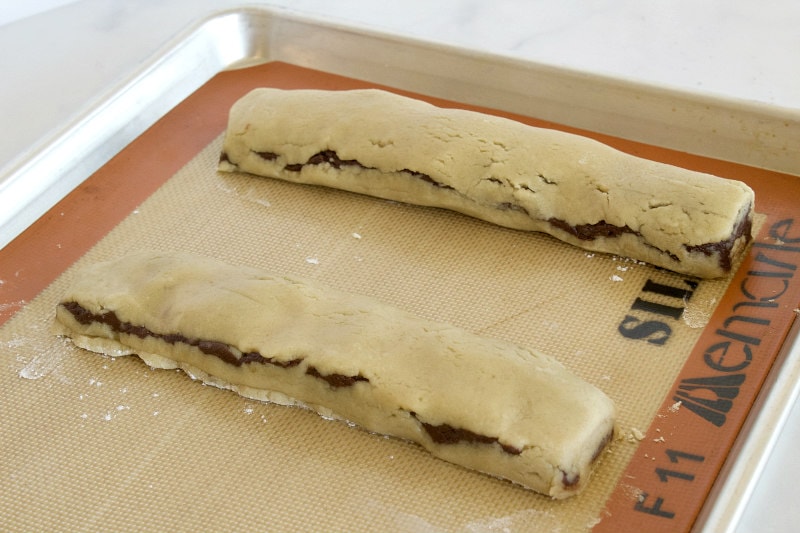
How to make Bake and Slice Chocolate Swirls:
There’s a simple chocolate filling you’ll make. It’s a combo of chocolate chips, sweetened condensed milk and shortening. Once those are all melted together, you’ll set the chocolate filling mixture aside while you make the cookie dough. It’s a delicate dough to roll out and assemble. Really follow the tips provided and you’ll do fine. Work a little milk into the dough if it seems too crumbly.
After you make the cookie dough, the dough is divided into thirds. Each third is rolled out onto a floured surface. I have always found it helpful to roll the dough onto a floured dishtowel– those very thin white towels work best. The chocolate filling is divided into thirds and spread on top of the rolled out dough. This is where the towel comes in handy. You can use the towel to help you roll the dough into a log. It doesn’t have to be “round,” as you can tell by the photos. It will be more of a flat log. The dough can be delicate and crumbly and the chocolate will peek out in places, but don’t fret… the towel will help you roll the log and everything will be okay!
Once the logs are rolled, use a large, flat metal spatula to help you transfer the logs to a baking sheet. You’ll bake the logs whole. You won’t cut them into cookies until AFTER baking.
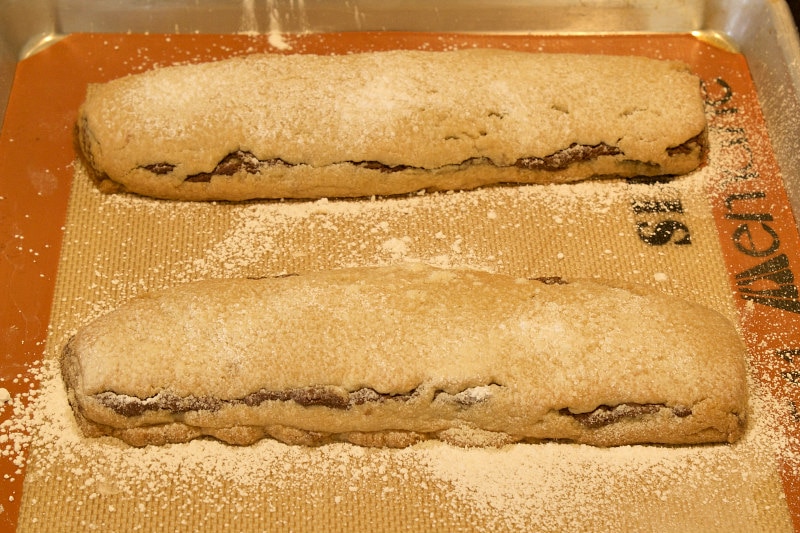
After baking, give them a little sprinkle of powdered sugar and let them cool.
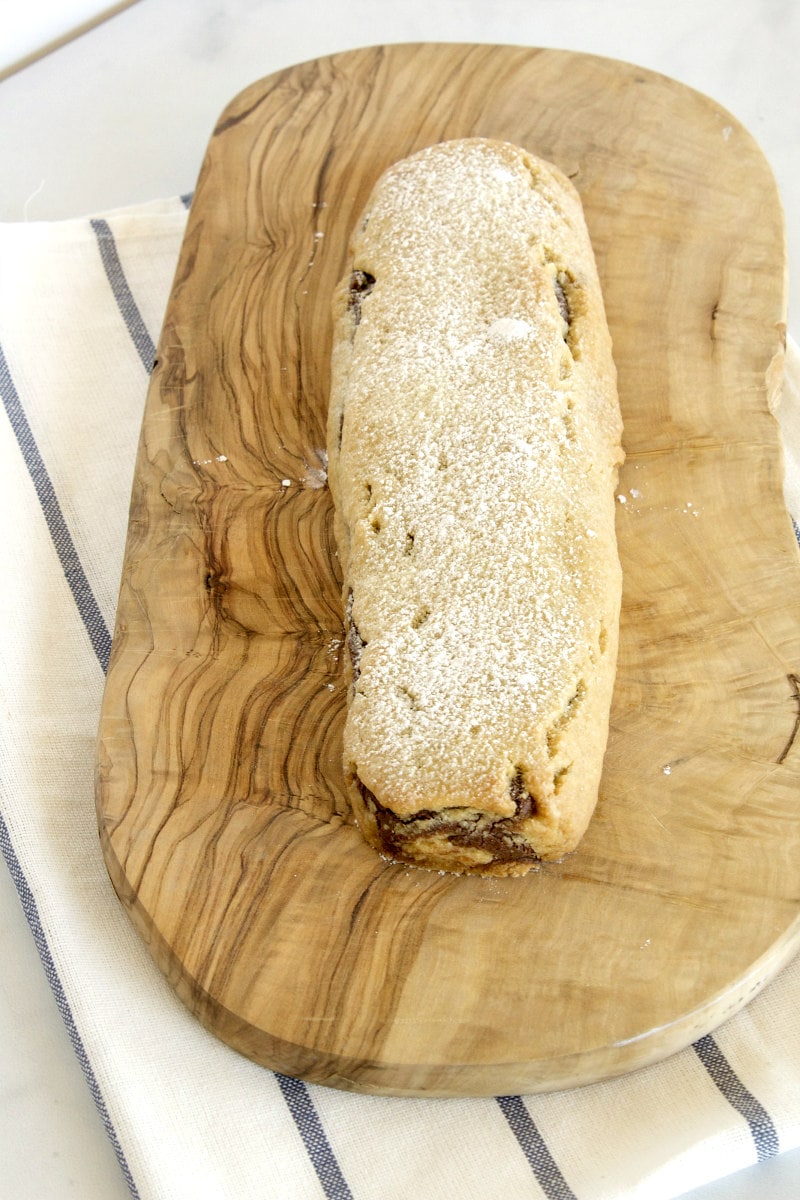
After cooling, you can transfer them to a cutting board.
Can these cookies be made ahead?
Yes! The great thing about this cookie recipe is that they can be made ahead. Go ahead and bake the logs, and then you can wrap each log in plastic wrap and then again in foil and put them in the freezer. When you’re ready to serve your cookies, just take out a log and let it defrost. Then you can cut slices for serving.
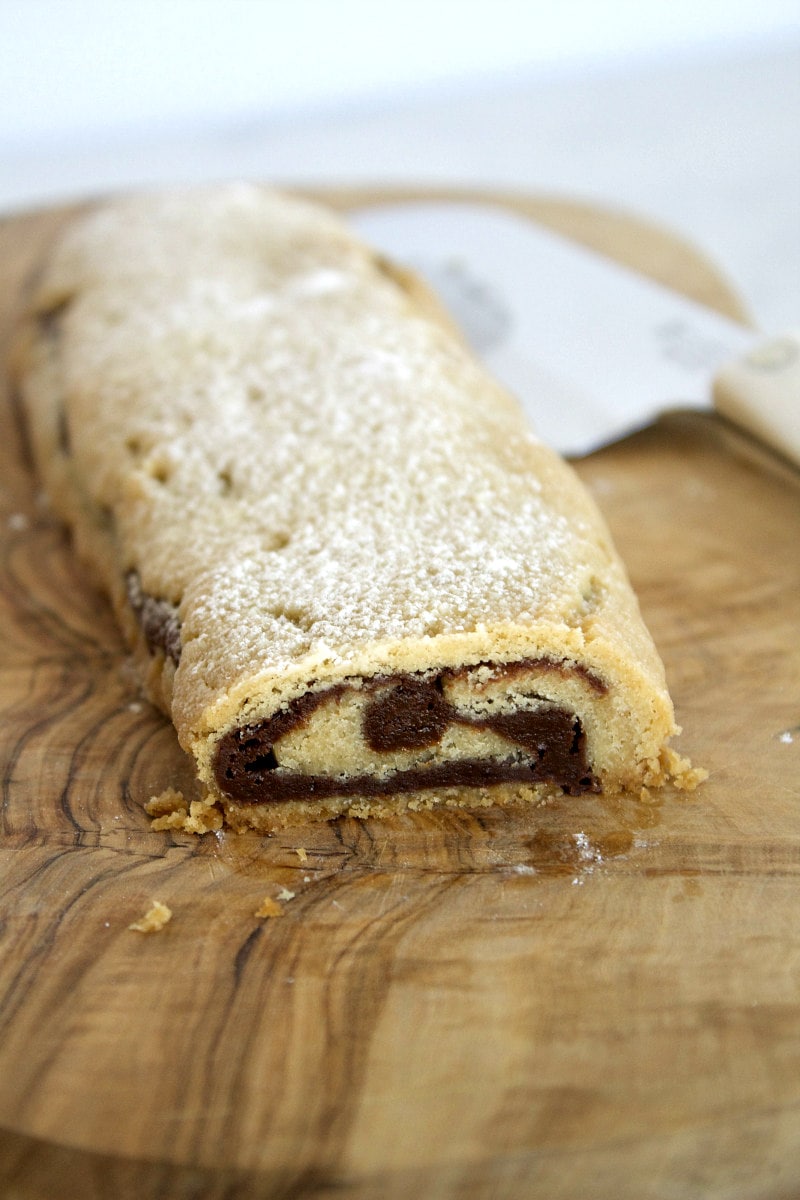
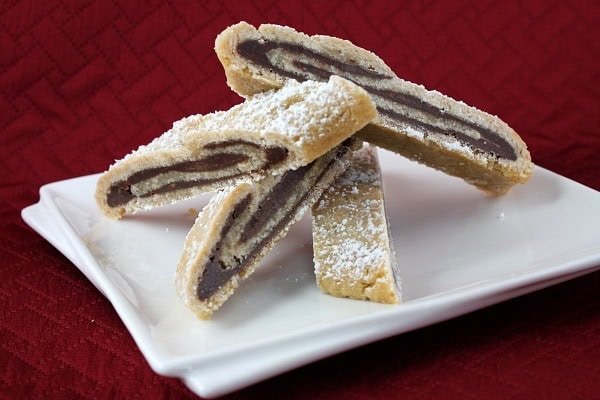
This is what they look like when you cut into the bars.
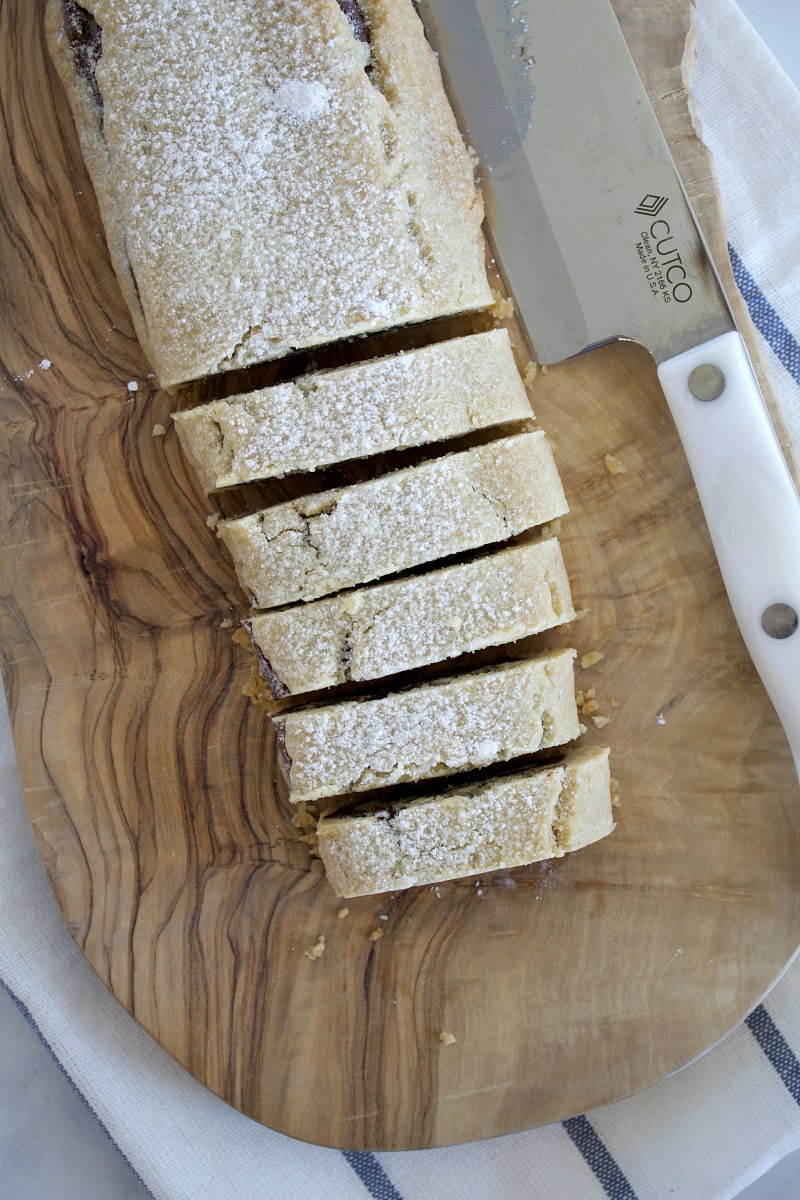
Cut them into 1-inch slices as you want to eat them. You don’t have to cut up the whole log right away.
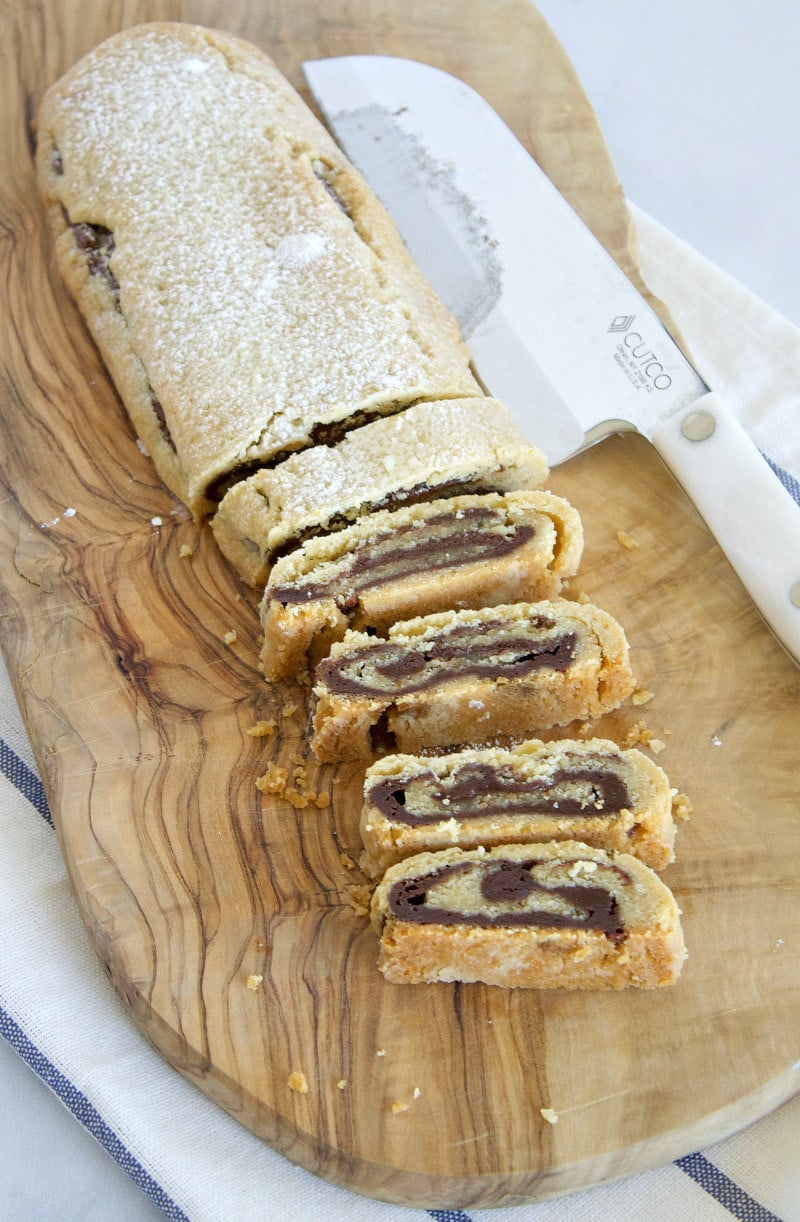
I promise you that they are buttery and chocolatey and totally addicting. It’s hard to stop eating these Bake and Slice Chocolate Swirls! I’m not gonna lie… making these cookies can be a little tricky. But follow the instructions and you will get the hang of it and enjoy these cookies as much as my family does.
Here are a few more holiday cookie recipes you might enjoy:
- Eggnog Cookies
- Strawberry Sandwich Cookies
- Candy Cane Kiss Cookies
- Peppermint Meltaway Cookies
- Spritz Cookies
- Linzer Pinwheel Cookies
- Raspberry Almond Shortbread Thumbprints
- Red Velvet Gooey Butter Cookies
Bake and Slice Chocolate Swirls
Ingredients
CHOCOLATE FILLING:
- 1 cup semi sweet chocolate chips
- 1/2 cup sweetened condensed milk
- 1 tablespoon shortening
COOKIES:
- 3/4 cup (1½ sticks) butter, at room temperature
- 3/4 cup packed brown sugar
- 1 teaspoon vanilla extract
- 1/2 teaspoon salt
- 2 cups all purpose flour, (measure, then sift)
- milk
- 3/4 cup chopped walnuts or almonds (optional)
- powdered sugar, to dust on top
Instructions
- Preheat the oven to 350 degrees F.
PREPARE THE CHOCOLATE FILLING:
- In the top of a double boiler, melt the chocolate, sweetened condensed milk and shortening. Stir until combined, and set aside to cool slightly. (NOTE: if you do not have a double boiler, simply set a glass or metal bowl on top of a pot of simmering water, and melt/combine the ingredients this way).
PREPARE THE COOKIES:
- In large bowl, use an electric mixer to combine the butter, sugar, vanilla and salt. Blend in flour and mix well. Add a few drops of milk to help the batter hold together. It should come together as a blob of dough (not sticky though).
- Divide the dough into thirds. Roll out each on a floured surface to a 10x6-inch rectangle. Spread each with chocolate filling; sprinkle with nuts if desired. Roll up, starting with the 10-inch side. Carefully transfer the roll to an ungreased cookie sheet. The best way to do this is to use a wide metal spatula to help you. It's a little tricky, but if you are careful, they won't fall apart!
- Bake the cookie logs 20 to 25 minutes, or until light golden brown. Cool slightly before removing from cookie sheet. Sprinkle with powdered sugar. Cool and wrap in saran wrap.
- To serve, cut into slices about 1/4-inch thick. These can be frozen in the whole rolls, then defrosted and sliced later.
Notes
- *When finished mixing the dough, if it appears too dry- try placing it inside a large zip baggie and kneading it together to get it nice and held together and ready to roll out.
- *For a floured surface, try using a flour sack dish towel. This will make it easier to roll as you can lift up the towel and easily help guide the rolling.
- *For the Christmas holidays, I always mix some red/green sprinkles with the powdered sugar.
- NOTE: nuts are not included in the nutritional information since they are optional.
Nutrition
Nutrition information is automatically calculated, so should only be used as an approximation.



Oh my, Lori! These literally just went to the top of my “come up with a way to make a low carb version” list!
I made these for a cookie exchange. they are excellent.
I made these for the first time this week. OMG – THIS IS A KEEPER. I too wondered how they would go from round to somewhat flat without some shaping, but they did quite beautifully. I also needed to freeze them for awhile, and was a little concerned about baking them off, not slicing them, putting them in the freezer, and then having a crumb disaster on my hands. Never happened. Sliced beautifully, held together quite well. Don’t worry if the dough is crumbly or cracks. It will hold up under baking.
This looks so incredibly yummy.
We’ve made these since I was young. They are yummy, freeze beautifully. I make 24 -30 bars each year and always have some in the freezer so when guests arrive, I’m prepared. They ship easily if kept in the log rather than slicing. My son’s used to just take an entire bar and eat it like a candy bar. Wonderul recipe.
These look wonderful. I love that Christmas baking brings out so many wonderful memories of years gone by.
I”ve never had anything like this, I can’t wait to try them with my gluten free flour!
Oh Lori….those look terrific! 🙂
OMG – I want these!!
A classmate brought these to our evening class – WOW what a hit! Everyone was raving!