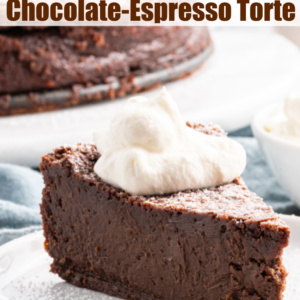
This Chocolate Espresso Torte is decadent and wonderful. This is the dessert for chocolate lovers!
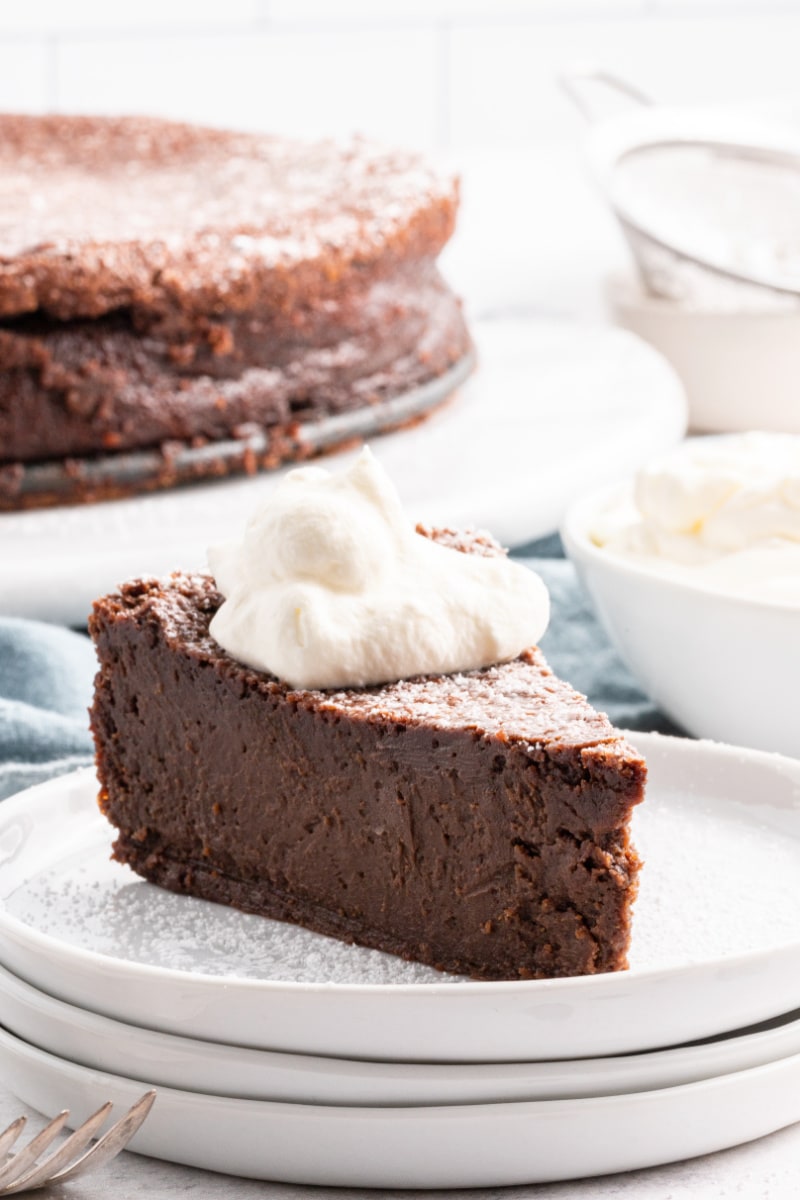
This is a dessert that I made fairly often for my Mom. She was gluten free, and this chocolate espresso torte just happens to be naturally gluten free. There is no flour in the recipe at all. That makes it a super rich and chocolatey. It’s honestly so decadent. It’s a dessert like you might be offered in a good restaurant. I’ve made it for dinner parties, and it’s always a hit. A sliver is pretty much all you need.
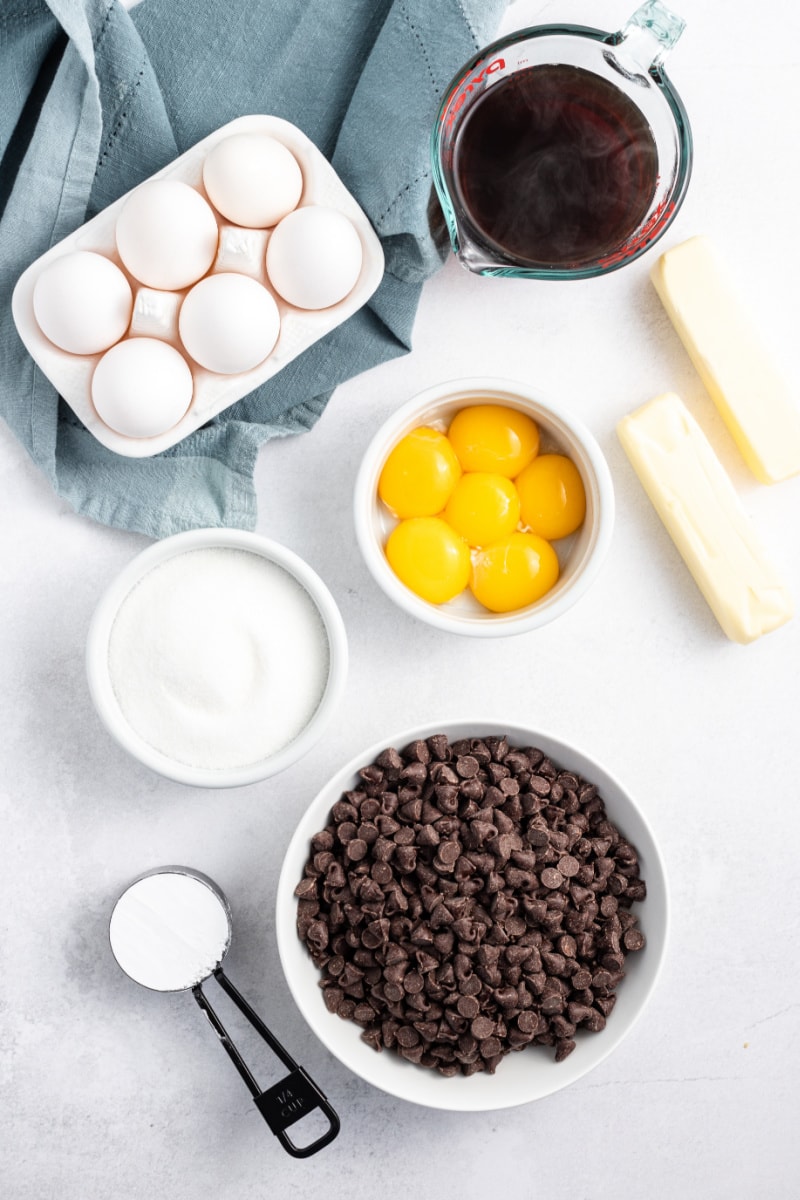
Ingredients needed:
- salted butter
- white sugar
- hot brewed espresso
- semi sweet chocolate
- eggs
- egg yolks
- powdered sugar
- whipped cream or ice cream, for serving (optional)
About Espresso:
You do need hot brewed espresso for this recipe. However, there are a few ways to go about getting hot brewed espresso. The easiest way to make the espresso you need is to buy instant espresso, and use it to make your hot espresso for the recipe. Look for instant espresso in your market’s coffee aisle. You can use leftover instant espresso to make brownies or cake. If you have a Keurig, they do sell espresso pods (just like the coffee pods), so you can use those if you’d like. And you can always bring some hot espresso home from a coffee shop too.
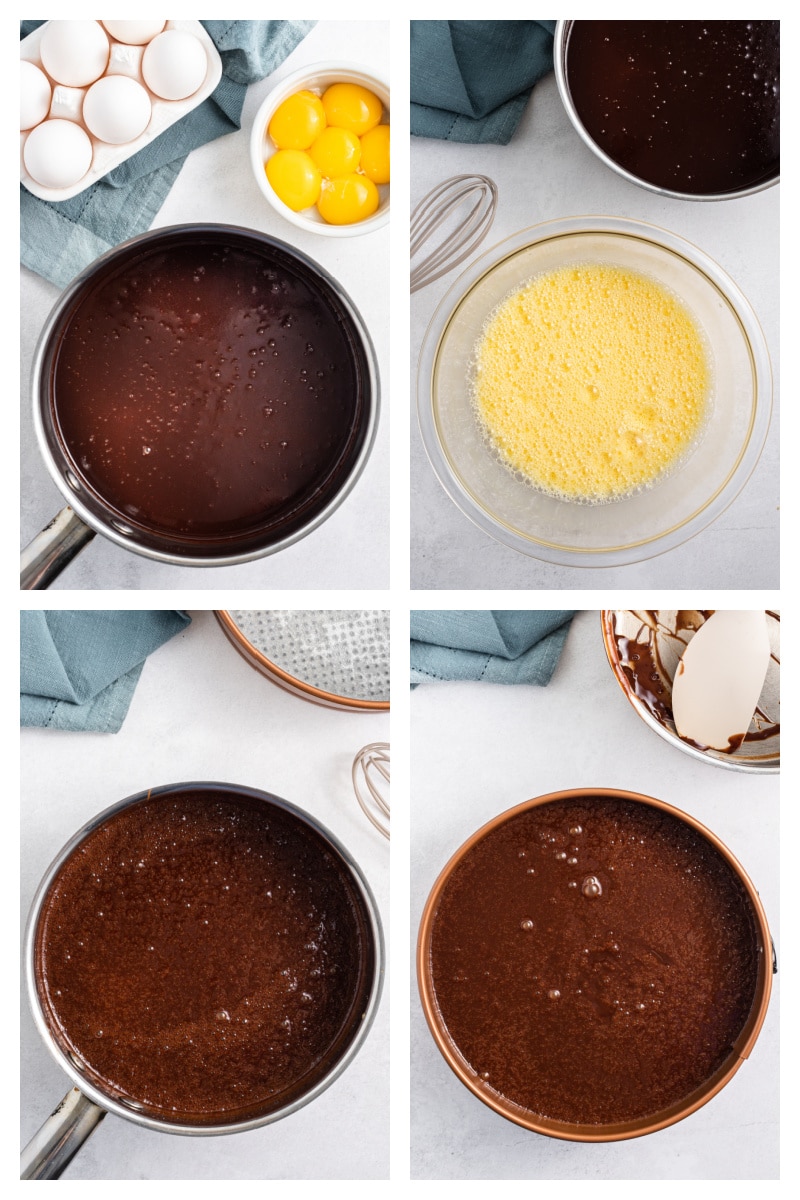
How to make a Chocolate Espresso Torte:
The complete, printable recipe is at the end of this post. Preheat the oven to 325°F. Generously butter an 8 or 9-inch springform pan, and line the bottom with parchment paper. Butter and flour the paper; set aside.
In a heavy saucepan over medium heat, melt the butter; add the sugar and espresso and stir until the sugar dissolves. Add the chocolate and stir until smooth. Remove the pan from heat and set aside to cool slightly. You don’t want it to be hot when you add the eggs (or you’ll end up with scrambled eggs in your chocolate!)
Whisk the whole eggs and egg yolks in a large bowl until frothy. Quickly whisk the eggs into the chocolate mixture. Pour the batter into the prepared pan and place the pan on a baking sheet.
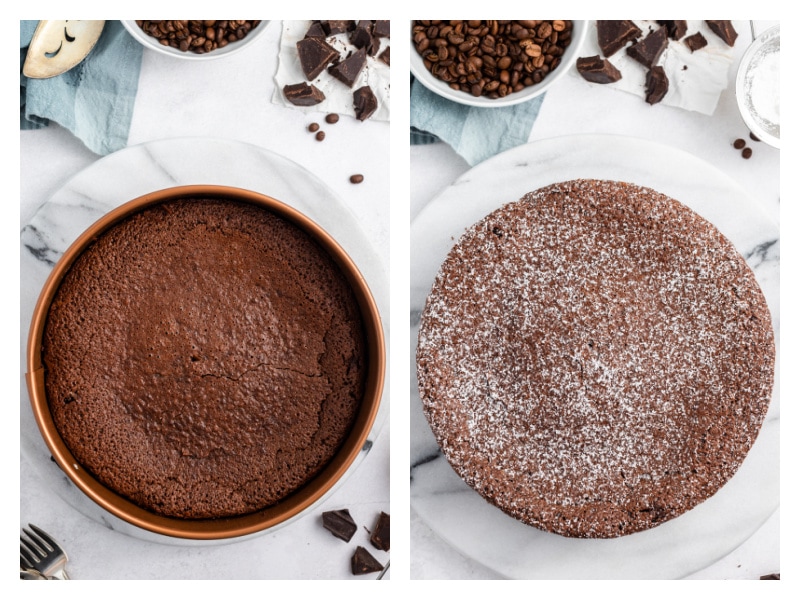
Bake until the edges puff and crack slightly but the center is not completely set, about 1 hour; don’t over bake (the cake will continue to set as it cools). Transfer to a rack and cool. Cover and refrigerate overnight for best results.
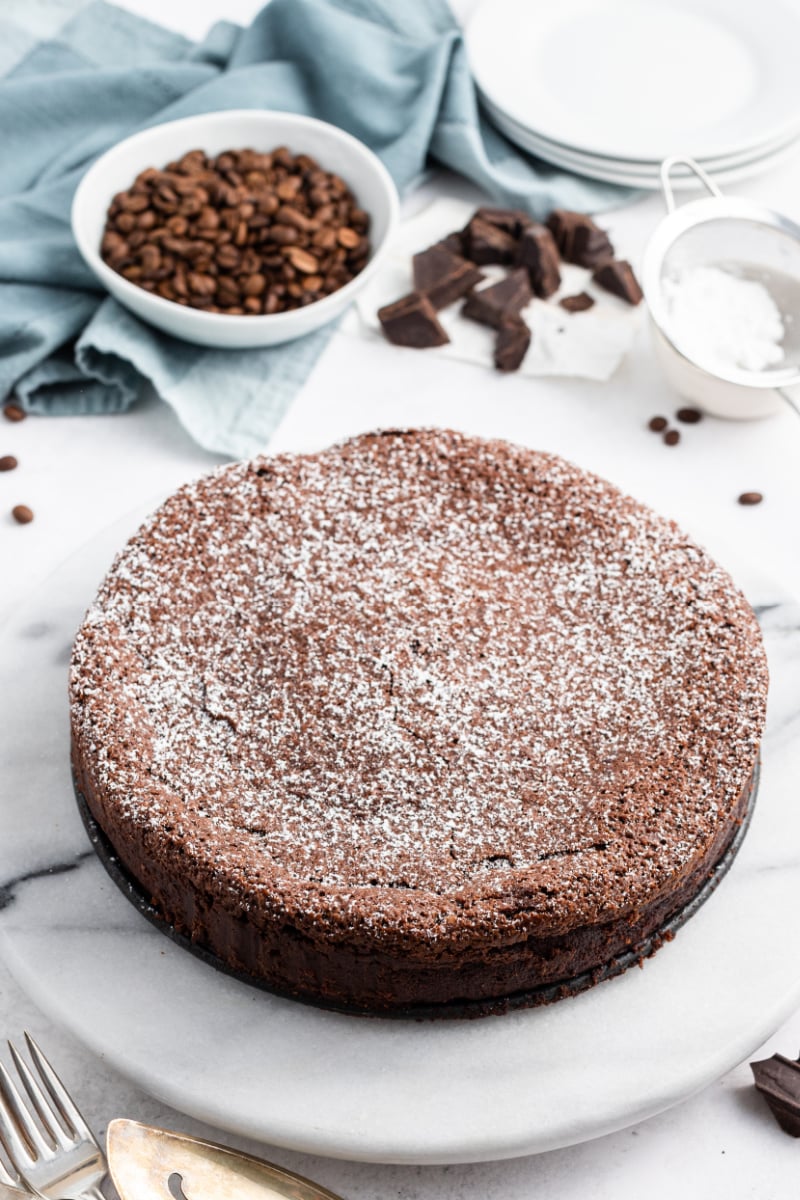
When ready to serve, run a small knife around the cake pan to loosen. Carefully release the pan sides. Sift powdered sugar over the cake.
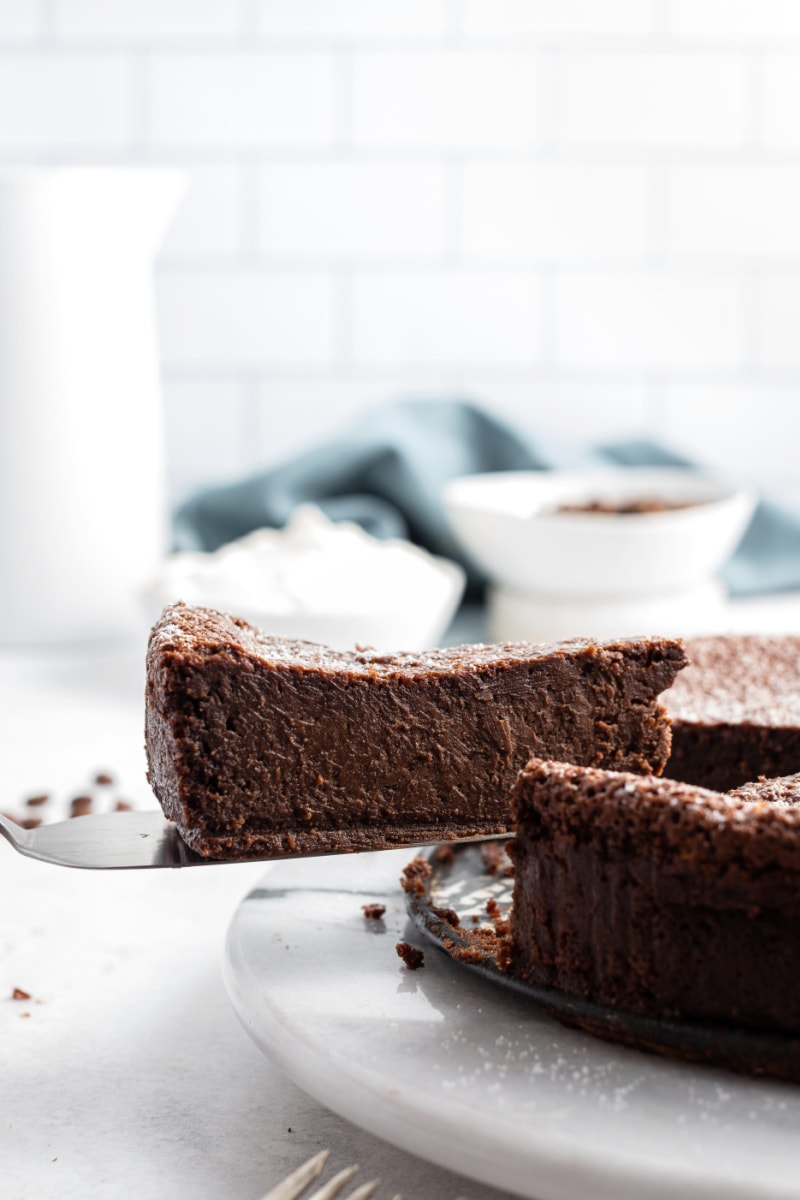
Cut into small wedges, wiping the knife clean before each cut.
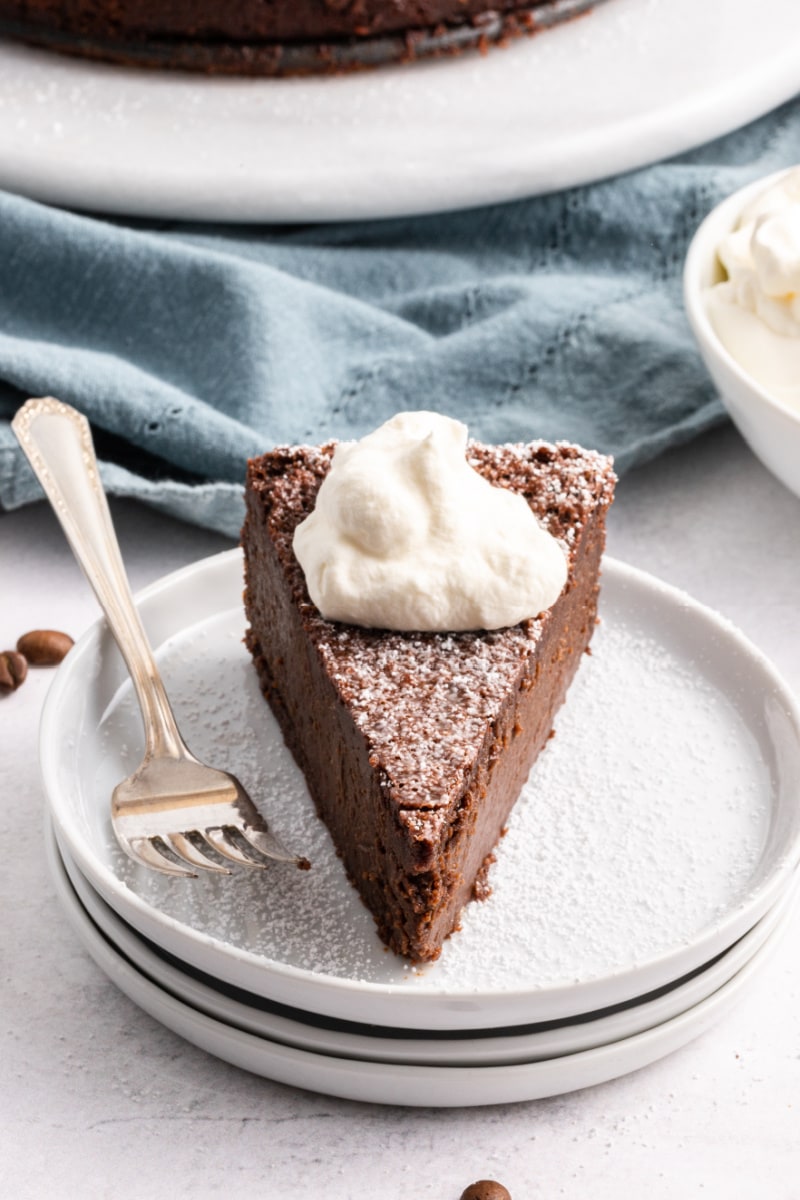
Serve with ice cream or whipped cream. That will cut the rich chocolate flavor a bit. Enjoy!
Chocolate Espresso Recipes:
- Chocolate Espresso Gelato
- Chocolate Dipped Espresso Shortbread Cookies
- Kahlua Espresso Chocolate Chip Cookies
- Chocolate Espresso Snowcaps
- Dark Chocolate Espresso Brownies
Chocolate Espresso Torte
Ingredients
- 1 cup (2 sticks) salted butter
- 1 cup + 2 tablespoons granulated white sugar
- 1 cup + 2 tablespoons hot espresso coffee (can use instant if you have it)
- 16 ounces semi-sweet chocolate, cut into small pieces (or use chips)
- 6 large eggs, at room temperature
- 6 large egg yolks, at room temperature
- ¼ cup powdered sugar
- ice cream or whipped cream, optional
Instructions
- Preheat the oven to 325°F. Generously butter an 8 or 9-inch springform pan, and line the bottom with parchment paper. Butter and flour the paper; set aside.
- In a heavy saucepan over medium heat, melt the butter; add the sugar and espresso and stir until the sugar dissolves. Add the chocolate and stir until smooth. Remove the pan from heat and set aside to cool slightly. You don't want it to be hot when you add the eggs.
- Whisk the whole eggs and egg yolks in a large bowl until frothy. Quickly whisk the eggs into the chocolate mixture. Pour the batter into the prepared pan and place the pan on a baking sheet.
- Bake until the edges puff and crack slightly but the center is not completely set, about 1 hour; don't over bake (the cake will continue to set as it cools). Transfer to a rack and cool. Cover and refrigerate overnight for best results.
- When ready to serve, run a small knife around the cake pan to loosen. Carefully release the pan sides. Sift powdered sugar over the cake. Cut into small wedges, wiping the knife clean before each cut. Serve with ice cream or whipped cream.
Notes
- If you are preparing this recipe as gluten-free, just be sure to use a brand of chocolate that is known to be GF.
- This cake freezes well when tightly wrapped.
Nutrition
Nutrition information is automatically calculated, so should only be used as an approximation.



Made this for a co-worker’s birthday who loves chocolate and coffee and it was a huge hit with everyone! Wow! Will definitely make this again. Absolutely delicious and easy/quick to put together! Winner!
How do you remove the parchment paper from a spring form pan when this is not a cake where you flip over?
You can leave it… or you can gently slide a thin spatula underneath to remove.