Traditional Whoopie Pies ~ Chocolate cake-like batter is baked into large, soft hamburger-sized, bun shaped cookies then filled with a fluffy, sweet marshmallow frosting.
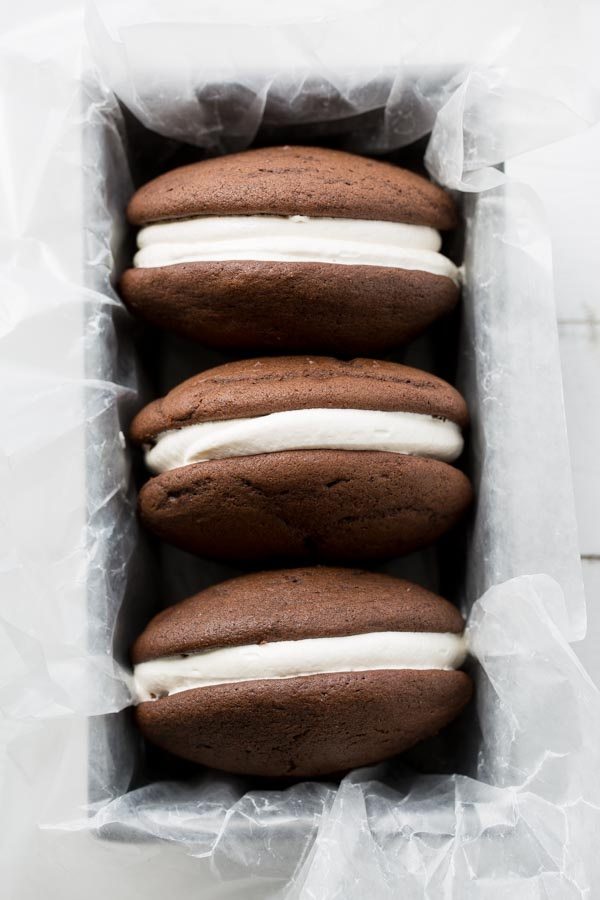
I’ll never forget when I had my first Whoopie Pie while traveling on business in Portland, Maine. My Tennessee co-workers requested that I bring back Whoopie Pies for them to share, and since this was back in the days before airline travel was so difficult, I carried a big box home with me on the plane. I have to admit, I was shocked when I saw how huge they are, almost too big to hold in one hand! Soft chocolate cake you can eat with your fingers – I’m all in!
What are Traditional Whoopie Pies?
The name ‘Whoopie Pies’ may have come from the original recipients who got so exited when presented with this sweet treat, that they yelled whoopie! Or so the legend goes 🙂
The genesis of the Whoopie Pie dates back to the early 20th century with roots in Pennsylvania Dutch country as well as coastal Maine. I have no idea why they are called pies, especially since they are more like cake or cream filled cookies. Just like Boston Cream Pie is called a pie, but in reality is also more like cake. So confusing!
In this updated recipe, butter, marshmallow fluff and powdered sugar come together to make a sweet fluffy filling which is much more appealing to me than the lard-ladened original. Many recipes today still include solid vegetable shortening in the filling, but I love this version with sweet, creamy butter. Using butter in the frosting also helps the fluffy filling set-up once chilled, so it’s a little less messy to enjoy.
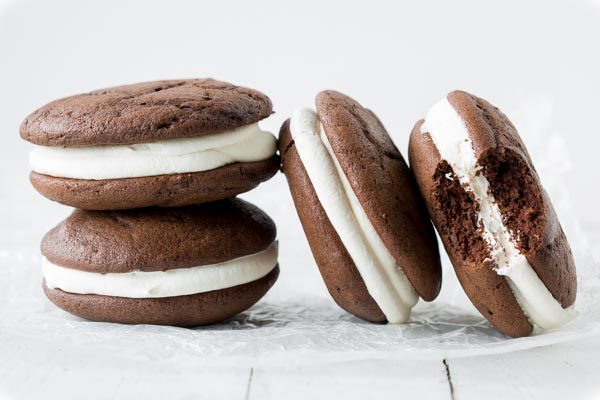
Did I mention that these Traditional Whoopie Pies freeze beautifully?
In fact, they’re quite delicious served slightly cold. I prefer them chilled because it helps keep the frosting from oozing out the sides once you take a big bite! However, to some that oozing may be their favorite part – so I’ll let you all decide – to ooze or not to ooze?
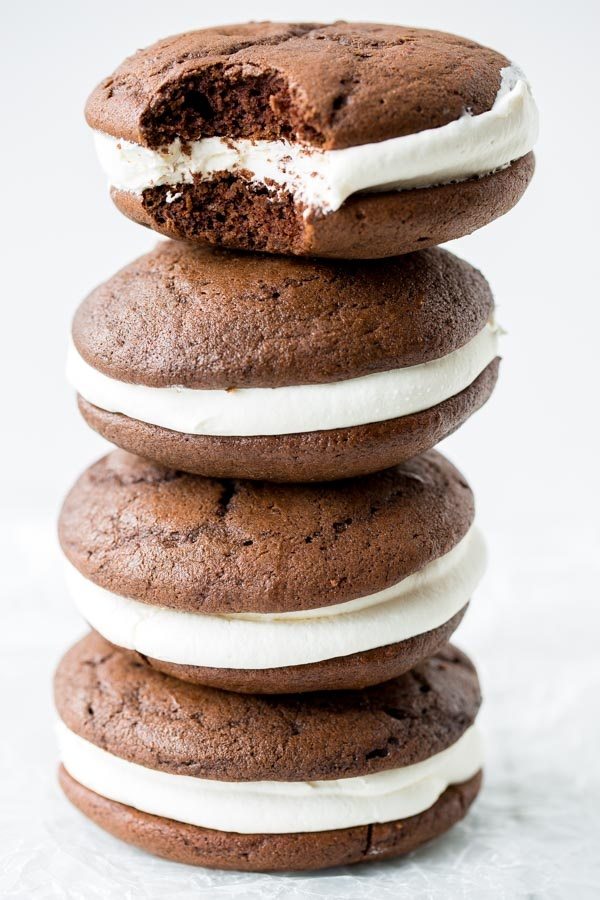
Food is memories indeed!
How do these Whoopie Pies taste?
As with all our recipes, we solicited feedback from our serious, dedicated taste-testers. To say their response was enthusiastic is an understatement. My husband took some to work too, and several co-workers from the northeast fondly recalled stories from their childhood about how much they loved good traditional Whoopie Pies. But every single person said as good as the memories were, these Whoopie Pies were even better. High praise indeed! They went on and on about the filling, calling it the best they’d ever had, and each asked for the recipe. The best part? These Whoopie Pies are easy to make and share, and deliciously fun to eat.
Here are a few more Whoopie Pie recipes you might enjoy:
- Red Velvet Whoopie Pies
- Gingerbread Whoopie Pies
- S’mores Whoopie Pies
- Mint Chocolate Chip Whoopie Pies
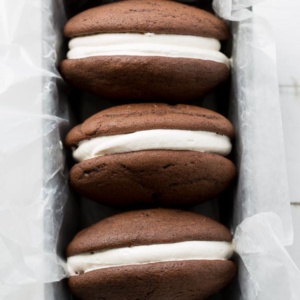
Traditional Whoopie Pies
Ingredients
FOR THE CAKES:
- 2 cups all purpose flour
- 1/2 cup Dutch-processed cocoa powder
- 1 teaspoon baking soda
- 1/2 teaspoon salt
- 1 cup packed light brown sugar
- 1/2 cup (1 stick) unsalted butter, at room temperature
- 1 large egg, at room temperature
- 1 teaspoon vanilla extract
- 1 cup buttermilk
- 1/4 teaspoon instant espresso powder
FOR THE FILLING:
- 1/2 cup (1 stick) unsalted butter, at room temperature
- 1 cup powdered sugar
- 1½ teaspoons vanilla extract
- dash of salt
- 2 (scant) cups Marshmallow Fluff or Creme
Instructions
MAKE THE CAKES:
- Preheat the oven to 350 degrees. Line 2 baking sheets with parchment paper and set aside.
- In a medium mixing bowl, whisk together the flour, cocoa powder, baking soda and salt. Set aside.
- In a large mixing bowl, use an electric mixer to combine the brown sugar and butter and beat until light and fluffy. Add the egg and mix just until incorporated. With the mixer on low, add the vanilla and blend until incorporated. Scrape the bottom and sides of the mixing bowl with a rubber spatula and blend another 20 to 30 seconds.
- In a 2 cup measure or small bowl, mix together the buttermilk and espresso powder.
- With the mixer set on low, add one-third of the flour mixture, then pour in half of the buttermilk mixture. Repeat adding one-third of the flour, then the remaining buttermilk. Finally mix in the remaining flour, scrape down the sides and blend another minute.
- Scoop the batter into a 1/3-cup measure and place in a mound on the parchment lined baking sheet. Repeat adding 5 more mounds to the first pan (for a total of 6 per pan) ensuring they are spaced about 3-inches apart. Bake for 16 minutes, rotating the pan once during baking, or until the cakes spring back when lightly pressed. While the first pan is baking, prepare the second pan by mounding the parchment lined baking sheet with six more 1/3 cup scoops of batter. Bake the second sheet then cool all 12 cakes on the parchment for at least 1 hour.
MAKE THE FILLING:
- In a medium mixing bowl, use an electric mixer to combine the butter and powdered sugar; beat until fluffy.
- Add the vanilla and salt and blend. Beat in the Marshmallow Fluff/Creme until incorporated, about 2 minutes. Scrape the frosting into a large ziplock or piping bag and refrigerate until firm, 45 to 60 minutes.
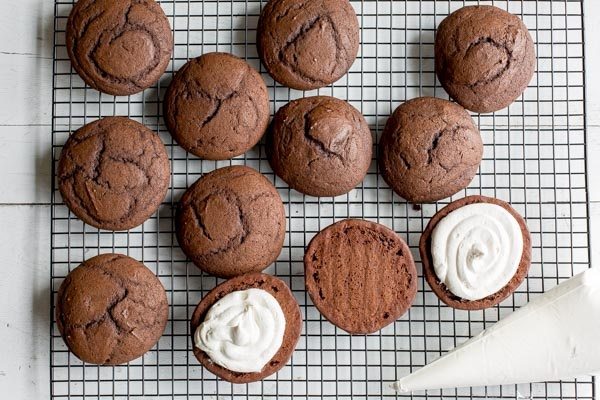
- Cut a 1/2-inch hole at the tip of the bag, and pipe the frosting evenly in the center of the flat side of 6 cakes. Top with the flat side of the remaining 6 cakes and gently press until the filling spreads to the edges of the cake. Serve immediately or refrigerate in an airtight container up to 3 days.
Nutrition
Nutrition information is automatically calculated, so should only be used as an approximation.




Whoopies Pies are one of my husband’s favorite! These look absolutely perfect!!
What type of cream?
Marshmallow Creme
This looks so good!
Lovely post. x