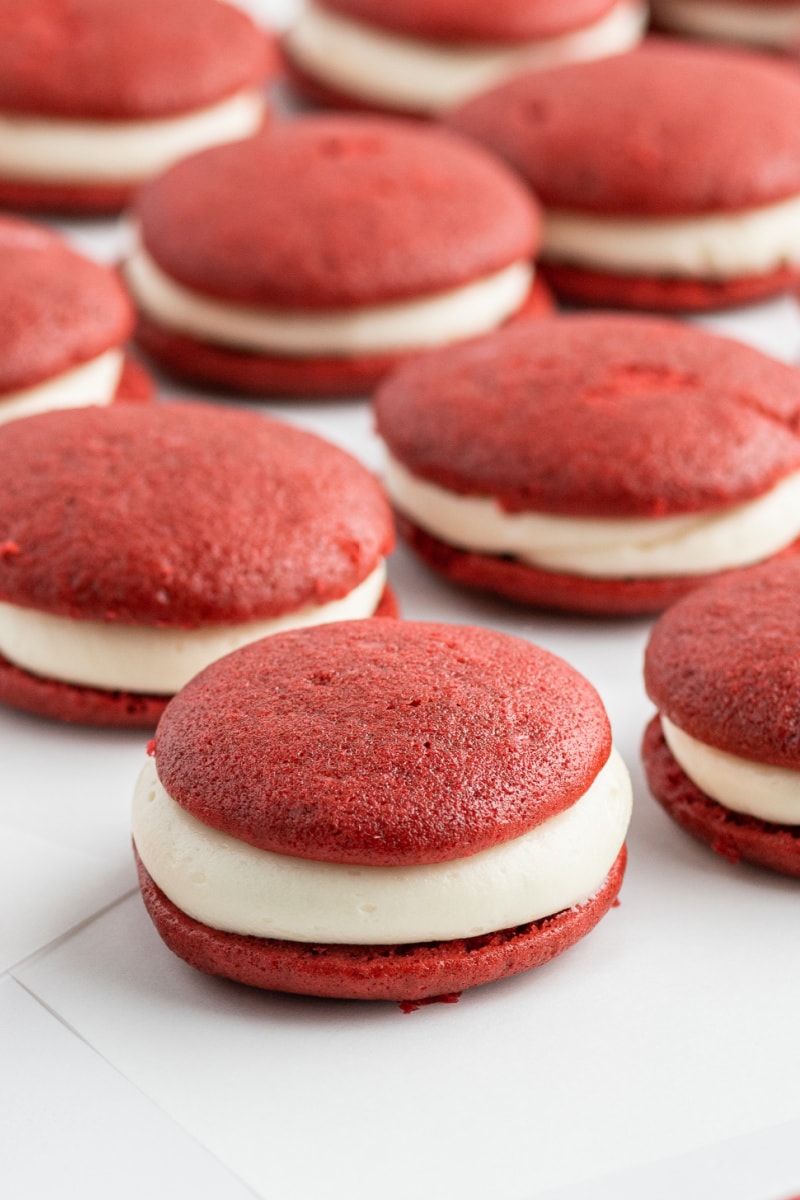
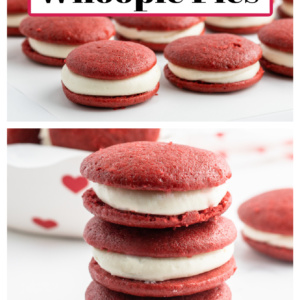
Red Velvet Whoopie Pies are a delicious treat! Much like traditional Whoopie Pies, these cakey confections are filled with a delicious cream cheese filling. They’re red velvet cakes instead of chocolate.
According to Wikipedia:
A whoopie pie is a baked good made of two round mound-shaped pieces of chocolate cake, sometimes pumpkin cake, with a sweet, creamy frosting sandwiched between them. While considered a New England phenomenon and a Pennsylvania Amish tradition, they are increasingly sold throughout the United States. According to food historians, Amish women would bake these (known as hucklebucks at the time) and put them in farmers’ lunchboxes. When farmers would find these treats in their lunch, they would shout “Whoopie!”
Isn’t that a fun story?
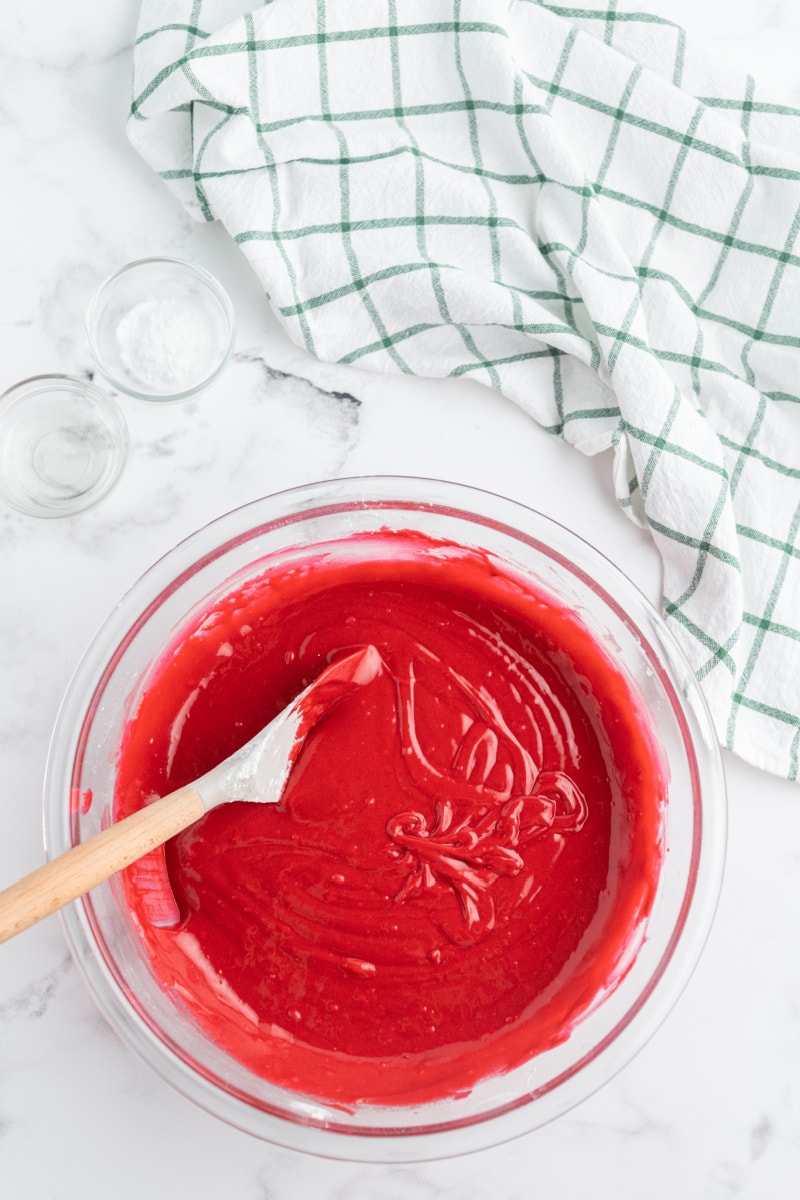
How to make Red Velvet Whoopie Pies:
You won’t need any special Whoopie Pie pans to make this recipe, but they are certainly available if you want to buy them! The recipe begins with a red velvet cake batter.
About red food coloring for Red Velvet recipes:
Some folks are weary of red food coloring. I don’t blame those folks. I don’t like to use bottled food coloring in large amounts in my red velvet baked goods. Instead I use red gel (or paste), which is far more concentrated. A little goes a long way and you don’t get that funky food color flavor. Find it on Amazon, at baking supply stores or at craft stores like Michaels.
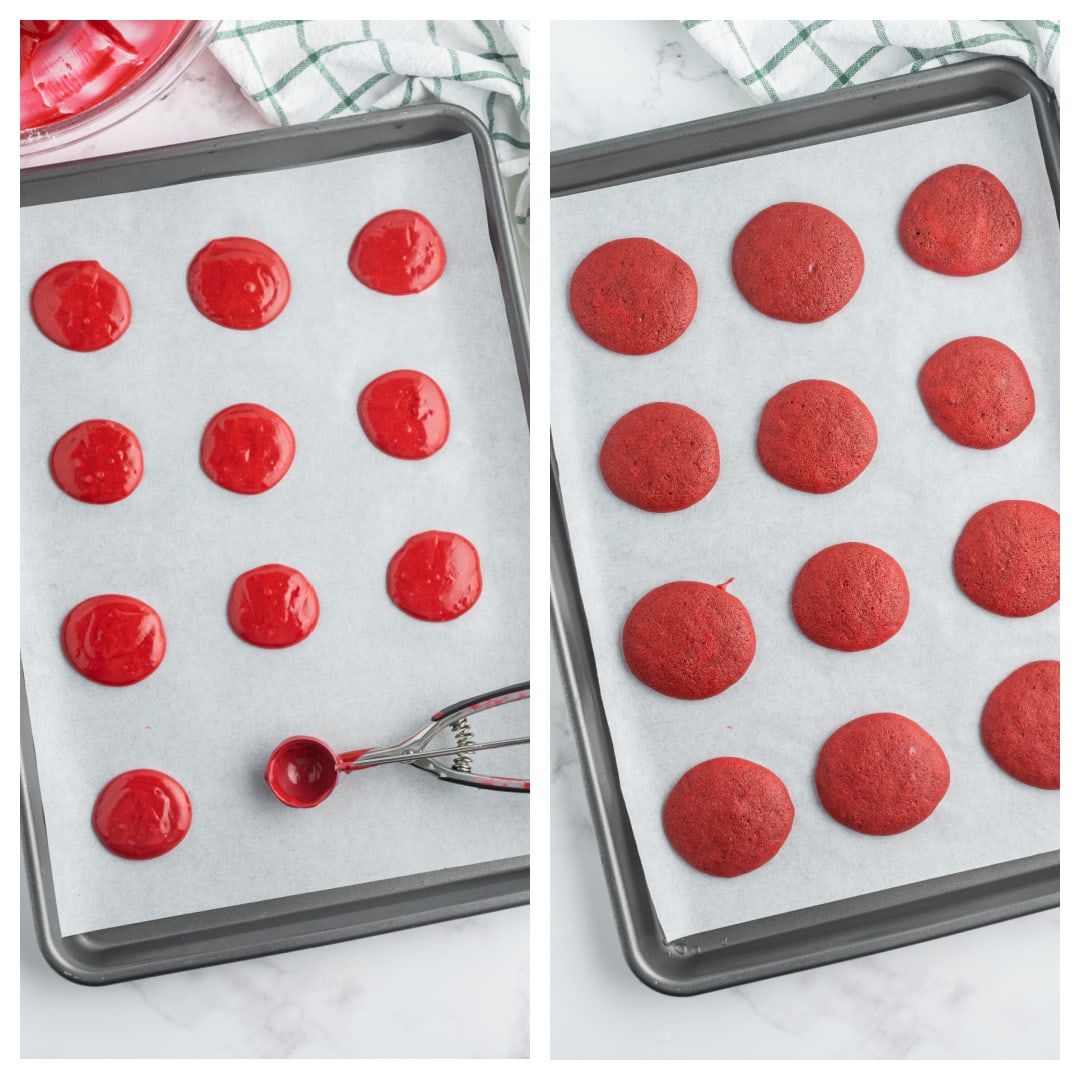
Line baking sheets with parchment paper, and use a cookie scoop for the easiest way to measure evenly sized rounds of Whoopie Pie cakes. Scoop the batter onto the prepared baking sheets and wiggle the batter into circles. They bake pretty evenly, and you’ll match up rounds that are most equal in size.
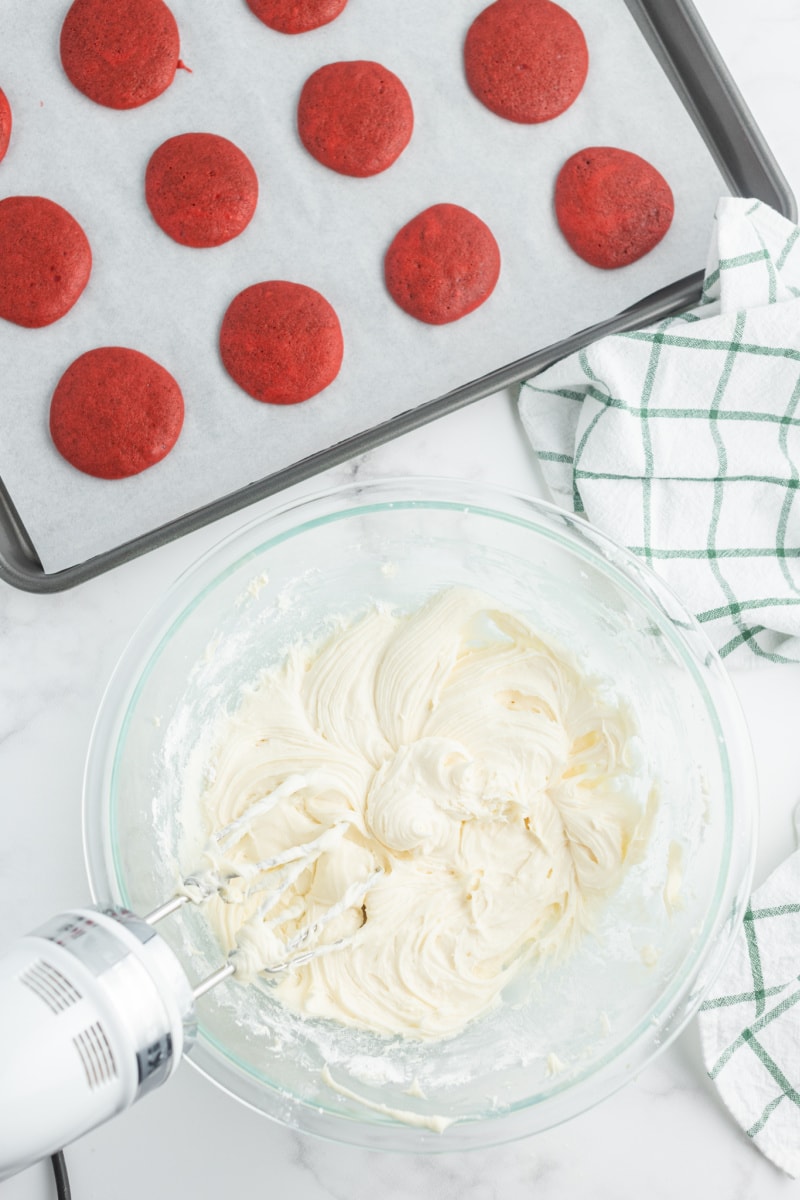
The filling for these Whoopie Pies is amazing. It’s a cream cheese and marshmallow buttercream. Dreamy!
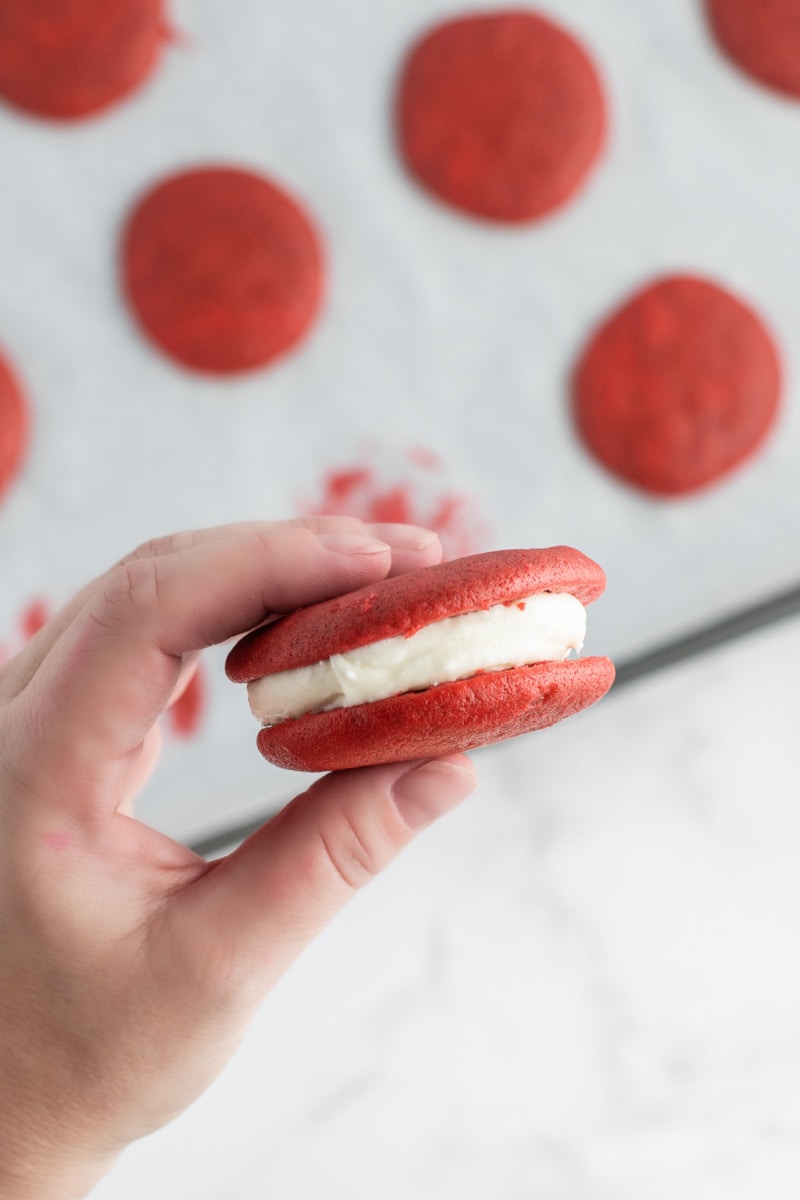
Spread a good amount of the filling on the flat side of a Whoopie Pie cake, and then sandwich two of them together.
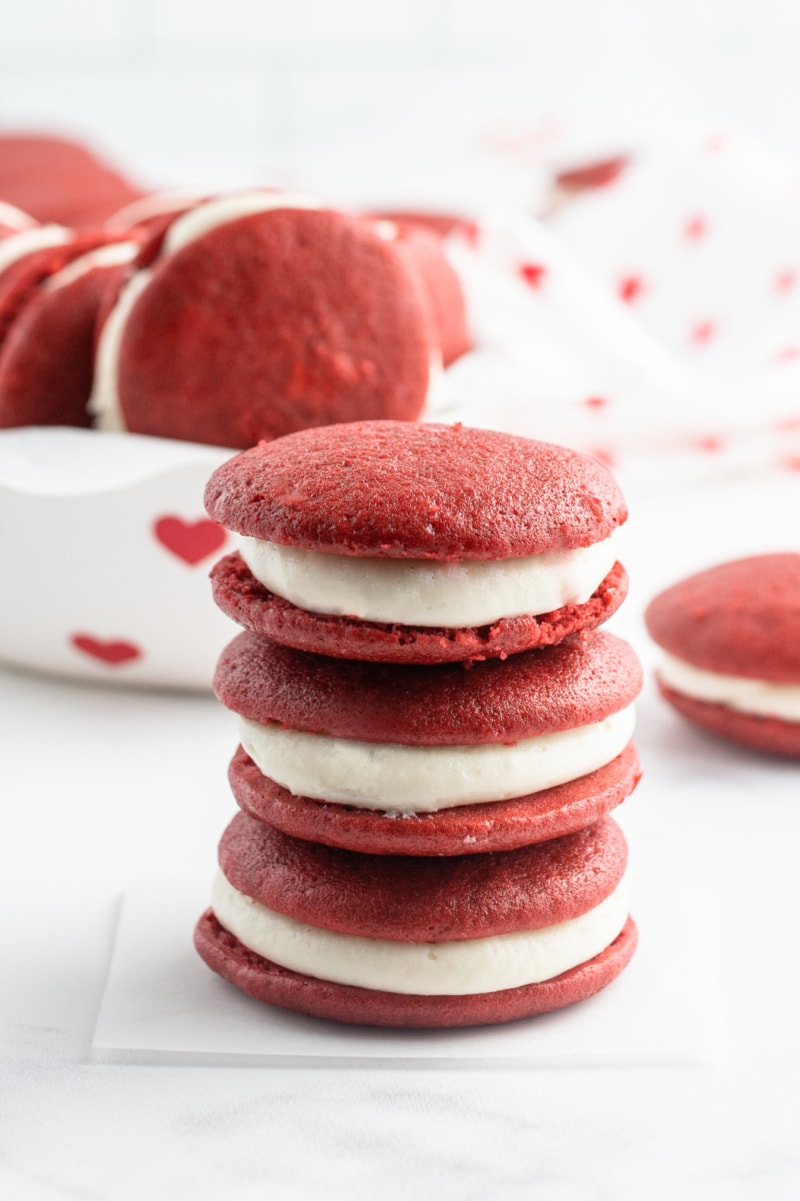
These are a pretty treat to make for Valentine’s Day or Christmas. Or you can even make them just because you like red velvet!
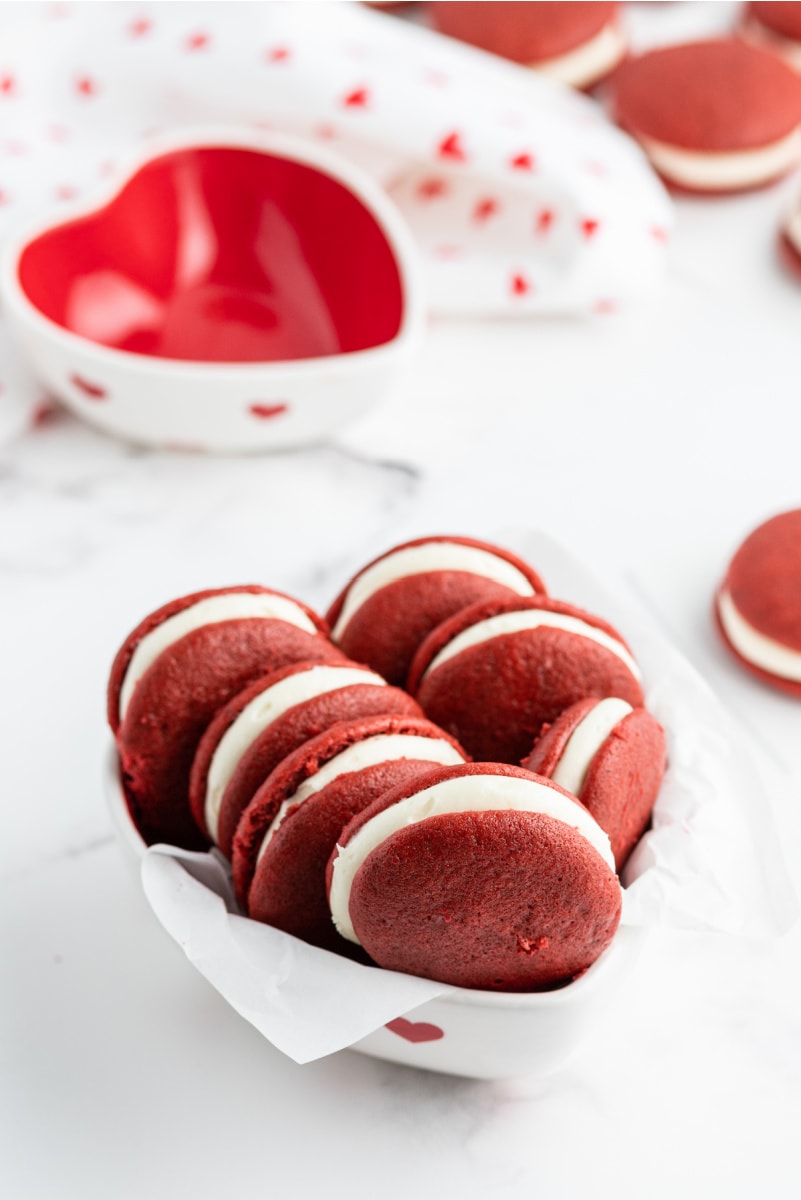
These Red Velvet Whoopie Pies turn out to be a very pretty little dessert. You can make them ahead of time; keep them in a single layer on a tray. Cover them with plastic wrap and refrigerate them for a day or two. The verdict on these is that they’re delicious. Let’s be truthful– that cream cheese and marshmallow buttercream frosting is what really makes these worthwhile. And their festive hue makes them a good choice for a lovely dessert.
Red Velvet Whoopie Pies
Ingredients
PIES:
- 2 tablespoons unsweetened cocoa powder
- 1 ounce red food coloring (or 1 teaspoon red gel paste)
- 2 tablespoons water
- 1½ cups granulated white sugar
- ½ cup canola or vegetable oil
- 2 large eggs
- 1 cup buttermilk
- 1 teaspoon vanilla extract
- ¾ teaspoon salt
- 3½ cups cake flour
- 1 tablespoon white vinegar
- 1½ teaspoons baking soda
FILLING:
- 6 ounces cream cheese, at room temperature
- 1 cup marshmallow creme (about ½ jar)
- ½ cup (1 stick) salted butter, at room temperature
- 16 ounces powdered sugar
- 1 teaspoon vanilla extract
Instructions
- Preheat the oven to 350 degrees F. Line baking sheets with parchment paper or silpat mats.
MAKE THE PIES:
- In a small bowl, combine the cocoa powder, food coloring and water. Mix to combine; set aside.
- In a large bowl, whisk together the sugar, oil and eggs. Add in the buttermilk, vanilla extract, salt and food color mixture. Whisk to combine. Stir in the flour, just until combined.
- In a small bowl, dissolve the baking soda in the vinegar; pour into the batter and stir to combine.
- Spoon the batter carefully onto prepared cookie sheets, making sure that they are as round as possible (you can use a cookie scoop for this too). They’ll spread a little bit so just spoon about a tablespoon for each.
- Bake for about 6 to 7 minutes, until they’re set and no longer sticky or soft. Let cool before filling.
MAKE THE FILLING:
- In a medium bowl, use an electric mixer to beat the cream cheese, marshmallow crème and butter together until smooth. Add in the powdered sugar and vanilla. Spread a tablespoon or so onto the bottom side of a pie, then top with the bottom side of another pie. Store in the refrigerator, keeping the pies in a single layer. Cover with plastic wrap to keep fresh.
Notes
- *I prefer to use gel or paste coloring, which doesn’t impart the “food color” flavoring to your baked good. If you use gel or paste, add about a teaspoon of it to the cocoa, then add 1/4 cup of water (instead of 2 tablespoons) and mix together. Re-evaluate the color of the batter after step 4- if you’d like it to be a deeper hue of red, add a few more drops of red.
- *If you have one, use a one tablespoon scoop (like a little ice cream scoop) to place the batter on the cookie sheets.
Nutrition
Nutrition information is automatically calculated, so should only be used as an approximation.



My granddaughter loved this. I made it and they were perfect . I made them today. And they taste good but are so sticky. What did I
Do or not do correctly?