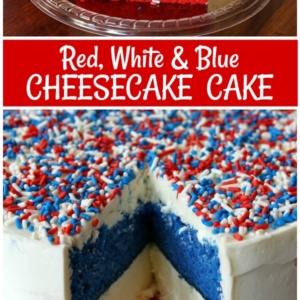
I’m celebrating summer holidays this year by sharing my SEVENTH cheesecake cake! This one is a simple RED/WHITE and BLUE version. I used a fabulous vanilla cake recipe that I tried recently and just added a little gel paste to the vanilla to make things extra festive. It’s easy to make (I promise), and you might just impress people at a summer party if you show up with a cake like this Red, White and Blue Cheesecake Cake.
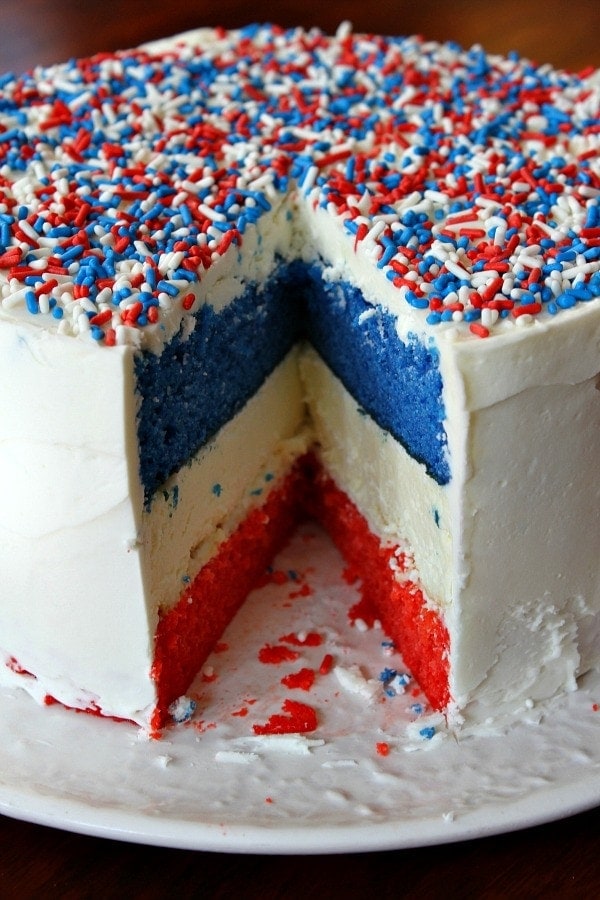
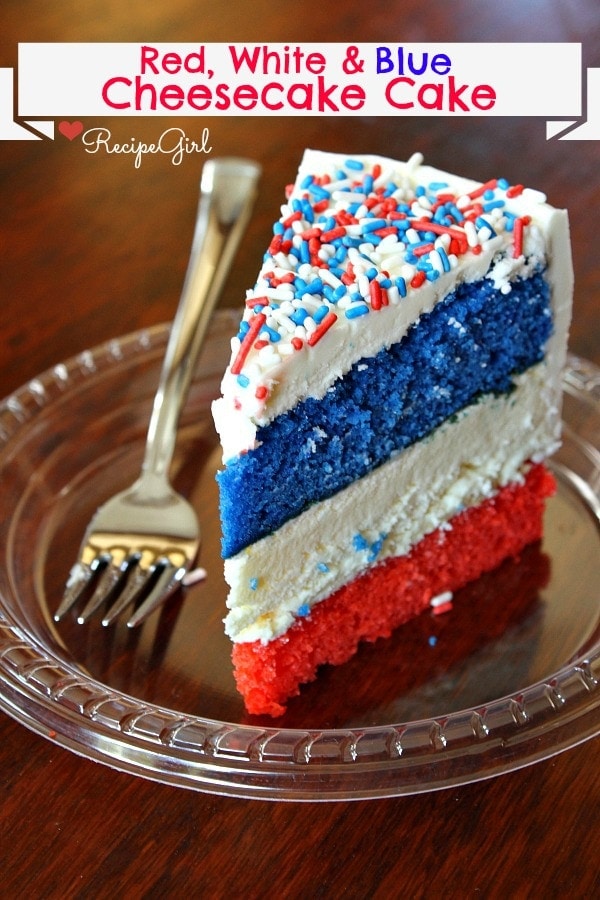
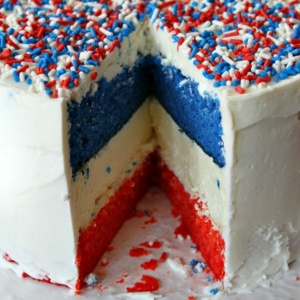
It’s a layer of vanilla cheesecake sandwiched between two layers of vanilla cake that have been colored festively for 4th of July or Memorial Day weekend. For me, it’s the best of both worlds since I can never decide if I want cheesecake or cake!
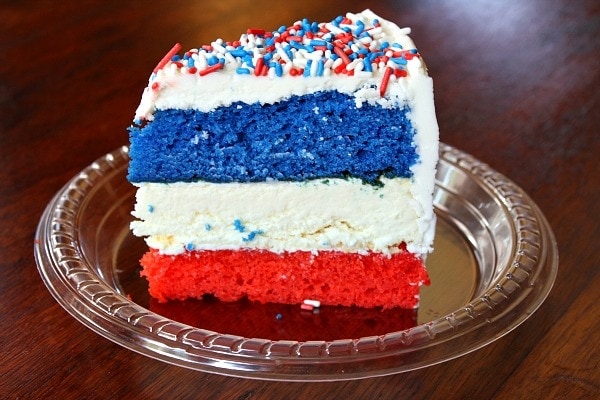
Slices of this cake are so cute. Everyone loves a good, festive cake, and this one definitely fits that bill perfectly!
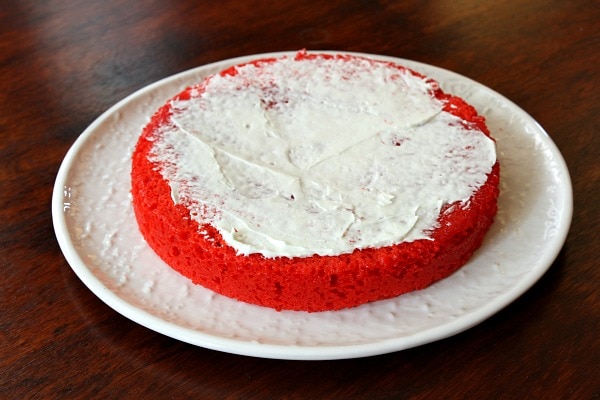
How to make a Red, White and Blue Cheesecake Cake:
The red cake layer is topped with a small amount of frosting to act as the “glue.”
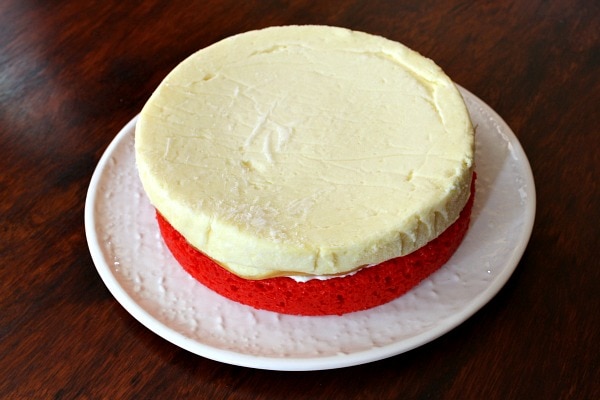
The frosting is topped with a cheesecake layer (a frozen one that you can pick up with your hands and place on top… but you make it and freeze it yourself– it’s not from the frozen food section).
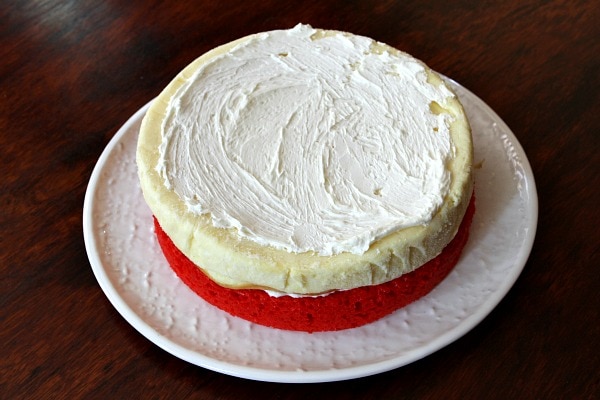
Again, the frosting is added to the top of the cheesecake to glue the next layer.
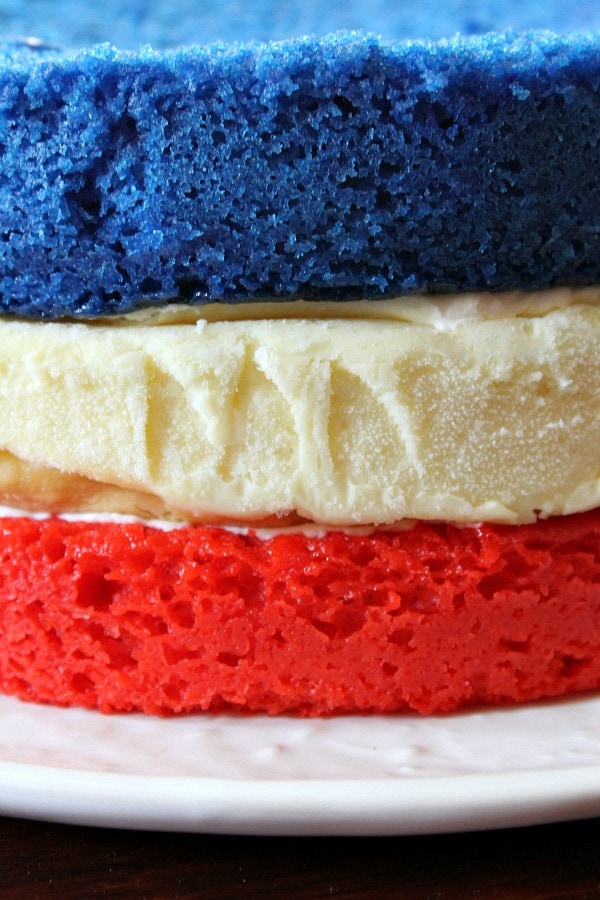
And the next layer, of course, is BLUE.
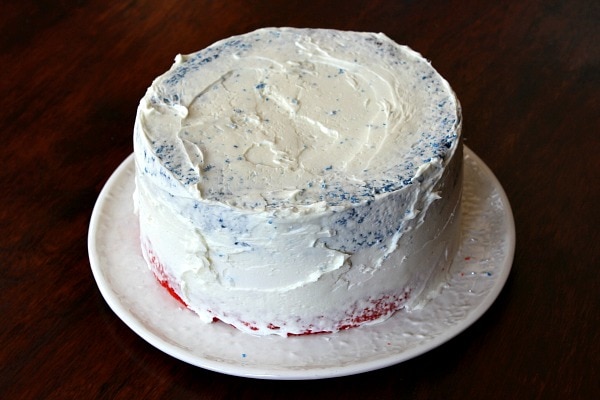
A little trick I used from somewhere: if you have a tender cake or a cake that is colored, it’s a good idea to apply a “crumb coat” of frosting first. This is a very thin layer. Then I pop it in the freezer for a little bit to firm things up.
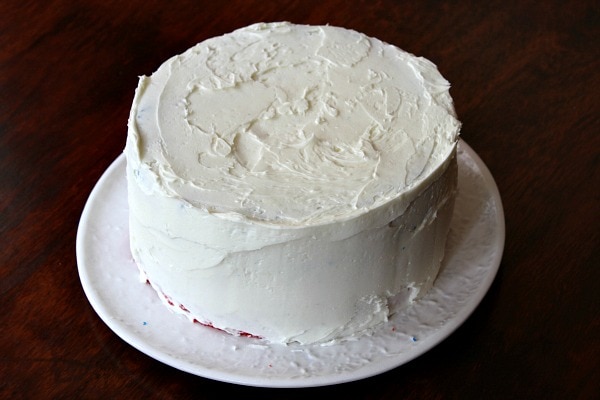
When things are firmed up, you can add the remaining frosting and the crumbs won’t get mixed into the top layer since they’re firm and frozen on the cake. It looks neater and prettier this way.
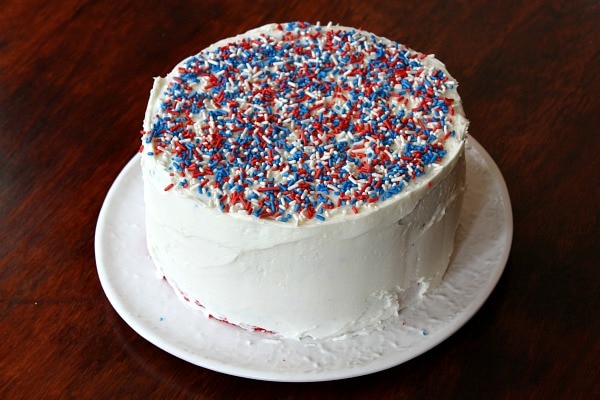
Since I had red/white and blue sprinkles in my pantry, I figured this was a good way to use them up.
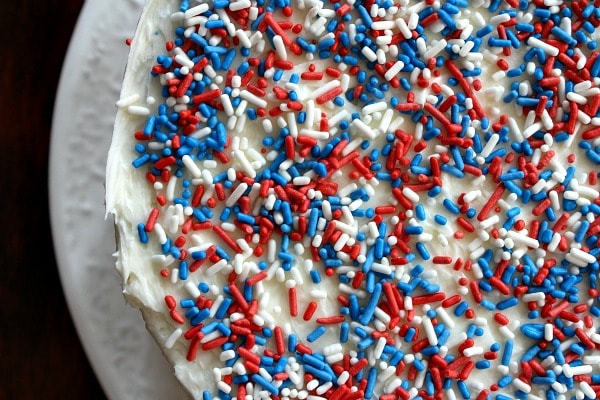
The cake needs to be kept in the refrigerator until ready to slice and serve. You want it to remain somewhat firm for easy slicing, and you don’t really want the cheesecake layer to get super, super soft either. The cheesecake will defrost on its own in the fridge.
Reviews on this cake:
I made this cake years ago while I was still living in San Diego. The kids in the neighborhood knew what I was up to so I brought it out to the street to share as soon as it was done. I had 6 boys lined up to get their slice. They gobbled and licked their plates clean (they’re boys). They thanked me and told me that they loved it.
A couple hours later I received a text from my next door neighbor. It said, “Jack just got home and heard about the cake that his brothers got to eat while he was gone. He’s outside circling the culdesac on his scooter, hoping you’ll come out and give him a slice too.” The text made me smile, and I immediately brought a slice out to Jack… who was very happy indeed. Read the reviews in the comments below– it seems that adults have enjoyed it too!
I hope you’ll attempt this one for fun summer parties!
Here are a few more cheesecake cakes you might enjoy:
- Red Velvet Cheesecake Cake
- Strawberry Cheesecake Cake
- Chocolate Cheesecake Cake
- Snickers Cheesecake Cake
- Meyer Lemon Cheesecake Cake
Red, White and Blue Cheesecake Cake
Ingredients
CHEESECAKE:
- Two 8-ounce packages cream cheese, at room temperature
- 2/3 cup granulated white sugar
- pinch of salt
- 2 large eggs
- 1/3 cup sour cream
- 1/3 cup heavy whipping cream
- 1 teaspoon vanilla extract
CAKE:
- 2 cups all purpose flour
- 1 tablespoon baking powder
- 1/2 teaspoon salt
- 1½ cups granulated white sugar
- 1/2 cup (1 stick) unsalted butter, at room temperature
- 3 large eggs, at room temperature
- 1 cup whole milk
- 1 teaspoon vanilla extract
- concentrated gel paste- classic red and royal blue (see tips in Recipe Notes below)
FROSTING:
- 1/2 cup (1 stick) unsalted butter, at room temperature
- 4 ounces cream cheese, at room temperature
- 5 cups powdered sugar
- 1/4 teaspoon salt
- 3 to 4 tablespoons whole milk
- 1/2 teaspoon vanilla extract
- sprinkles, optional
Instructions
PREPARE THE CHEESECAKE LAYER:
- Place a 9x13-inch pan on the bottom rack of the oven and fill it halfway with water. Place your other rack in the center of the oven. Preheat the oven to 325 degrees F. Spray a 9-inch springform pan with nonstick spray, then line the bottom of the pan with parchment, then spray again. In a large bowl, use an electric mixer to blend the cream cheese until it is smooth and creamy, 1 to 2 minutes. Mix in the sugar and salt and blend for 2 minutes, scraping down the sides of the bowl to make sure all is mixed in. Add the eggs, one at a time, blending after each addition. Finally, mix in the sour cream, whipping cream and vanilla. Mix until smooth. Pour the batter into the prepared pan. Set the pan on the middle rack in the pre-heated oven. Bake the cheesecake for 45 minutes. It should be set to the touch and not jiggly. Remove the cheesecake from the oven and let it cool on a wire rack for at least an hour. When it has cooled, place the pan into the freezer and let the cheesecake freeze completely (4 to 5 hours or overnight).
PREPARE THE CAKE:
- Preheat the oven to 350 degrees F. Spray two 9-inch round cake pans and line the bottoms with parchment; spray the parchment as well. In a medium bowl, whisk together the flour, baking powder, and salt. In a large glass bowl, use an electric mixer to beat together the sugar and butter on medium speed until combined, 1 to 2 minutes. Add the eggs and beat well, scraping down sides of bowl as necessary. Reduce the speed to low and gradually add the flour mixture, beating until combined. Add the milk and vanilla and beat until just combined. Scoop half of the batter into another glass bowl and use gel paste (classic red and royal blue) to color the each half a deep hue. Scrape the batter into each of the prepared pans. Bake until firm to touch and a toothpick inserted into centers comes out clean, 25 to 30 minutes. Let cakes cool in pans on wire racks 15 minutes. Turn out cakes onto racks to cool completely.
PREPARE THE FROSTING:
- In a large bowl, use an electric mixer to beat together the butter and cream cheese on medium-high speed until pale and creamy, about 1 minute. Reduce speed to medium. Add the powdered sugar 1 cup at a time, beating well after each addition. Add the salt, 3 tablespoons milk, and vanilla and beat until fluffy, about 3 minutes. Add an additional tablespoon of milk if you'd like the frosting to be more creamy.
ASSEMBLE THE CAKE:
- Place the red cake layer on a cake plate and spread a small amount of frosting on top. Remove the (frozen) cheesecake from the pan and place the cheesecake layer on top of the red layer (be sure to measure it and make sure that it fits on top... you may need to place it on a cutting board and shave off some of the edge with a sharp knife to match the size of the cake layer). Spread a small amount of the frosting on top of the cheesecake layer. Add the blue layer on top. Scoop some frosting on top of the blue layer and cover the entire cake in a VERY THIN LAYER of frosting (you're just doing a "crumb coat.") Then place the cake in the freezer for a few minutes, just until the cake and frosting are a little bit firm. Then add the remaining frosting to the top of the cake, spread across the top evenly and down the sides. Sprinkle festive sprinkles on top, if desired. The cake should be refrigerated until ready to serve.
Notes
- *Concentrated gel paste color can be found at craft stores or baking supply stores (not the regular market). Wilton sells it. I don't recommend using the liquid coloring for this recipe. The gel paste is concentrated, and you won't be adding liquid to the batter. You can also use Americolor: http://www.amazon.com/Americolor-Soft-Paste-Food-Color/dp/B001O8KQP6. Just keep adding color until you get a nice, strong hue.
- *The frosting included in this recipe just barely covers the cake. It's enough, but if you want any sort of piping, you might consider using another frosting recipe like the one included in > this recipe.
- *If you have 8-inch pans, you can make this cake in those. You can try making the cheesecake in a cake pan, but it's pretty tricky to get out of the pan.
Nutrition
Nutrition information is automatically calculated, so should only be used as an approximation.


I made this for our family July 4th BBQ and what a hit!!
Today, I’m making it for our Christmas Eve gathering, only using red and green colors. Thank you for sharing 💖✌️
I am serving this cake on Thursday but I don’t have time ti make it on Thursday . If I make the cake part not the cheesecake part just the regularly cake on Tuesday and freeze it and then ice it on wensday will it still good on Thursday?
I would make all of the layers… cake and cheesecake, wrap them very well and freeze them. Then assemble it all on Wednesday and put it in the fridge. It will be defrosted and ready to go on Thursday.
This was a beautiful and wonderful cake. Thank you for the directions. You nailed it. They were so clear and concise. Thank you for sharing this awesome recipe. It was well worth all the time to make it and my family loved it!!!
Turned out great. Used 8” cake pans to make the cake taller and thicker cake layers. I would suggest trimming the cheesecake layer before freezing.
Can I ask if your tablespoon is 15 or 20mls..thank you 🌺
I’m not sure, but you can look for a metric conversion on Google!
Did anyone else struggle getting the cheesecake to set? I’m baking it at over an hour and it’s still jiggly 🙃
I just took the cheesecake layer out of the oven – it is not very tall – in fact it is a thin layer. I followed instructions and left nothing out . It doesn’t look like the picture. Can,t figure out what went wrong.
It’ll be a thin cheesecake layer. Thicker if you use 8-inch pans to make the cake layers and cheesecake.
Perfect, moist cake and so pretty!
Can you freeze the cheesecake longer than overnight?
Yes, that should be fine!