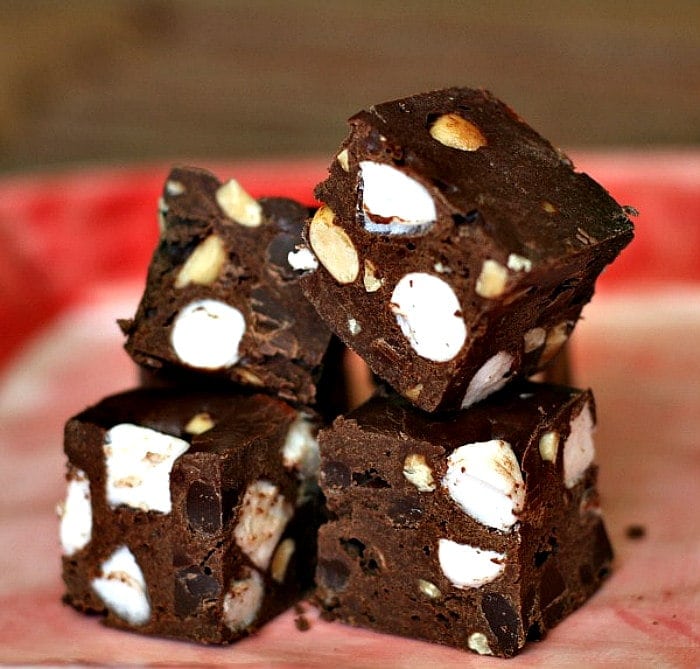
This Rocky Road Fudge is one of the best fudge recipes! It’s been tested (mostly by me and my family) time and time again- homemade fudge is the best sweet treat, ever. Because of this, keeping an easy fudge recipe on hand is an important thing. This is especially true during the holiday season.
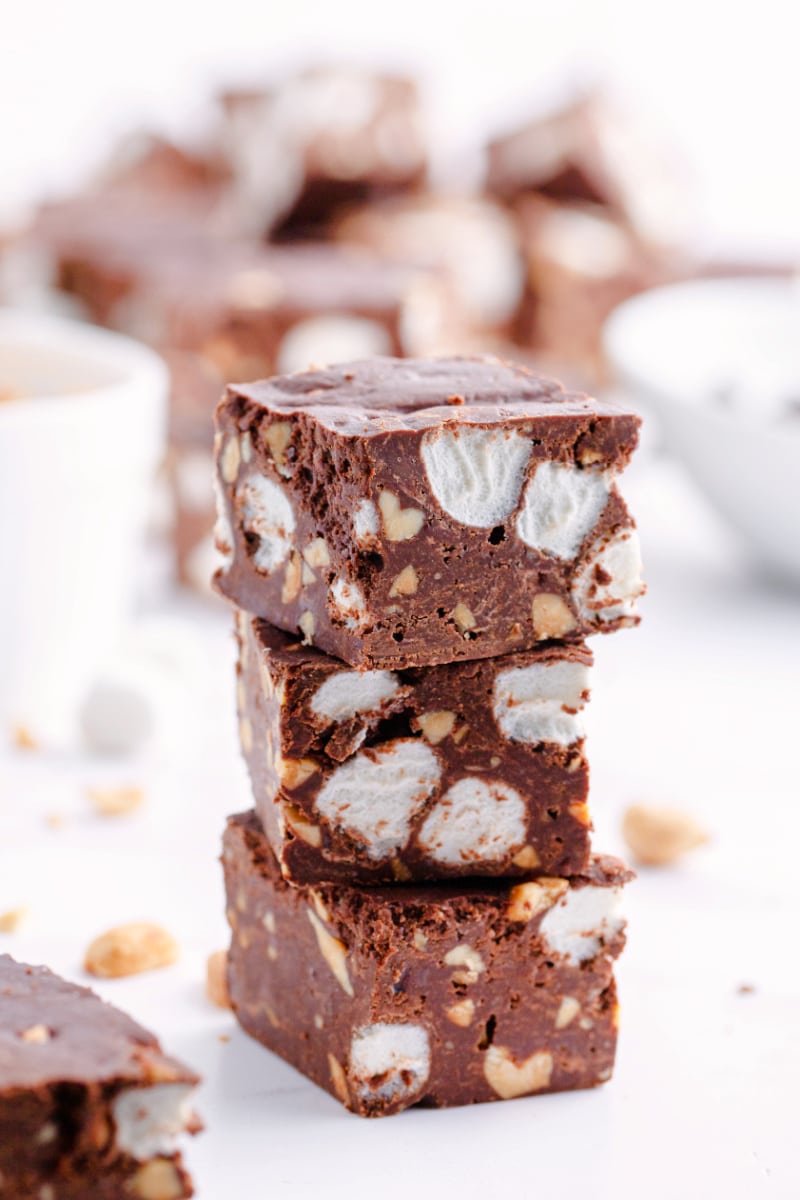
Rocky Road Fudge is a good fudge recipe to make for the holidays and add to holiday treat platters. It also makes a nice fudge for gifting to friends and relatives.
What is Rocky Road?
Typically, Rocky Road is known as ice cream. It’s a chocolate-flavored ice cream. There are a lot of variations, but the classic Rocky Road ice cream is a combination of chocolate ice cream, nuts and marshmallows. It’s said to have been first created by William Dreyer in 1929 (recognized the Dreyer ice cream name?) His ice cream flavor was a copycat of his friend Joseph Edy’s chocolate candy creation that incorporated marshmallows and walnuts. During the Great Depression, they named their ice cream “Rocky Road” to “give folks something to smile about.”
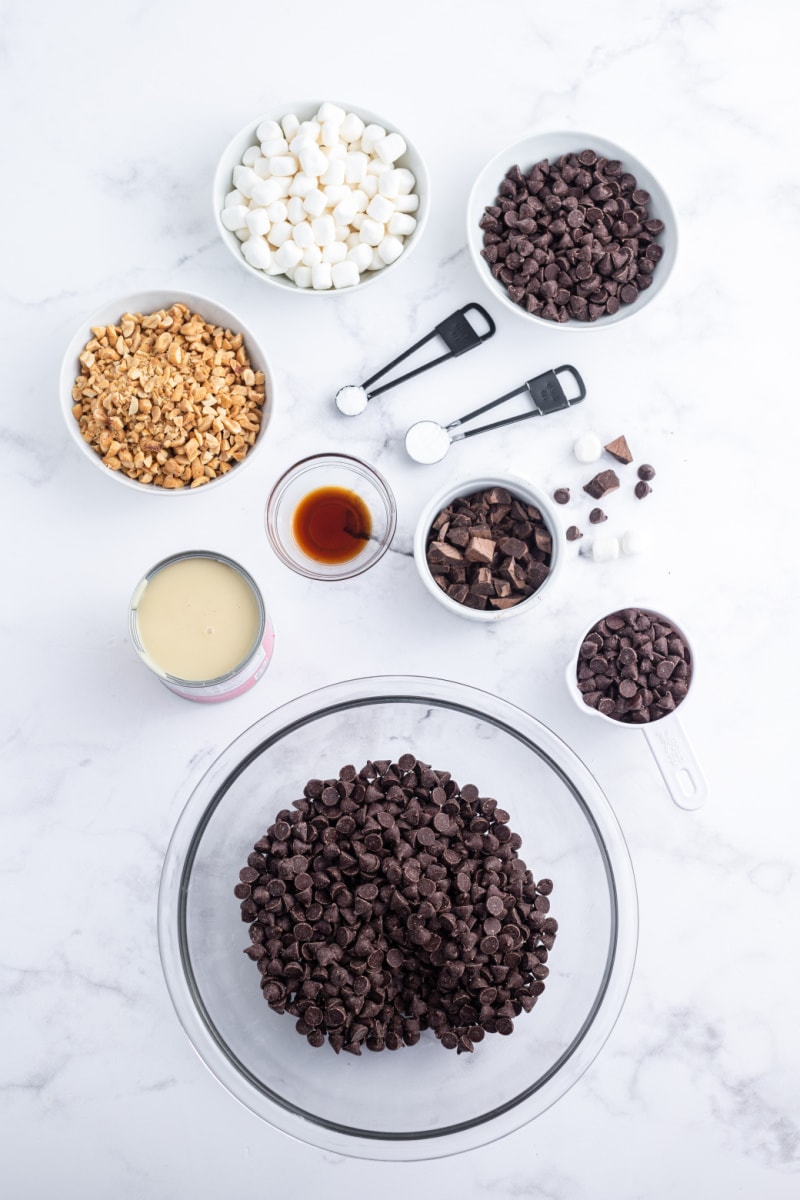
Ingredients needed:
- semisweet chocolate
- unsweetened chocolate
- baking soda
- salt
- sweetened condensed milk
- vanilla extract
- mini marshmallows
- chopped peanuts
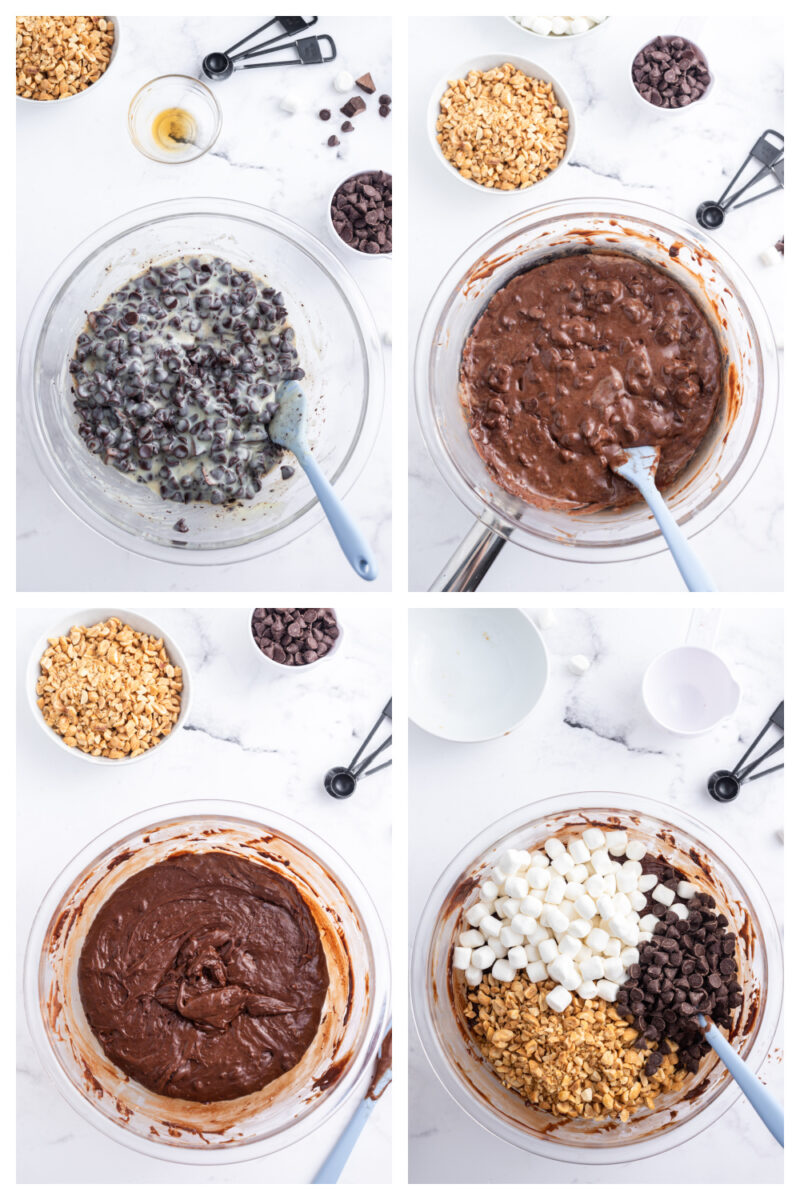
How to make Rocky Road Fudge:
The complete, printable recipe is at the end of this post.
Do’s and Don’ts to making a family favorite
I am a big fan of this rocky road fudge! It’s perfect for a quick treat or to bring to a get together. Its just one of those desserts that always hits the spot.
Here are some do’s and don’ts that I have learned along the way:
- DO use unsalted butter, if you can help it. It helps keep the salty nuts pop more.
- DO NOT buy imitation vanilla extract- trust me.
- If you want a rich chocolate fudge, DO use sweetened condensed milk
- DO NOT use stale marshmallows! Fresh, fluffy marshmallows will make this rocky road recipe even better.
- DO sprinkle salty peanuts on top of the fudge to help the flavor stay together.
- DO NOT cook the fudge on wax paper. Instead, make your prepared pan with parchment paper then wrap your room-temperature fudge in either plastic wrap or wax paper before storing.
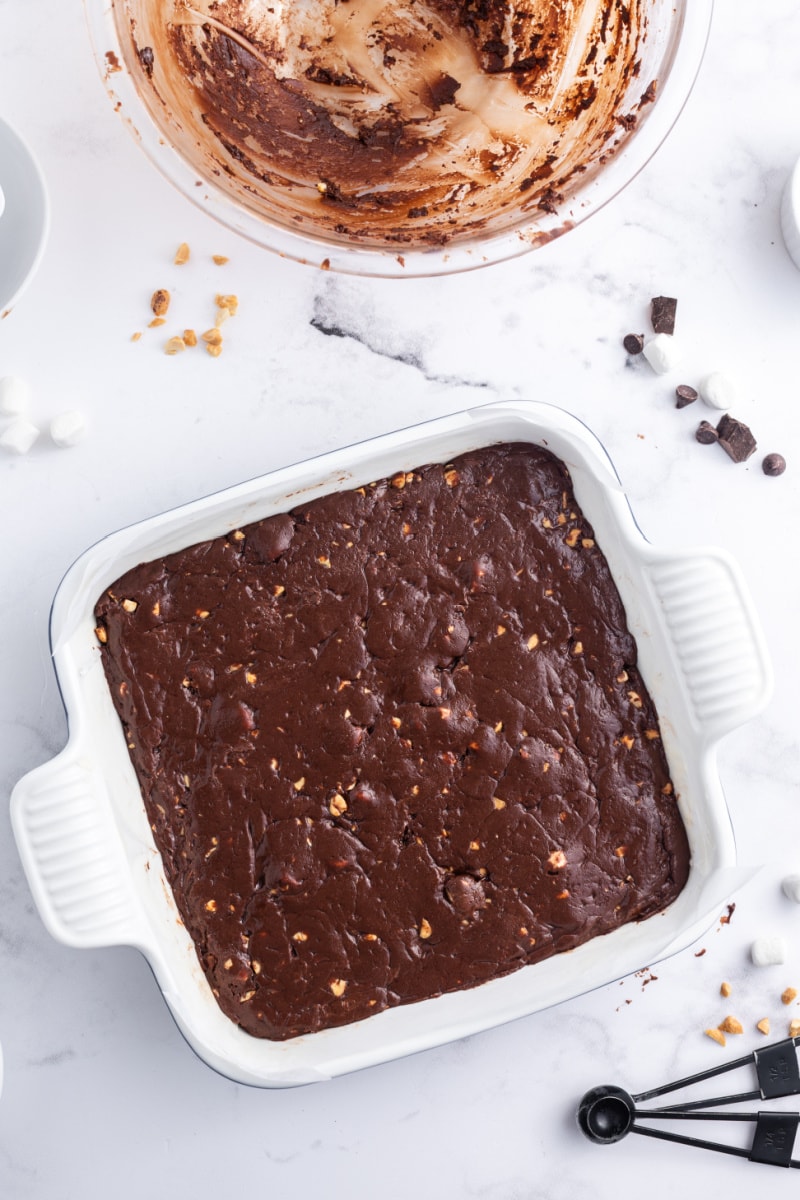
- DO lay out the chocolate mixture in an even layer on the baking dish so that it cools properly.
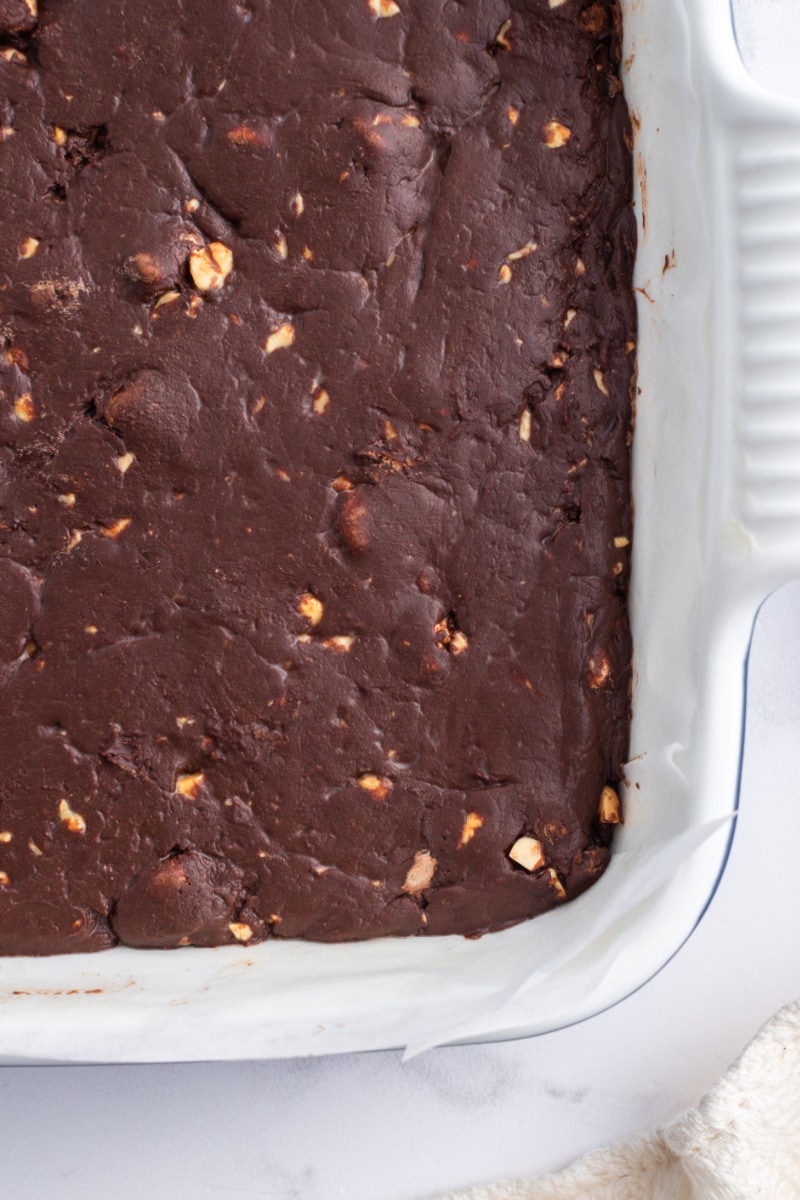
After the fudge is poured into the prepared pan, let it sit for 10 to 15 minutes to allow it to cool and harden.
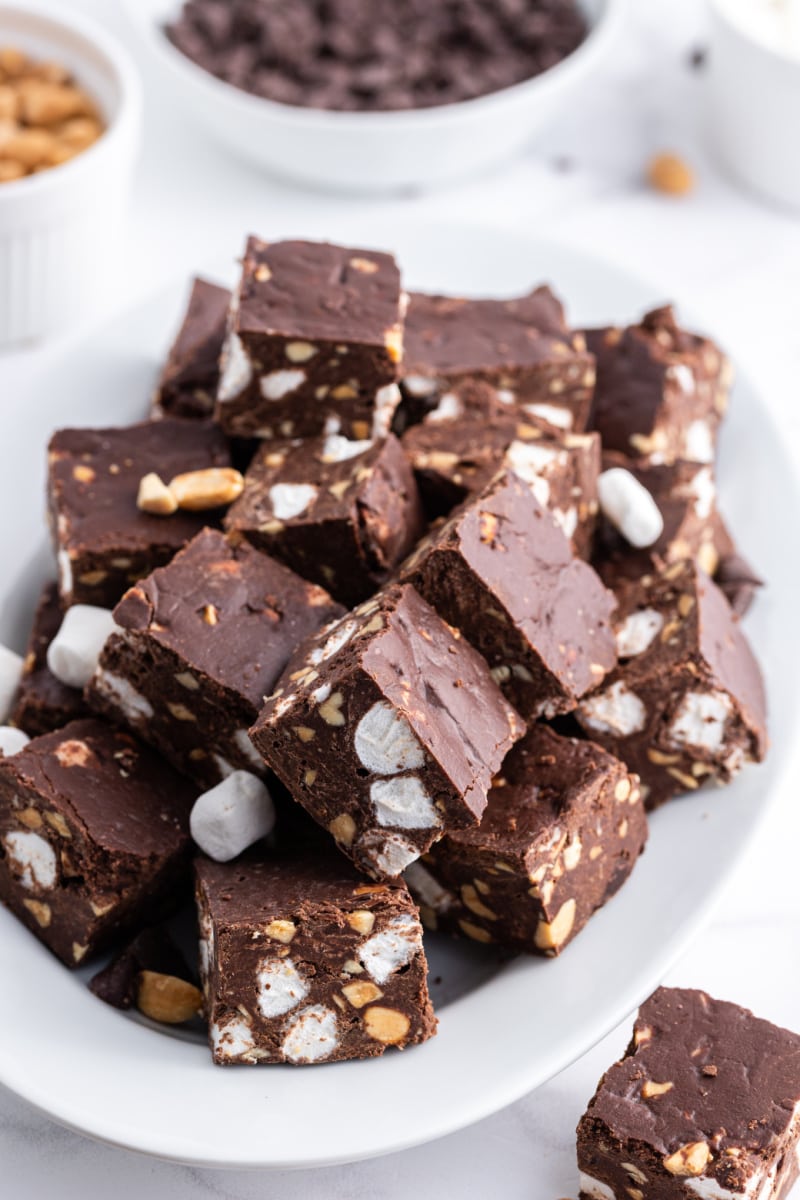
Once cooled, slice the fudge into small squares thats are bite sized. The best way to store them is to keep them in an airtight container until you arrive at the party then arrange them on a serving dish once you are there. If keeping them for treats at home, they should be okay in a covered container at room temperature for about a week.
Optional Toppings
Making a creamy chocolate fudge is so nice, but why not spice things up a bit by making this recipe inspired by the amazing rocky road ice cream? All you need is a few simple ingredients by adding in some mini marshmallows and almonds (instead of peanuts) added to the fudge mixture to make a really yummy rocky road fudge.
Turn this easy rocky road fudge recipe into a decadent dessert that makes a great gift with a few of these toppings.
- chocolate frosting
- dark chocolate chunks
- semi-sweet chocolate chips
- butterscotch chips
- melted chocolate drizzle
- additional peanuts
- Seasonal sprinkles
If you’re preparing this as a Gluten Free recipe, just make sure the brands you use are gluten free– for chocolate, vanilla extract and marshmallows.
Can you freeze Rocky Road Fudge?
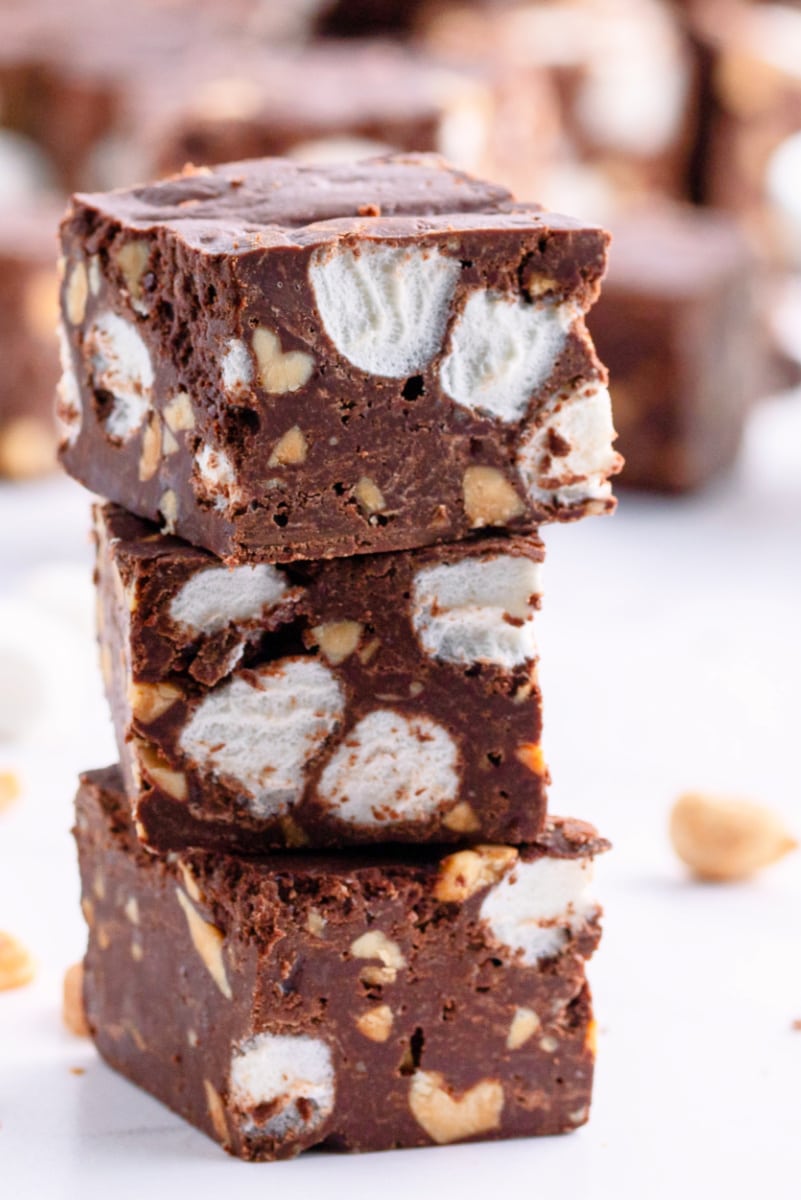
This fudge freezes well; simply wrap and package the pieces, then place the container in your freezer. Your fudge should last for several months, so if you are making this ahead for the holidays then it should store just fine in the freezer. When you’re ready for serving your Rocky Road Fudge, take the wrapped pieces from the freezer and leave them at room temperature until defrosted. A layer of moisture may form on the surface of the fudge as it “sweats.” You can dab it with paper towel to get rid of it.
If you’re a fudge fan, I have so many more fudge recipes to share with you!
- Peanut Butter Fudge
- Mint Truffle Fudge
- Key Lime Fudge
- German Chocolate Fudge
- Fantasy Fudge
- Eggnog Fudge
- Cinnamon Fudge
- Chocolate Toasted Almond Fudge
- Chocolate- Peanut Butter Fudge
If you’re looking for more chocolate candy recipes, you might also like to try my Almond Butter Cups or these Peppermint Oreo Truffles. Easy Homemade Mallow Cups, Chocolate Toffee and Chocolate Almond Clusters are delicious chocolate candy recipes worth trying too!
Rocky Road Fudge
Ingredients
- 16 ounces semisweet chocolate, chopped finely (or use good quality chocolate chips)
- 2 ounces unsweetened chocolate, chopped finely
- ½ teaspoon baking soda
- ⅛ teaspoon salt
- One 14-ounce can sweetened condensed milk
- 1 tablespoon vanilla extract
- 1 cup mini marshmallows
- 1 cup roughly chopped peanuts
- ½ cup semisweet chocolate chips
Instructions
- Line an 8x8-inch baking pan with foil or parchment paper and spray lightly with nonstick spray.
- In a medium, heatproof bowl, toss the 1st two chocolates with baking soda and salt. Stir in the sweetened condensed milk and vanilla. Set the bowl over a 4-quart saucepan containing 2 cups simmering water. Stir with a rubber spatula until the chocolate is almost fully melted and few small pieces remain, 2 to 4 minutes.
- Remove the bowl from heat and continue to stir until the chocolate is fully melted and the mixture is smooth. Stir in the marshmallows, peanuts and additional chips. Scrape the fudge into the prepared pan and spread in an even layer with a rubber spatula. Refrigerate until set, about 2 hours (or longer). Remove the fudge from the pan using foil. Peel off the foil and cut into squares.
Notes
- *If you're preparing this as a Gluten Free recipe, just make sure the brands you use are gluten free-- for chocolate, vanilla extract and marshmallows.
- Make ahead/FREEZING instructions: This fudge freezes well; simply wrap and package the pieces, then place the container in your freezer. Your fudge should last for several months. When you're ready to bring your fudge out, take the wrapped pieces from the freezer and leave them at room temperature until defrosted. A layer of moisture may form on the surface of the fudge as it "sweats." You can dab it with paper towel to get rid of it.
Nutrition
Nutrition information is automatically calculated, so should only be used as an approximation.


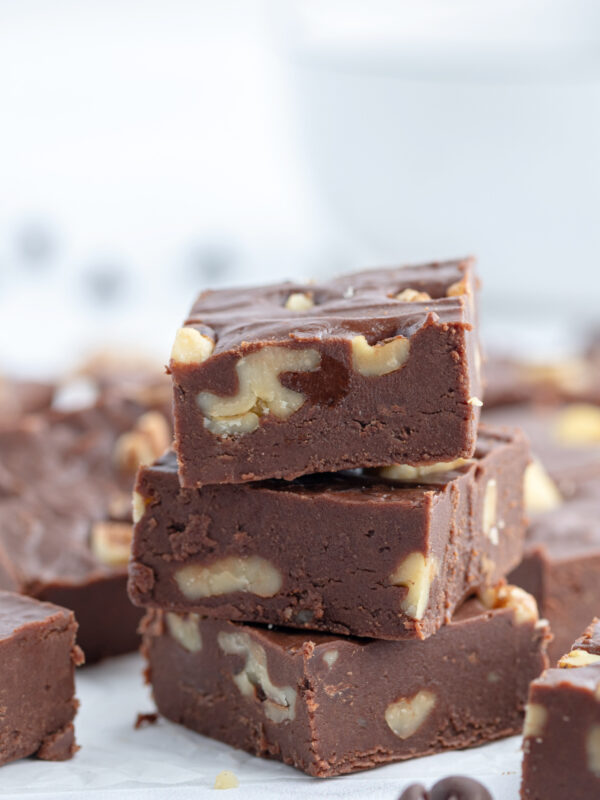



This was my first time trying to make fudge and I’m so glad I came across this recipe! It’s super simple and the directions are just too easy to follow! I substituted walnuts for the peanuts (just because we love walnuts) and the fudge came out beautiful and delicious. I’m making cookie platters for Christmas and I know this fudge will be a favorite.
I made this recipe for my sister to take to work. It turned out fabulous! The key is the baking soda. Makes it silky smooth and tender. I used half dark chocolate and half semi-sweet. This is definitely a keeper
I was looking for a good homemade birthday gift for my dad, and this fits the bill perfectly. Yum!
This is my kind of fudge!!!!